A faulty seat heater switch is one of the most common heated seat complaints. The switch stops responding, loses a heating level, or the indicator light goes out while the heater still works. Replacing the switch is usually a simple 20 to 45 minute job requiring only basic tools.
This guide walks through diagnosis, removal, and installation of a replacement seat heater switch.
1. Symptoms of a Failing Seat Heater Switch
The most common signs of a failing seat heater switch include:
- one or more heating levels no longer selectable
- the switch indicator light has stopped illuminating (partially or completely)
- the switch feels loose or has lost its tactile click
- or the switch is intermittent and requires multiple presses to activate
Note that a switch that activates but produces no heat is more likely a failed heating element or blown fuse rather than a switch problem.
2. Confirming the Switch is the Fault
Before ordering a replacement, isolate the fault. With the ignition on, press the switch and use a multimeter to measure voltage at the output pin of the switch connector.
If the input voltage is present (12V) but the output signal does not change when the switch is pressed, the switch has failed internally.
If there is no input voltage, check the seat heater fuse first. If the switch output changes correctly but there is no heat, the fault is in the heater element or controller, not the switch.
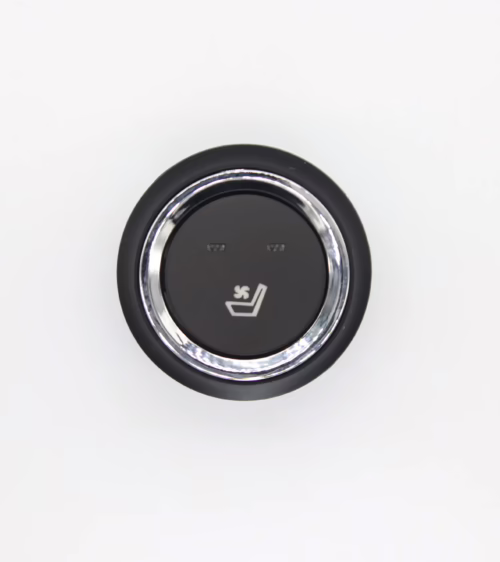
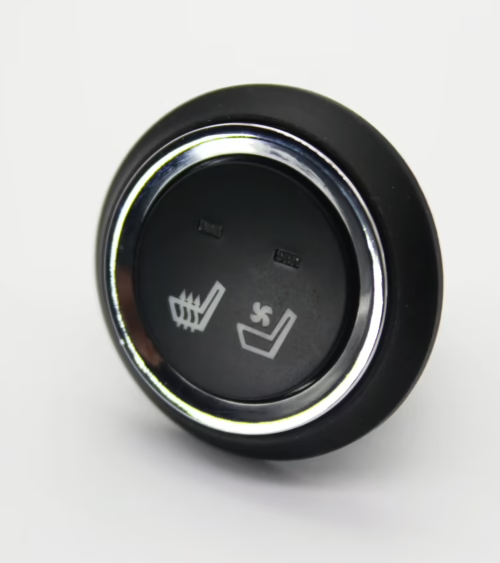
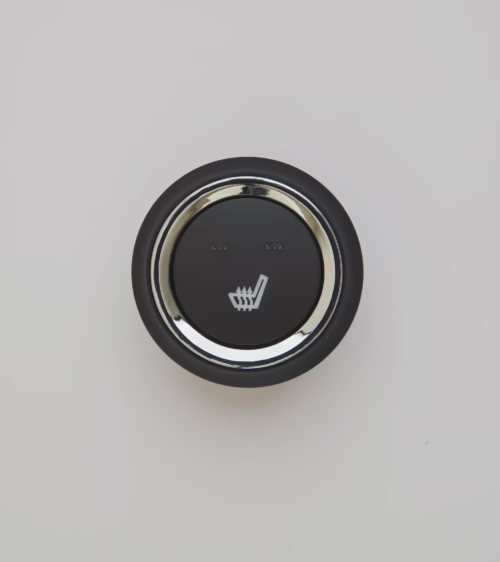
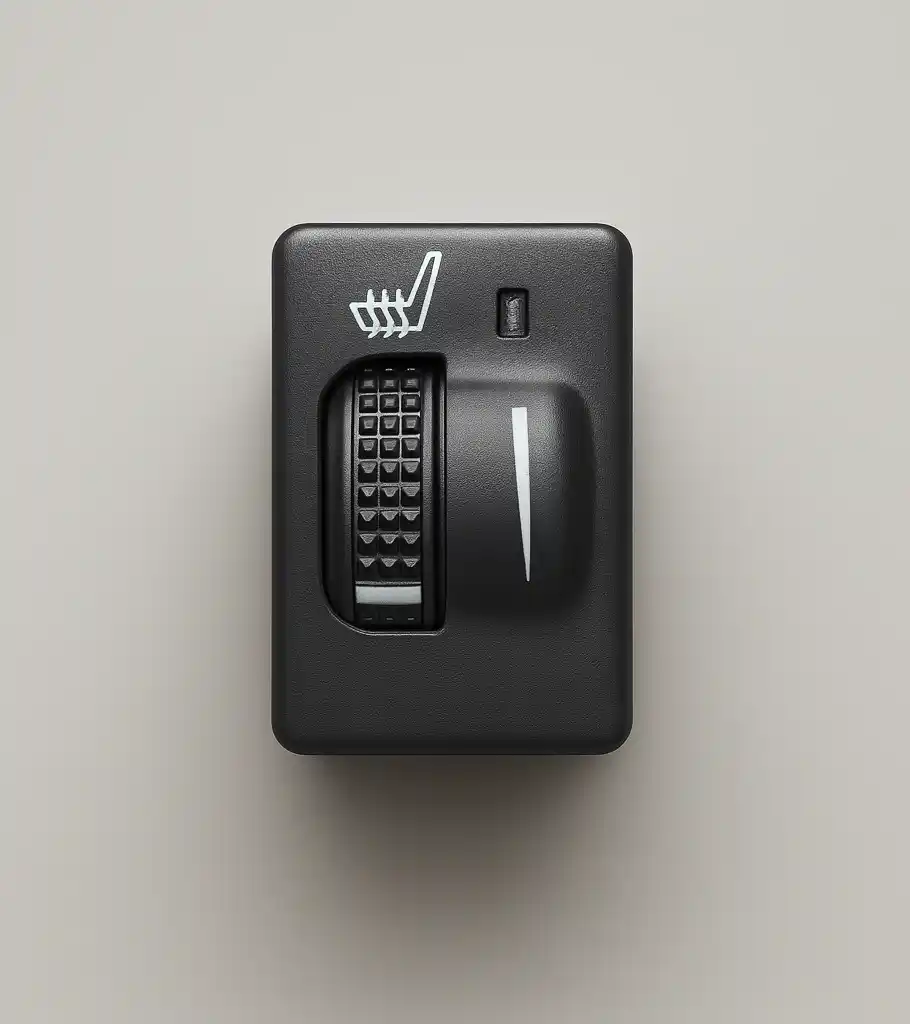
3. Switch Types by Vehicle Application
Seat heater switches come in three main physical formats:
- round push-button switches (most common in Japanese vehicles
- 22mm to 32mm diameter)
- rocker switches (common in American and European vehicles)
- flat panel integrated switches (found in modern vehicles with touch-sensitive consoles). Confirm the switch type and mounting dimensions before ordering a replacement. Most replacement switches are sold by vehicle make and model or by switch diameter and connector type
4. Removing the Old Switch
Disconnect the battery before starting work on any electrical component. Locate the switch in the center console, door panel, or seat cushion depending on vehicle layout. Use a plastic pry tool to remove the surrounding trim panel — avoid metal tools which scratch the trim.
Most switches either snap into a panel cutout (push-to-release tabs on the sides) or are retained by a threaded bezel ring.
Once the switch body is free from the panel, unplug the wiring connector by pressing the release tab and pulling straight back. Do not pull on the wires.
5. Selecting a Compatible Replacement Switch
Replacement switch compatibility requires matching:
- the connector pinout and housing family
- the switch diameter and panel cutout size
- the number of heating levels (2-level or 3-level)
- the illumination type and color. For the best result
- take the old switch to an automotive parts supplier for cross-reference
- or photograph the connector and switch body before ordering online
Lucky Driver Inc. supplies seat heater switches in round and rocker configurations for the most common connector families used in Toyota, Honda, and other vehicles.
6. Installing the Replacement Switch
Connect the wiring harness to the new switch first, before snapping it into the panel. This is easier with the switch loose and prevents connector damage. Snap or thread the switch into the panel cutout, reinstall the trim panel, reconnect the battery, and test all heating levels immediately.
Confirm the indicator illumination works at each level and that the heat cycles correctly on each setting.
Shop Seat Heater Switches at Lucky Driver Inc.
Lucky Driver Inc. manufactures and sells seat heater switches for aftermarket replacement and OEM integration. Our round push-button switches are available in Hi-Lo-Off and 3-level configurations with multiple illumination colors. Visit our shop or contact us for compatibility guidance.
Seat Heating Technology Comparison: Wire vs. Carbon Fiber vs. PTC
Three distinct heating technologies are available for automotive seat applications. Resistance wire elements use a coiled wire routed in a grid pattern through the seat pad — the simplest construction and lowest cost, but with slower heat-up and potential for localized hot spots near the wire runs.
Carbon fiber elements use a woven carbon fiber fabric distributed across the full pad area — faster heat-up, more uniform temperature distribution, and better flexibility, at higher cost than wire.
PTC (Positive Temperature Coefficient) ceramic elements use materials that self-limit temperature by increasing resistance as temperature rises — inherently self-regulating without a separate thermistor controller, but with limited design flexibility and higher component cost.
Most aftermarket heated seat kits use wire or carbon fiber elements; PTC is primarily found in OEM integrated applications where its self-limiting behavior reduces control system complexity.
Cold Soak Conditions and Extreme Temperature Performance
After a vehicle has been parked outdoors in extreme cold (below -20 degrees C), the seat heating element must overcome a significant thermal deficit before the surface reaches comfort temperature. Under cold soak conditions, both the foam substrate and the element itself start at the ambient temperature.
The time required to reach 35 degrees C at the seat surface depends on the element wattage, the foam thermal mass, and the trim material insulation.
High-wattage carbon fiber elements can reach comfort temperature in 4 to 5 minutes even from a severe cold soak. Standard wire elements may require 8 to 12 minutes under the same conditions.
For users who regularly park outdoors in severe cold climates, the cold-soak performance difference between standard and high-performance kit specifications is the most practically significant distinction.
Regulatory and Safety Standards for Seat Heating Products
Seat heating products intended for automotive use must meet applicable safety and regulatory standards. In the United States, UL 2111 covers the thermal protection requirements for heating products, and SAE J1930 provides standardized terminology.
Products sold into the European market must carry CE marking and comply with the Low Voltage Directive.
For products installed in vehicles that go through type approval, the seat heater components must meet the requirements of applicable ECE regulations for electrical systems.
When evaluating seat heater products from any supplier, request documentation of the safety standard compliance testing — specifically the thermal cutoff performance under element fault conditions. Lucky Driver Inc. products are tested to applicable safety standards and documentation is available upon request.
Warranty and Support Expectations for Heated Seat Products
A quality heated seat kit should be supported by a meaningful warranty covering defects in materials and workmanship. Key warranty terms to confirm:
- duration (12 months minimum
- 24 months preferred)
- coverage scope (element
- controller
- thermistor
- switch)
- process for warranty claims (return merchandise authorization
- replacement or repair)
- documentation requirements (proof of installation date)
A supplier who does not offer a clear warranty or who makes warranty claims difficult is taking a quality shortcut.
Lucky Driver Inc. provides a 12-month warranty on all heated seat kit products, with a streamlined replacement process for confirmed manufacturing defects. Our technical support team is available to assist with installation questions and post-installation diagnostic support throughout the warranty period.
Frequently Asked Questions: Seat Heater Switch Replacement
How do I find the right replacement seat heater switch for my vehicle?
Start with the vehicle make, model, year, and the OEM part number printed on the original switch housing. Cross-reference the OEM part number against aftermarket switch catalogs to find compatible replacements.
If the original switch is no longer available from the dealer or is priced unacceptably high, an aftermarket switch with the same electrical interface (same number of positions, same resistance values per position) can be used with a wiring adapter if the connector is different.
Lucky Driver Inc. can assist with switch cross-referencing for common vehicle applications.
What are the symptoms of a failing seat heater switch? Common symptoms of a failing seat heater switch include:
- no response when any heat level is selected (switch not making electrical contact)
- heater only works on one of the three levels (one contact position failed)
- indicator light not illuminating even when heater is operating (LED or bulb failure)
- switch position feels loose or does not click positively (mechanical wear)
- intermittent heating that correlates with switch movement (fretting corrosion on contacts).
A multimeter resistance test of the switch at each position quickly confirms whether the electrical function is correct.
Can a seat heater switch be cleaned instead of replaced?
Sometimes. If the failure is due to oxidized contacts or a contaminated contact surface, cleaning with an electrical contact cleaner spray and cycling the switch through its positions multiple times can restore function temporarily.
This is a viable repair for marginal contact issues, but for switches with worn mechanical components or damaged LED circuitry, replacement is the correct solution. The cost of a replacement switch is typically low enough that replacement is more cost-effective than extensive cleaning attempts.
Order Your Replacement Seat Heater Switch from Lucky Driver Inc.
Lucky Driver Inc. stocks seat heater switches in standard three-position and two-position configurations compatible with most aftermarket heated seat kit controllers. We also supply vehicle-specific replacement switches for common makes and models and can source custom switches for unusual applications.
Contact us with your vehicle details or original switch part number to confirm availability and pricing for your replacement switch requirement.
Seat Heater Switch Replacement: Final Checklist
A confirmed faulty seat heater switch is one of the least expensive and most straightforward repairs in the seat climate system. Replacing the seat heater switch with a correctly matched aftermarket unit restores heating function without requiring controller replacement or harness rework in the vast majority of cases.
Lucky Driver Inc. supplies seat heater switch replacements in round push-button, rocker, and rotary formats, with technical documentation to confirm compatibility before purchase. If the seat heater switch replacement does not restore heating function, the next diagnostic step is checking the control module output with a multimeter.
Further Reading
Related Guides
- Toyota RAV4 Seat Heater Switch Replacement Guide
- Toyota Seat Heater Switch Guide
- Universal Heated Seat Switch Guide
- Seat Warmer Switch Replacement
- Heated Seat Switch Types Guide
Our seat heater switches in stock covers rocker, rotary, and round designs.