Toyota rav4 seat heater switch is the focus of this guide. The seat heater switch on a Toyota RAV4 is one of the more frequently replaced comfort controls in the vehicle.
Whether the switch has stopped illuminating, lost a heating level, or failed completely, replacing it is a straightforward job that most owners can complete in under an hour.
This guide covers the switch specifications, compatible replacement options, and the installation process for RAV4 seat heater switches.
1. RAV4 Seat Heater Switch Overview
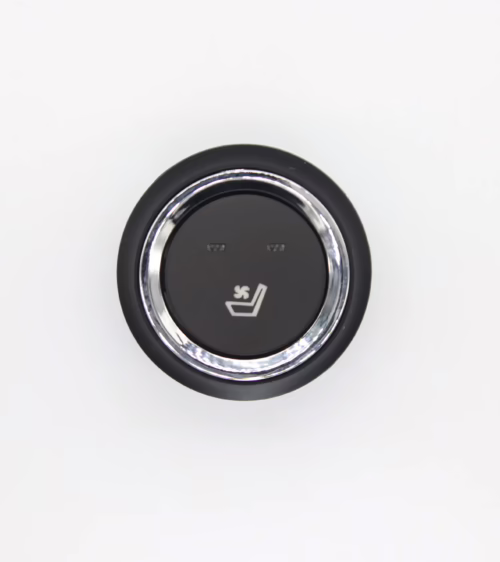
Toyota RAV4 models from 2013 onward use a round push-button style seat heater switch mounted in the center console or lower dashboard panel. The switch typically provides three heat levels indicated by indicator bars or LED rings that illuminate in sequence.
The driver and passenger switches are usually identical in form factor, which simplifies sourcing replacement parts. RAV4 models before 2013 may use a different rocker-style switch depending on trim level.
2. OEM Switch Specifications
The factory Toyota seat heater switch operates on 12V and uses a resistive divider circuit to communicate the selected heating level to the seat heater controller module. The switch housing uses Toyota connector family TS series with a 4-pin or 6-pin configuration depending on model year.
OEM replacement switches are available through Toyota dealers but are typically priced significantly higher than quality aftermarket alternatives.
3. Compatible Aftermarket Replacement Switches
High-quality aftermarket seat heater switches compatible with Toyota RAV4 are available at a fraction of OEM pricing.
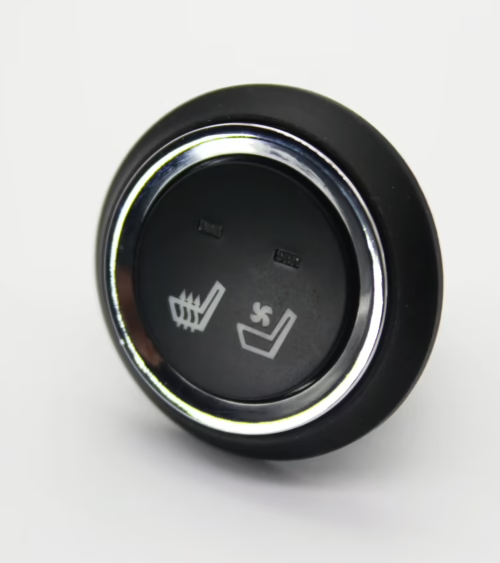
When selecting an aftermarket switch, confirm: the connector pinout matches your vehicle year, the switch diameter fits the existing panel cutout (most RAV4 switches use a 22mm or 28mm diameter), and the illumination color matches your interior (white and amber are most common in RAV4 interiors).
Lucky Driver Inc. manufactures round seat heater switches compatible with Toyota RAV4 seat heater systems, with matching illumination and connector options.
4. Step-by-Step Replacement Process
Replacing the RAV4 seat heater switch requires basic hand tools and takes approximately 20 to 30 minutes. Start by disconnecting the vehicle battery negative terminal to prevent electrical shorts. Use a plastic trim pry tool to remove the center console trim panel surrounding the switch.
The switch typically snaps into the panel from the front — press the release tabs on the sides and push the switch through from the back of the panel.
Unplug the connector by pressing the release tab and pulling straight back. Install the replacement switch by plugging in the connector first, then snapping the switch body into the panel cutout. Reinstall the trim panel, reconnect the battery, and test all heating levels before completing the job.
5. Diagnosing Before Replacing
Before ordering a replacement switch, confirm the switch is actually the failed component. Common misdiagnoses include: the heating pad element has failed (switch works but no heat), the thermistor has opened (heater cuts off immediately), or a blown fuse (no power to the switch).
To isolate the switch: with the ignition on, measure voltage at the switch connector — if 12V is present and the switch does not respond, the switch is likely faulty. If no voltage is present, check the seat heater fuse in the fuse box first.
6. Preventing Future Switch Failures
RAV4 seat heater switches most commonly fail due to moisture ingress from drink spills or cleaning. When cleaning the center console, avoid spraying liquid cleaner directly at the switch. If a spill occurs, turn off the seat heater immediately and allow the switch to dry completely before operating.
Switches with sealed housings (IP54 or higher) are more resistant to spill damage and are worth specifying when choosing aftermarket replacements.
Source Replacement Switches from Lucky Driver Inc.
Lucky Driver Inc. supplies round heated seat switches compatible with Toyota RAV4 and other Toyota models. Our switches are available in multiple connector configurations with matching illumination for OEM-quality appearance. Contact us or visit our shop for current product availability.
Anatomy of a Complete Seat Heater Kit
A complete aftermarket heated seat kit includes six core components working together as a system. The heating pads are the primary elements — one for the seat cushion and one for the seat backrest, each with resistance wire or carbon fiber elements embedded in a flexible carrier.
The thermistor is a temperature-sensing resistor bonded to the cushion pad that monitors surface temperature and signals the controller to cycle heating on and off.
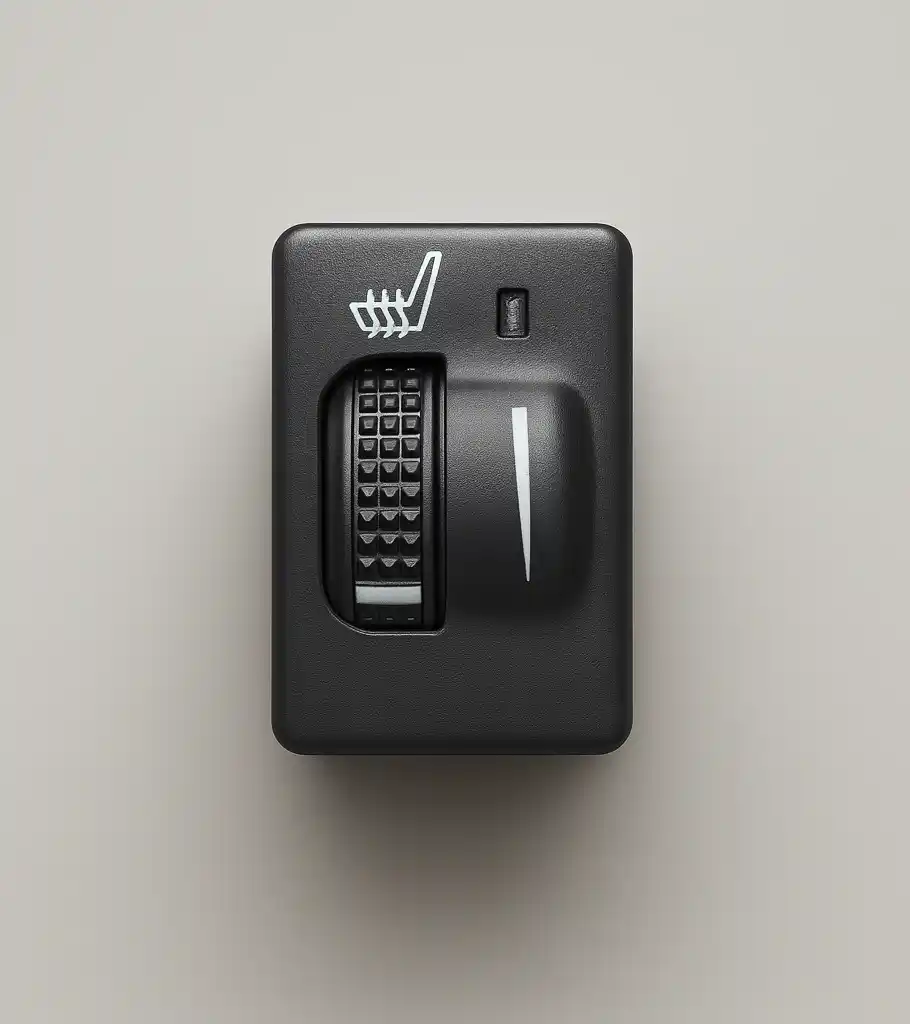
The controller module receives the thermistor signal and controls element power delivery based on the selected heat level setting. The rocker switch provides the user interface, typically with three positions:
- off
- medium heat
- high heat. The wiring harness connects all components to each other and to the vehicle fuse panel
Installation hardware such as cable ties, mounting clips, and foam tape completes the package.
How the Thermistor Controls Temperature Safety
The thermistor is the safety mechanism that prevents a heated seat from overheating during operation.
When the seat surface temperature rises to approximately 42 to 45 degrees C (108 to 113 degrees F) — the upper comfort limit for skin contact — the thermistor resistance changes enough for the controller to reduce or cut element power.
If the thermistor fails in an open-circuit condition (infinite resistance), a correctly designed controller detects the abnormal signal and shuts off heater power rather than allowing uncontrolled heating.
If the thermistor is damaged, repositioned, or poorly bonded to the element surface, it may misread the actual temperature, causing the seat to overheat or cycle incorrectly. Correct thermistor installation — bonded flat against the element surface with thermal contact — is critical to proper temperature control.
Selecting the Right Wattage for Your Climate
Heated seat kit wattage determines how aggressively the seat heats and how quickly it reaches comfort temperature. Standard kits offer two power levels — typically 35W/40W on medium and 45W/55W on high for a cushion pad.
In mild winter climates (temperatures rarely below 5 degrees C or 40 degrees F), standard wattage kits are sufficient.
In cold-climate regions with extended periods below -10 degrees C (14 degrees F), high-wattage kits (50W or more per zone) provide meaningfully faster heat-up.
Heavy vehicles with large seat volumes — trucks, SUVs with thick seat foam — benefit from higher wattage to compensate for the greater thermal mass. Lucky Driver Inc. offers heated seat kits in standard and high-output wattage configurations to match regional climate requirements and vehicle types.
Installation Time and Professional Service Requirements
A professional automotive technician familiar with heated seat kit installation can complete a single-seat installation in approximately 60 to 90 minutes. A front two-seat installation (driver and passenger) typically requires 2.5 to 3.5 hours.
The work requires: seat removal and reinstallation, trim cover removal and replacement without damage to the original seat material, element bonding to foam, wiring routing through the seat structure, and switch installation in the dashboard or center console.
Shops that install heated seat kits regularly develop efficient procedures and reduce installation times. First-time installers should allow additional time for familiarity with the specific vehicle model. Lucky Driver Inc. products include detailed installation instructions designed to support professional installer efficiency.
Frequently Asked Questions: Heated Seat Kits
How do I know if a heated seat kit is compatible with my vehicle?
Most aftermarket heated seat kits are universally compatible with 12V vehicle electrical systems and standard seat constructions.
Confirm that the heating pad dimensions are appropriate for your seat size. Most kits include pads sized for standard car and truck seat cushions.
Also verify that the switch can be mounted in a suitable location (center console, instrument panel, or A-pillar), and that the wiring harness length reaches from the fuse panel to the seat.
For vehicles with unusual seat constructions or seat-integrated airbags, consult with the installer before selecting a kit.
How much does professional heated seat kit installation cost?
Professional installation costs vary by region and installer, but typically range from 0 to 0 per seat, covering labor and any minor materials. A front two-seat installation (driver and passenger) is typically 0 to 0 in total installation cost.
The kit itself adds to 0 per seat depending on the product specification. Total installed cost for front heated seats from a professional installer is typically 0 to 0.
Can I get heated seats installed at a car dealership?
Some dealerships offer aftermarket heated seat installation through their accessory or service departments. Dealership installations may use OEM-grade components or supplier-branded kits approved by the vehicle manufacturer.
Aftermarket installation shops and car audio/accessory retailers also commonly offer heated seat installation.
Compare pricing and warranty terms between dealership and independent installer options before committing.
Shop Lucky Driver Inc. Heated Seat Kits
Lucky Driver Inc. heated seat kits are available for professional installer and wholesale distribution customers. Our kits include everything needed for a complete heated seat installation: heating pads for cushion and backrest, thermistor temperature control, three-level controller, illuminated rocker switch, wiring harness, and installation hardware.
Available in resistance wire and carbon fiber element configurations for different performance requirements and price points. Contact us for product specifications, compatibility information, and pricing for single-unit and wholesale orders.
Toyota RAV4 Seat Heater Switch: Sourcing and Final Verification
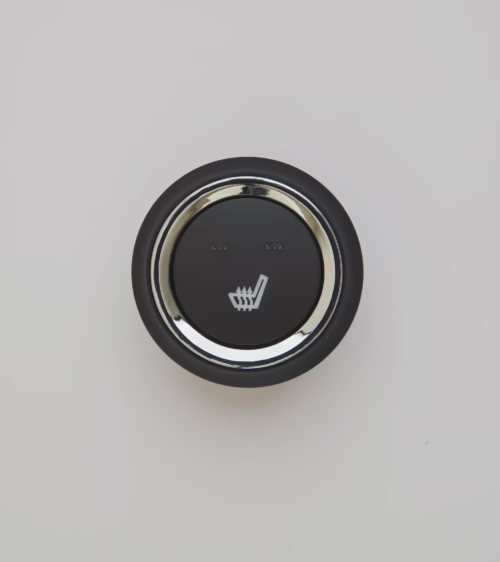
A correctly matched Toyota RAV4 seat heater switch replacement completes the repair in under 30 minutes without requiring dashboard disassembly beyond the switch panel cutout.
Verify your Toyota RAV4 seat heater switch purchase by confirming the connector pin count, the switch body dimensions, and the LED indicator voltage match the vehicle schematic before installation.
Lucky Driver Inc. stocks aftermarket Toyota RAV4 seat heater switch assemblies compatible with the most common model year configurations, with same-week shipping from North American inventory.
Further Reading
Related Guides
- Seat Heater Switch Replacement Guide
- Toyota Seat Heater Switch Guide
- Universal Heated Seat Switch Guide
- Seat Warmer Switch Replacement
- Heated Seat Switch Types Guide
Frequently Asked Questions About toyota rav4 seat heater switch
Procurement engineers evaluating toyota rav4 seat heater switch for OEM programs regularly ask the following questions. Answers cover specification, compatibility, certification, and sourcing for toyota rav4 seat heater switch requirements.
What voltage ratings are available for toyota rav4 seat heater switch?
Standard toyota rav4 seat heater switch configurations support 12 V DC for passenger vehicles and 24 V DC for commercial trucks. Selecting the correct toyota rav4 seat heater switch voltage at the design stage eliminates harness rework later.
Lucky Driver maintains toyota rav4 seat heater switch inventory in both ratings for same-week shipment.
Which certifications apply to toyota rav4 seat heater switch production?
toyota rav4 seat heater switch assemblies entering OEM programs typically require UL recognition, REACH compliance, and RoHS documentation. Lucky Driver holds certification records for every toyota rav4 seat heater switch variant and includes copies with sample and production shipments.
How is watt density specified for toyota rav4 seat heater switch?
Watt density for toyota rav4 seat heater switch is expressed in W/cm² and ranges from 0.04 to 0.12 depending on heat-up time requirements. Lower watt density toyota rav4 seat heater switch designs improve element longevity, while higher values suit cold-climate applications.
Lucky Driver engineering reviews toyota rav4 seat heater switch requirements and recommends watt density based on your seat platform.
What connector families are used with toyota rav4 seat heater switch?
toyota rav4 seat heater switch harnesses are available with Molex, TE Connectivity, and Delphi connector families. Matching the toyota rav4 seat heater switch connector to the vehicle harness reduces assembly time and eliminates adapter cables.
Specify your harness format when requesting a toyota rav4 seat heater switch quote from Lucky Driver.
What is the lead time for toyota rav4 seat heater switch samples?
toyota rav4 seat heater switch samples from Lucky Driver’s North American warehouse ship within 3 to 5 business days for standard configurations. Custom toyota rav4 seat heater switch variants with modified pad geometry or connector pinouts require 4 to 6 weeks.
Contact Lucky Driver to confirm toyota rav4 seat heater switch availability before submitting your engineering schedule.
For sourcing, see our OEM-style seat heater switches available for immediate delivery.