The seat warmer switch takes more mechanical wear than almost any other interior control — it is pressed thousands of times over the life of a vehicle. When it begins to fail, the symptoms are usually obvious:
- a heating level stops working
- the light goes out
- or the switch feels loose and unresponsive. Replacement is straightforward and inexpensive when you know what to look for
1. Difference Between Seat Warmer and Seat Heater Switches
The terms seat warmer and seat heater switch refer to the same component. Both control the electrical current to the heating element embedded in the seat cushion and backrest.
The only meaningful distinction is in how manufacturers label their products for different markets — the function and replacement process are identical. This guide applies equally to seat warmer switch and seat heater switch replacement.
2. Common Failure Symptoms
A seat warmer switch typically fails in one of three ways. First, internal contact wear: one or more heating levels stop responding to the press but others still work. Second, LED failure: the indicator light goes out partially or completely while the switch mechanically still functions.
Third, housing damage: the switch bezel cracks, the button becomes loose, or liquid ingress causes corrosion on the internal contacts. Any of these symptoms warrants replacement rather than repair.
3. Confirming the Switch is the Problem
If the seat produces no heat at all, check the fuse before assuming the switch has failed. The seat heater fuse is typically a 15 or 20 amp blade fuse in the interior or engine fuse box — consult your vehicle manual for location.
If the fuse is intact and there is 12V at the switch input but no output when pressed, the switch has failed.
If the switch produces correct output but the seat does not heat, the fault is in the heating element or wiring, not the switch.
4. Finding the Right Replacement Switch
To find the correct replacement seat warmer switch, note the following from your existing switch:
- the physical switch diameter or footprint (for panel fit)
- the connector type and number of pins
- the number of heat levels
- the illumination color. Many vehicle manufacturers use the same switch across multiple model lines
- so searching by switch specifications rather than just vehicle model often gives more results
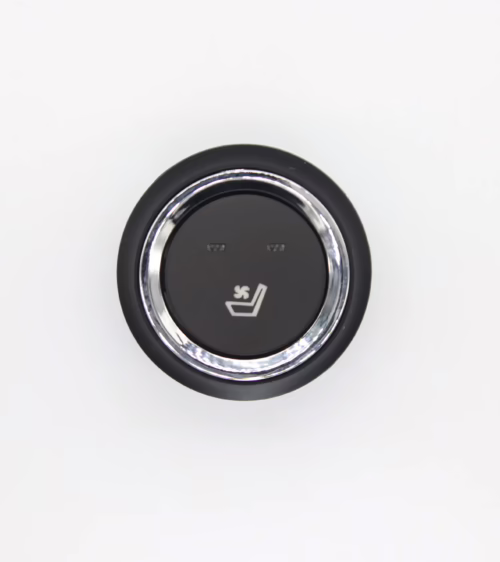
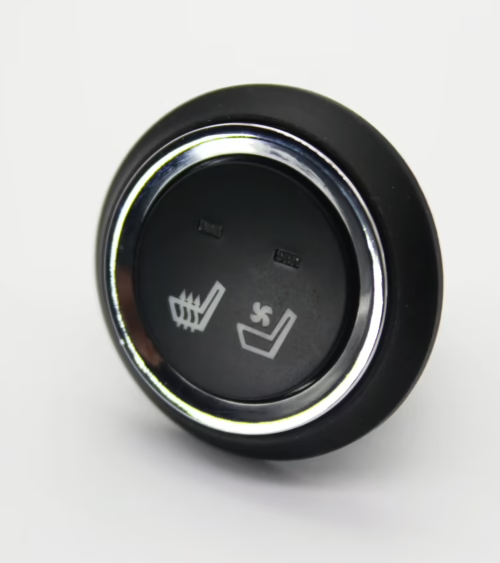
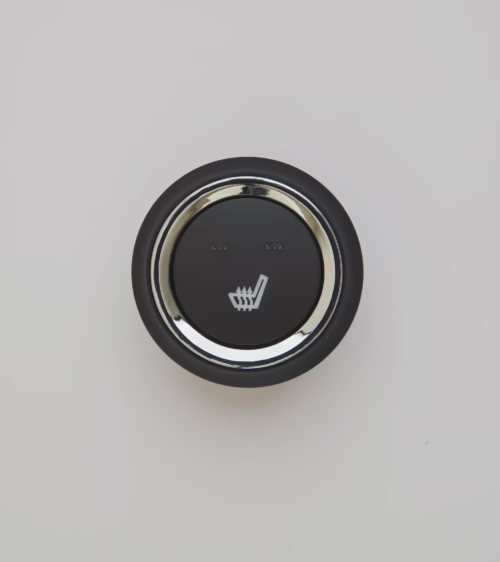
Lucky Driver Inc. manufactures seat warmer switches in round push-button format compatible with the most common aftermarket and OEM applications.
5. Replacement Process
Disconnect the vehicle battery before starting. Remove the trim panel surrounding the switch using plastic trim tools. Release the switch from the panel cutout by pressing the side retention tabs and pushing the switch out from behind, or by unscrewing the bezel ring depending on the switch type.
Unplug the connector. Install the new switch by connecting the wiring first, then securing the switch in the panel. Reinstall the trim, reconnect the battery, and test immediately.
6. Preventing Premature Switch Failure
Most seat warmer switch failures are caused by liquid exposure. Coffee, water, and cleaning sprays entering the switch housing corrode the internal contacts. Using a switch with an IP54 or higher sealed rating significantly extends service life in real-world use.
When cleaning the center console, apply cleaner to the cloth rather than spraying directly at the switch panel. Lucky Driver supplies sealed seat warmer switches rated for moisture resistance, suitable for vehicles where console spills are common.
Shop Seat Warmer Switches
Lucky Driver Inc. sells seat warmer switches for aftermarket replacement and heated seat kit installation. Round push-button format, available in multiple configurations. Contact us or browse our online shop for current inventory.
Thermal Runaway Prevention in Automotive Seat Heaters
Thermal runaway is a critical safety concern for any seat heating system. It occurs when the temperature control mechanism fails and the heating element operates continuously at full power, causing the seat surface temperature to rise beyond safe limits.
A properly designed seat heater system prevents thermal runaway through multiple independent protection layers.
The first layer is the thermistor feedback control that cycles element power to maintain the target temperature. The second layer is a thermal cutoff (TCO) device — a one-time fuse that irreversibly opens the circuit if the temperature exceeds a preset limit of approximately 70 to 85 degrees C.
The third layer is the circuit fuse that protects against electrical faults. These three protection layers must be present and correctly specified in any automotive-grade seat heating product. Products lacking a physical TCO rely entirely on electronic control to prevent overheating, which is insufficient for automotive safety requirements.
Installation Verification and System Commissioning
After installing a heated seat kit, a systematic commissioning procedure verifies that all components are correctly connected and functioning before the vehicle is returned to the customer. The commissioning procedure should include:
- power-on test with all switches in the off position to confirm no current flows
- function test at each heat level on each seat zone to confirm the correct indicator sequence
- surface temperature check after 5 minutes at high heat to confirm the thermistor is correctly positioned and controlling temperature
- harness routing inspection with seat moved through its full adjustment range to confirm no wire strain or pinching
- connector security check to confirm all connections are fully locked.
Documenting the commissioning results provides a baseline reference if the customer reports a concern after taking delivery.
Carbon Fiber Element Resistance Measurement as Quality Check
Measuring the resistance of a carbon fiber seat heating element before and after installation is a practical quality check. Before installation: measure the element resistance across the supply terminals — it should match the specification within 10 percent. Significantly out-of-spec resistance suggests a manufacturing defect.
After installation and before connecting to the controller: measure resistance again to confirm the installation process did not damage the element.
Folding, pinching, or cutting through the element during installation lowers resistance and can eventually cause a short circuit. During troubleshooting:
- an element with open circuit (infinite resistance) has a broken fiber network
- short circuit (near-zero resistance) indicates insulation damage. Lucky Driver Inc. includes element resistance specifications in the product documentation to support installation quality checks
Long-Term Warranty and Service Parts Availability
Vehicle owners expect seat heater components to outlast the warranty period and be serviceable when repairs are eventually needed. A seat heater supplier who discontinues components after a few years forces owners to use incompatible parts or go without heat.
Supplier longevity and service parts commitment are legitimate selection criteria, particularly for OEM program applications where the vehicle model may be produced for 6 to 8 years and parts must be available through the post-production service period of 10 to 15 additional years.
Lucky Driver Inc. maintains service parts availability for all previously supplied seat heater product lines and provides advance notice to customers when products approach end-of-life. Our aftermarket service parts catalog supports vehicles across multiple model years from current production to legacy platforms.
Frequently Asked Questions: Seat Warmer Switch Replacement
How do I test if my seat warmer switch is the cause of a no-heat fault?
Disconnect the switch connector and use a multimeter to measure resistance between the supply and output terminals at each switch position.
The resistance values should match the specification for your controller (typically 0 ohms at high, 250 to 500 ohms at medium, and open circuit at off for a three-position resistive divider switch).
If the measured values do not match the specification, the switch has failed and should be replaced. If the switch measures correctly but the heater still does not work, the fault is in the controller, element, or wiring rather than the switch.
Is it safe to drive with a broken seat warmer switch?
A broken seat warmer switch that prevents the heater from activating is safe to drive with — the heater simply does not work.
However, a switch that is stuck in an on position (contact welded closed) means the heater operates continuously without user control.
Extended uncontrolled operation at full power can cause the seat surface to overheat if the thermistor or thermal cutoff also fails. If your seat warmer operates continuously and cannot be turned off by the switch, disconnect the fuse for the seat heater circuit until the switch is replaced.
How long does a seat warmer switch replacement take?
Switch replacement typically takes 15 to 30 minutes for an experienced installer. The work involves removing the switch from its mounting location (center console, instrument panel, or door panel), disconnecting the connector, installing the new switch, and testing.
No seat removal is required for a switch-only replacement. The switch mounting location determines the difficulty — some locations require removing trim panels to access the switch from behind.
Order a Replacement Seat Warmer Switch from Lucky Driver Inc.
Lucky Driver Inc. supplies seat warmer switch replacements for aftermarket and universal heated seat kit applications. Our switches are tested for electrical conformance and mechanical durability before shipment, with a 12-month warranty against manufacturing defects.
Contact us with your heated seat kit model or switch specifications to confirm compatibility and receive pricing for your replacement switch requirement.
Seat Warmer Switch Replacement: Summary and Parts Advice
A failing seat warmer switch produces recognizable symptoms — intermittent heating, no response at one heat level, or a permanently lit indicator — that make it straightforward to confirm the switch as the root cause before purchasing a replacement.
Replacing a seat warmer switch with the correct aftermarket part restores full heating function in most cases without requiring any tools beyond a trim removal pick and a wiring connector clip tool.
Lucky Driver Inc. stocks seat warmer switch replacements compatible with the most common aftermarket and OEM seat heater configurations, with same-week fulfillment from North American stock.
Further Reading
Related Guides
- Toyota RAV4 Seat Heater Switch Replacement Guide
- Seat Heater Switch Replacement Guide
- Toyota Seat Heater Switch Guide
- Universal Heated Seat Switch Guide
- Heated Seat Switch Types Guide
You can find compatible parts in our replacement seat heater switches.