A heated seat element kit is one of the most cost-effective ways to add factory-style seat heating to a vehicle that never had it, or to restore heat to a seat whose original element has failed.
Seat upholsterers, aftermarket distributors, and seat manufacturers all buy these kits, but kits that look the same on a product page can be built very differently inside.
This guide covers how the elements are made, what the electrical specifications mean, how temperature is controlled, and what to check before you buy or install a kit, so you can choose one that performs reliably and lasts as long as the seat.
1. What a Heated Seat Element Kit Includes
A complete kit usually contains four groups of parts. Check that every item is included before you compare prices, because a cheap kit that is missing parts often costs more once you buy them separately.
- Heating elements: Usually two pads per seat, one for the cushion (bottom) and one for the backrest. Some economy kits supply only a cushion pad.
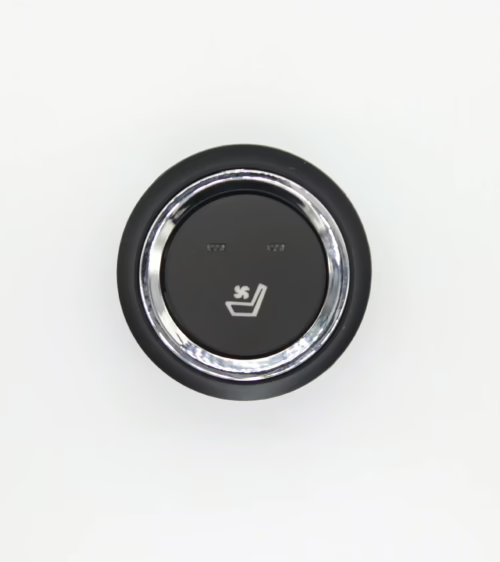
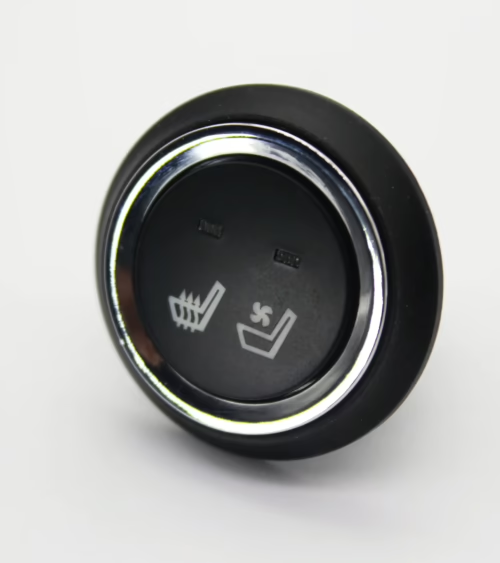
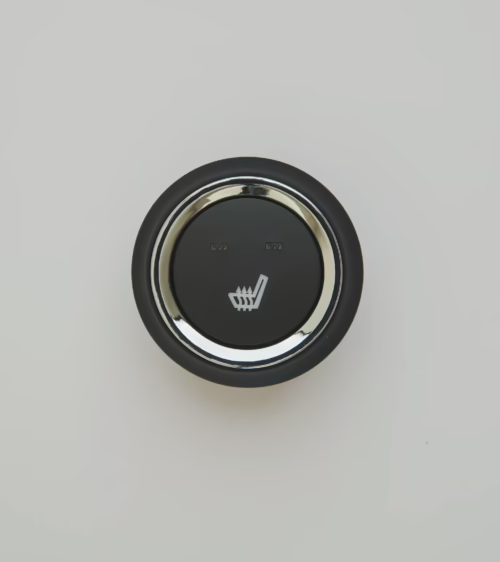
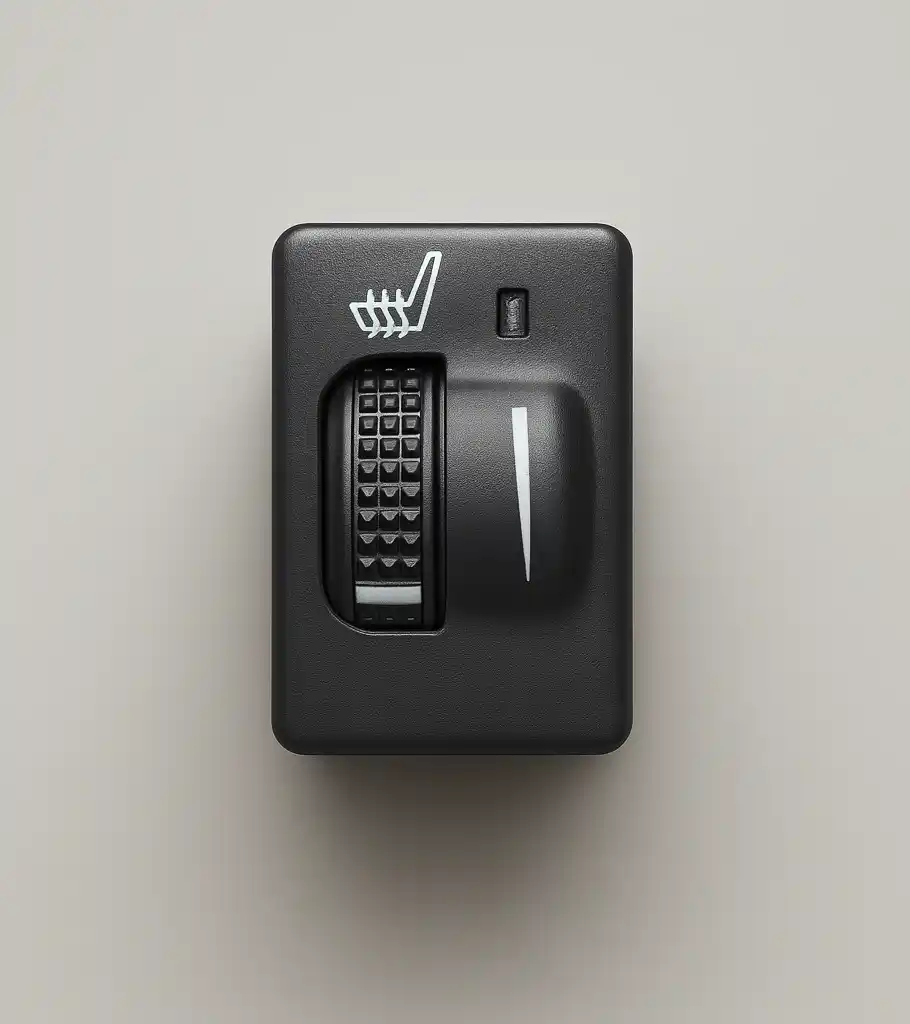
- Control switch: A rocker, push-button, or rotary switch that sets the heat level, typically Off/Low/High or a multi-stage setting.
- Wiring harness: Pre-terminated leads that connect the pads to the switch, plus a power feed with an inline fuse and, in better kits, a relay.
- Mounting hardware: Adhesive backing on the pads, hog rings or zip ties, and sometimes a hole saw template for the switch.
Kits are sold as single-seat or two-seat versions. A two-seat kit usually comes with a dual harness that runs both seats from one fused supply, which makes the wiring simpler but means the supply circuit has to handle the combined current.
2. Carbon Fiber vs. Resistance Wire Elements
The heating element is the core of the kit, and there are two main constructions. Both work on Joule heating: current flowing through a resistive conductor turns electrical energy into heat. What differs is the conductor and how it is laid out.
Carbon fiber elements use bundles of carbon filament stitched or laminated onto a non-woven carrier fabric. Because heat comes from many parallel strands spread across the pad, the surface temperature tends to be even.
Carbon fiber resists fatigue from repeated flexing, which matters in seat cushions that compress thousands of times a year. Some carbon fiber pads can be trimmed in marked zones without breaking the circuit. Follow the manufacturer’s cut lines exactly.
Resistance wire elements use a thin alloy wire, typically copper-nickel or a similar alloy, routed in a serpentine pattern and bonded to a felt or fabric carrier. This is the construction most OEM seat programs have used for decades.
It is cheap to make, its resistance is easy to tune by changing wire length and gauge, and it holds tight tolerances in volume production. The trade-off is that the heat follows the wire path, and a poorly designed pattern can create warm lines and cooler gaps.
Wire elements must never be cut, because cutting opens the circuit.
For most aftermarket installs, either type works well when it is well made. Seat builders who want even heat and flex durability often choose carbon fiber. High-volume OEM programs often stay with wire for cost and consistency.
3. Electrical Specifications That Matter
Every automotive heated seat element kit is designed for the vehicle’s 12V system. Kits for heavy trucks, buses, or specialty vehicles may be built for 24V, and you can’t swap one for the other. Running a 12V pad on 24V roughly quadruples its power and will overheat it.
The specifications to check are:
- Power per seat: Most kits draw about 35 to 50 watts per seat on high, shared between the cushion and backrest pads. Higher wattage heats up faster but loads the electrical system more.
- Current draw: At 12V, a 45W seat draws about 3.75A. A two-seat kit on high can draw 7 to 10A in total, so the supply circuit and fuse must be sized for it.
- Element resistance: Measured across the pad terminals with a multimeter. It should match the published figure within the stated tolerance, and it is the quickest way to test incoming stock or diagnose a failed pad.
- Fuse rating: Typically 10A to 20A depending on the number of seats. The fuse protects the wiring, so it must match the wire gauge in the harness.
Ask the supplier for a spec sheet that lists these values. A kit sold without published resistance and wattage figures is hard to quality-check and hard to support after the sale.
4. Temperature Control: Thermostats, Thermistors, and Modules
A heating pad without temperature regulation would keep getting hotter until it reached thermal equilibrium, which could be uncomfortable or unsafe. Kits control temperature in one of three ways.
- Bimetal thermostat: A small disc thermostat bonded to the pad opens the circuit when it reaches a set temperature and closes it again as it cools. It is simple and robust. The temperature cycles around the set point instead of holding steady.
- NTC thermistor with an electronic module: A thermistor in the pad reports its temperature to a control module, which switches power to hold a target temperature for each heat level. This is how most OEM systems work. It gives steadier temperature and makes multi-stage settings possible.
- PWM control: Many electronic modules pulse power to the element with pulse-width modulation instead of simply switching it on and off. This gives finer control of heat output and reduces the stress of inrush current on the element.
Entry-level kits usually pair a bimetal thermostat with a two-position switch. Mid-range and OEM-grade kits use a thermistor and control module.
If the kit will go into seats sold with a warranty, an electronic module with thermistor feedback is the better choice, because it limits peak temperature regardless of how long the heater stays on.
5. Choosing the Right Switch and Harness
The switch is the part customers touch every day, so it affects both how the install looks and how the product is perceived.
Common options are round rocker switches that fit a standard panel hole, rectangular switches that look like OEM controls, and multi-level push-button or rotary controls that pair with electronic modules. Check the switch’s current rating against the kit’s load, and confirm that its connector matches the harness.
Mismatched connectors are a common cause of field failures. Lucky Driver offers replacement seat heater switches in several styles and heat-level configurations for installers who need to match a particular dash or console.
For the harness, check the following:
- Relay-switched power: The relay carries the heater current, and the switch only carries the small coil current. This protects the switch contacts and keeps heavy current out of the dash.
- Ignition-switched trigger: The heater should turn off when the ignition is off, so it can’t drain the battery overnight.
- Wire gauge: Supply leads are typically 16 AWG or heavier for two-seat kits. Thin wire will drop voltage and run warm.
- Sealed, keyed connectors: Connectors under the seat face moisture, debris, and seat track movement. Keyed connectors also prevent reversed connections during assembly.
6. Installation Best Practices
Installing a heated seat element kit means taking the upholstery off the seat. A careful install takes one to three hours per seat depending on how the seat is built. These practices separate a lasting install from one that comes back as a warranty claim:
- Place the pad on the foam, under the cover: Pads go between the foam cushion and the seat cover, centered on the seating area and clear of side bolsters that flex heavily.
- Avoid sharp folds: Never crease a wire element. Lay pads flat around seams and hog-ring channels, and only trim carbon fiber pads in their marked zones.
- Protect the thermostat or thermistor: Position the sensor where it reads the true seat temperature, not directly over a hog-ring trench or a foam void.
- Route wiring away from moving parts: Secure leads clear of seat tracks, recliner mechanisms, and power-seat motors. Leave enough slack for full seat travel.
- Respect occupant sensing systems:
- Many passenger seats contain an occupant classification sensor or weight mat that controls the airbag under FMVSS 208. Installing a pad over or near these sensors can affect airbag behavior. Follow the vehicle maker’s guidance
- do not modify seats with integrated occupant sensing unless the kit is approved for that application.
- Test before reassembly: Measure element resistance, confirm the heat levels work, and check current draw before the cover goes back on.
7. Quality and Compliance Checks for Buyers
For distributors and seat manufacturers buying in volume, the questions to ask are about consistency and documentation as much as price. Before committing to a supplier, confirm the following:
- Resistance tolerance: Ask for the production tolerance on element resistance and whether 100% of elements are tested before shipment.
- Flex and durability testing: Seat heaters should pass repeated-load and flex cycle testing that simulates years of entry and exit.
- Insulation and materials: Insulation must withstand under-seat temperatures, and carrier materials should meet automotive interior flammability requirements such as FMVSS 302.
- Over-temperature protection: Confirm the maximum surface temperature the control system allows, and how the kit behaves if a sensor fails.
- Traceability and support: Batch labeling, available spare parts such as replacement pads and switches, and responsive technical support all reduce your after-sale costs.
A supplier that can provide test reports, wiring diagrams, and spare components will save far more in returns and support time than a lower unit price would.
Frequently Asked Questions
Can a heated seat element kit be installed in leather seats?
Yes. Heated seat element kits work with leather, vinyl, and cloth covers. Leather transfers heat well but may take slightly longer to feel warm because it is denser than cloth.
The pad is installed under the cover, so the leather itself is not modified.
How much power does a heated seat kit use, and can it drain the battery?
A typical seat draws 35 to 50 watts on high, or roughly 3 to 4 amps at 12V.
When the kit is wired through a relay triggered by an ignition-switched source, it turns off with the vehicle and cannot drain the battery while parked. Wiring the kit directly to constant battery power is what causes battery drain.
Is a carbon fiber element better than a wire element?
Neither is better for every use. Carbon fiber heats more evenly, tolerates flexing well, and some pads can be trimmed in marked zones. Resistance wire is proven in OEM production, costs less, and holds tight resistance tolerances.
Choose based on the seat design, how much the seat flexes, and your cost targets.
Source Heated Seat Element Kits from a North American Supplier
Choosing the right kit comes down to element construction, correct electrical specifications, reliable temperature control, and a harness built for real vehicle conditions. If you are ready to compare options, you can browse our full range of seat heating products, including heating pads, switches, control modules, and complete kits.
Lucky Driver Inc. supplies seat heating pads, seat heater switches, control modules, and seat ventilation systems to OEM seat manufacturers and aftermarket distributors across North America. Contact Lucky Driver Inc. today to discuss specifications, volume pricing, or a custom heated seat element kit for your next program.
Related Articles
- Heated Seat Kit vs Heated Seat Cover: 6 Key Differences
- Two Seat Heated Seat Kit: 6 Things to Check Before Buying
- Heated Seat Pad Kit Installation: 7 Steps to Get It Right
- Universal Heated Seat Kit 12V: 7 Things to Check in 2026
- Carbon Fiber Heated Seat Kit: 7 Facts Buyers Should Know
Frequently Asked Questions About heated seat element kit
Procurement engineers evaluating heated seat element kit for OEM programs regularly ask the following questions. Answers cover specification, compatibility, certification, and sourcing for heated seat element kit requirements.
What voltage ratings are available for heated seat element kit?
Standard heated seat element kit configurations support 12 V DC for passenger vehicles and 24 V DC for commercial trucks. Selecting the correct heated seat element kit voltage at the design stage eliminates harness rework later. Lucky Driver maintains heated seat element kit inventory in both ratings for same-week shipment.
Which certifications apply to heated seat element kit production?
Heated seat element kit assemblies entering OEM programs typically require UL recognition, REACH compliance, and RoHS documentation. Lucky Driver holds certification records for every heated seat element kit variant and includes copies with sample and production shipments.
How is watt density specified for heated seat element kit?
Watt density for heated seat element kit is expressed in W/cm² and ranges from 0.04 to 0.12 depending on heat-up time requirements. Lower watt density heated seat element kit designs improve element longevity, while higher values suit cold-climate applications.
Lucky Driver engineering reviews heated seat element kit requirements and recommends watt density based on your seat platform.
What connector families are used with heated seat element kit?
Heated seat element kit harnesses are available with Molex, TE Connectivity, and Delphi connector families. Matching the heated seat element kit connector to the vehicle harness reduces assembly time and eliminates adapter cables. Specify your harness format when requesting a heated seat element kit quote from Lucky Driver.
What is the lead time for heated seat element kit samples?
Heated seat element kit samples from Lucky Driver’s North American warehouse ship within 3 to 5 business days for standard configurations. Custom heated seat element kit variants with modified pad geometry or connector pinouts require 4 to 6 weeks.
Contact Lucky Driver to confirm heated seat element kit availability before submitting your engineering schedule.