A heated seat pad kit installation looks simple on paper:
- open the seat
- lay in two heating elements
- wire a switch
- close it back up. In practice
- the difference between a seat that heats evenly for ten years and one that develops a cold spot or a broken wire in the first winter comes down to a handful of technical details. This guide walks through the full process in seven steps
- written for upholstery shops
- aftermarket installers
- seat manufacturers who need repeatable
- warranty-safe results rather than a one-off weekend project.
1. Confirm Kit Compatibility and Electrical Capacity
Before touching the seat, verify three things:
- the pad dimensions
- the electrical load
- the vehicle’s available circuits. A typical two-pad kit (one cushion pad
- one backrest pad) draws between 3 and 4 amps per seat at 12 volts
- roughly 40 to 50 watts total. Carbon fiber elements tend to sit at the lower end of that range
- while alloy wire elements run slightly higher. Two seats on one circuit therefore need a 10-amp fuse at minimum
- the wire gauge feeding them should be 16 AWG or heavier.
Measure the seat cushion and backrest foam, not the trim cover. Pads that extend past the foam edge will fold when the cover is pulled tight, and a folded heating element is the most common cause of premature wire fatigue.
Leave at least 25 mm of clearance from any seam line, side bolster edge, or airbag deployment path. If the seat includes an occupant classification sensor or a side airbag module, check the kit documentation for clearance requirements before proceeding, because the pad must not interfere with either system.
Finally, identify a switched 12-volt source. The heater must only draw power when the ignition is on, or the pad will drain the battery overnight. The accessory circuit at the fuse box or a dedicated fused tap are the two standard choices.
2. Remove the Seat and Disconnect Power Safely
Disconnect the vehicle battery and wait at least ten minutes before unplugging any seat connectors. Seats with side airbags or seat-position sensors store a reserve charge in the airbag control module, and unplugging a live airbag connector can log a fault code or, in rare cases, trigger a deployment.
The NHTSA air bag guidance is clear that these systems should be treated as armed until the module has fully discharged.
Remove the four seat track bolts, tilt the seat back, and disconnect every connector at the base. Label each one with tape.
Lift the seat out with the backrest reclined to protect the door trim, and set it on a padded bench upside down so the hog rings along the cushion perimeter are accessible.
Photograph the connector layout and hog ring positions before removing anything. Reassembly goes faster, and if a warranty claim ever comes back, you have documentation of the original condition.
3. Open the Trim Cover Without Damaging It
The trim cover is attached to the foam and frame with hog rings, J-clips, or plastic listing channels, depending on the manufacturer. Hog rings are cut with side cutters and replaced on reassembly. J-clips and listing channels simply unhook.
Work from the outer perimeter inward and avoid pulling the cover against its own stitching, which can open a seam that is difficult to repair in the field.
Peel the cover back only as far as needed to expose the top surface of the cushion foam and the front face of the backrest foam.
On seats with a center insert sewn into trenches in the foam, you will see listing wires or Velcro strips holding the insert down.
Note their position, because the heating pad must be routed so that these listing wires can pass through the pad’s slots or around its edges when the cover is reattached. Pulling a listing wire across an uncut pad surface will crush the element.
If the foam already carries a factory heating element, remove it completely rather than stacking the new pad on top. Two layers of element create a hot spot and will trip most thermal cutoffs.
4. Position and Secure the Heating Pads
Lay the cushion pad on the foam with the thermostat or thermistor facing up, toward the occupant, and the lead wire exiting toward the rear of the seat where it can follow the existing harness path.
The thermostat should sit in the center of the seating area, roughly where the occupant’s thigh contacts the cushion, so it reads the actual working temperature rather than an edge reading.
Most pads ship with a peel-and-stick adhesive backing. Press from the center outward to avoid trapped air, which would create an insulated pocket and uneven heating. If the foam surface is contoured, cut relief slits into the pad’s non-heated border only, never through the element path.
Quality pads mark the no-cut zone with a printed boundary.
Repeat for the backrest pad, aligning it with the lumbar region and keeping it clear of any side airbag tear seam. Check that the pads cannot shift when the cover is pulled tight. A few strips of upholstery spray adhesive at the corners add insurance on heavily bolstered seats.
- Keep the thermostat facing the occupant, not the foam.
- Route lead wires along existing harness paths, never across a hinge point.
- Leave a loose service loop of 50 to 80 mm near the connector so seat movement does not strain the solder joint.
- Never fold, staple, or hog-ring through the heated area.
5. Route the Harness and Mount the Switch
Run the pad leads down through the seat frame to the seat base, following the path of the factory power seat or airbag harness.
Secure every 150 mm with cable ties, and add split loom or spiral wrap where the wire passes a sharp frame edge or the seat track mechanism.
On power seats, cycle the seat through its full forward, back, up, and down range before closing anything to confirm the harness does not snag or stretch.
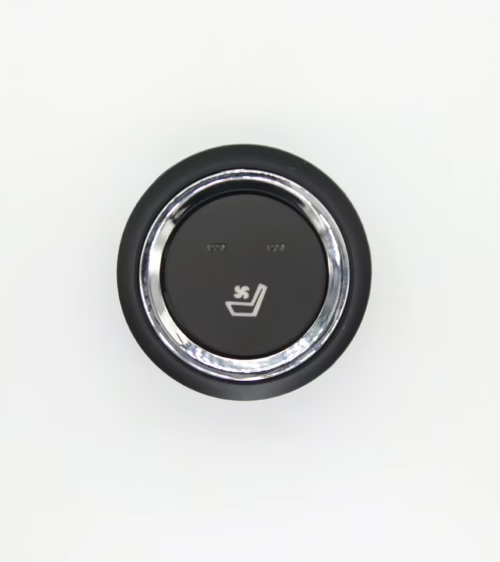
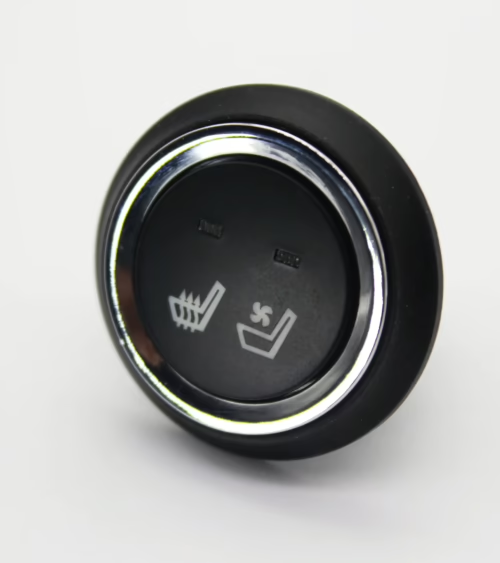
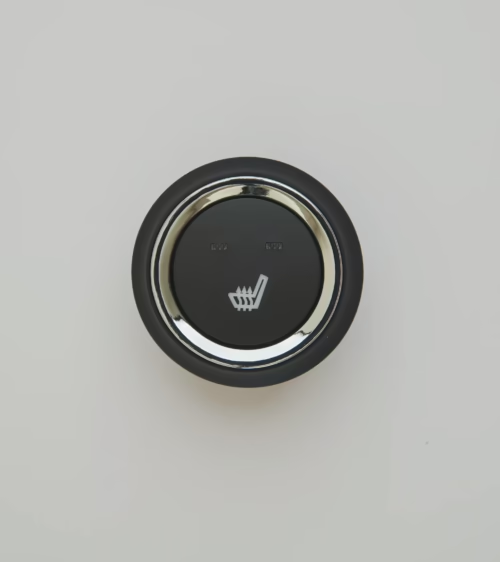
Switch placement matters for both ergonomics and installation time. The seat side shield, center console, and dash blank are the three common locations.
If the vehicle has a factory blank in the console switch bank, a matching rocker from our seat heater switch catalog can often drop in without cutting plastic. Otherwise, drill the mounting hole to the switch body dimension, deburr it, and test-fit before final wiring.
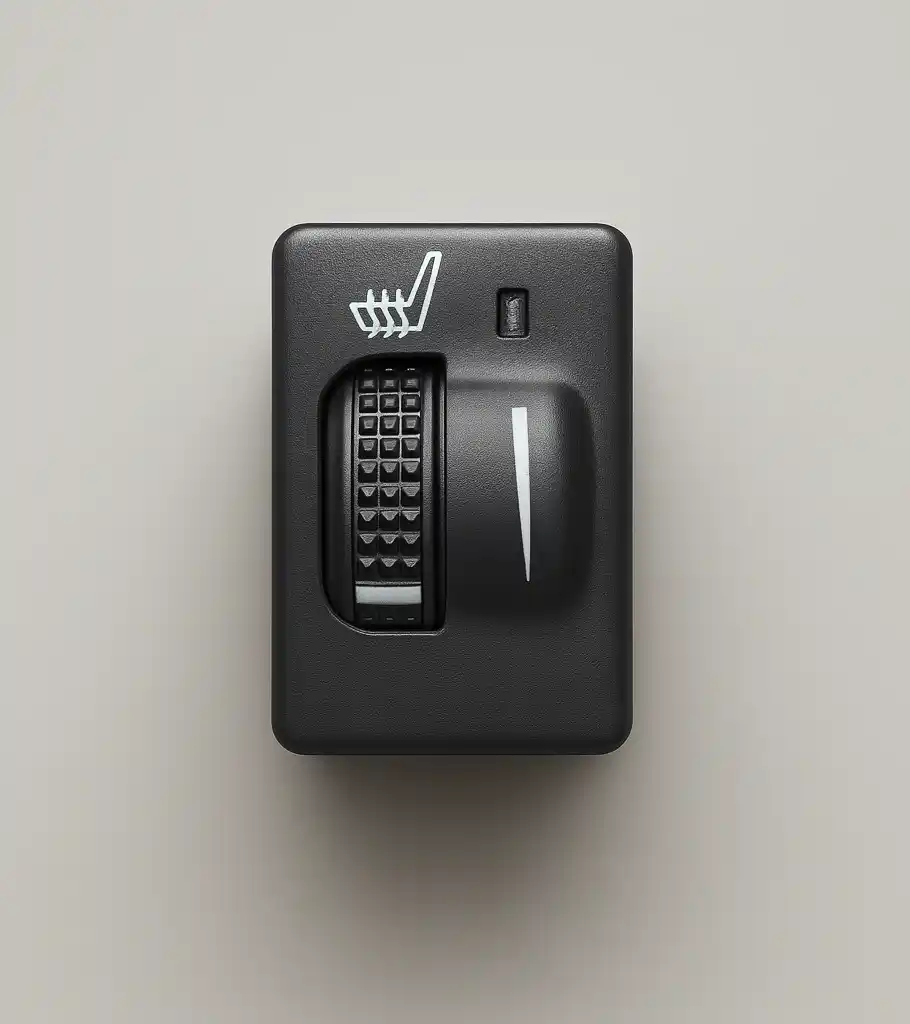
Two-stage switches with high and low settings use a relay or a resistor network inside the switch to reduce current on the low setting. Three-stage and variable switches rely on a pulse-width-modulation controller.
Match the switch’s rated current to the combined pad draw with headroom to spare; a 10-amp switch on a 4-amp seat is appropriate, while a 5-amp switch is marginal.
6. Wire the Circuit and Install Fuse Protection
A standard heated seat circuit has five connections:
- switched 12-volt supply
- ground
- switch output to pads
- pad return to ground
- an illumination feed for the switch backlight if the switch has one. Use crimped and heat-shrunk butt connectors or sealed OEM-style terminals rather than twist-and-tape splices. Vibration and seasonal humidity swings will loosen a taped joint within a few years.
Place the inline fuse as close to the power source as possible. Many kits bundle a fuse holder in the harness, but if the kit does not, add one rated at 10 amps for a two-seat installation.
The fuse protects the vehicle wiring, not the pads themselves, which rely on their internal thermostats for overtemperature protection.
Ground to bare chassis metal with a ring terminal and a star washer, not to a painted bracket or a seat frame that is isolated by rubber bushings. A poor ground produces a slow, weak heat response that is often misdiagnosed as a defective pad.
The heating element itself works on the principle of Joule heating, where current passing through the resistance wire converts electrical energy directly into heat.
That means any extra resistance in the circuit, whether a corroded connector or an undersized wire, steals power from the pad and dissipates it as heat somewhere you do not want it.
7. Test, Reassemble, and Verify
Reconnect the battery and test before closing the trim cover. With the switch on high, the pad surface should feel warm within 60 to 90 seconds and reach a steady temperature of approximately 38 to 42 degrees Celsius within five minutes.
Use an infrared thermometer across the full pad area to check for cold zones, which indicate a broken element or a folded section. Verify the thermostat cycles off at its set point and the low setting produces a measurably cooler result.
Confirm the heater shuts off completely with the ignition off and that the switch illumination follows the vehicle’s dash lighting. Then disconnect the battery again, reinstall the trim cover with new hog rings, and reinstall the seat with the track bolts torqued to the manufacturer’s specification, typically 35 to 45 Nm.
Reconnect every labeled connector, reconnect the battery, and clear any airbag or seat-sensor fault codes with a scan tool.
Final verification includes a road test with the heater running on each setting and a check that no fault lights remain. For fleet or production work, a short written record of pad part number, switch type, fuse rating, and test temperatures is good practice.
Common Installation Mistakes to Avoid
Most field failures trace back to a few repeatable errors. Pads stapled or hog-ringed through the element will fail at the puncture point within months. Thermostats installed face-down against the foam read low and let the pad overheat. Harnesses run across the seat recline hinge fatigue and break.
Unswitched power drains batteries. Mismatched switch current ratings cause contact burning on the high setting.
Every one of these is preventable with the inspection points listed above. If you are specifying kits for repeat installations or a production line, choose pads with printed no-cut boundaries, pre-terminated connectors, and a thermostat located centrally in the heated area.
You can browse our full range of seat heating products to compare pad formats, switch styles, and control modules side by side.
Frequently Asked Questions
Can a heated seat pad kit be installed in a leather seat?
Yes. Leather conducts heat more readily than cloth, so occupants often feel the warmth faster. The installation procedure is identical, but take extra care when releasing hog rings near the leather edge, since leather does not tolerate seam repair as well as fabric does.
How long does a heated seat pad kit installation take?
An experienced installer completes a two-seat installation in two to three hours. The first installation on an unfamiliar seat design typically takes longer because of trim cover removal and harness routing. Seats with side airbags, power adjustment, or occupant sensors add time for safe disconnection and fault code clearing.
Do heated seat pads interfere with seat airbags or occupant sensors?
They should not when installed correctly. Keep the pad clear of airbag tear seams and position it above, not between, any occupant classification mat. Pads designed for OEM applications are built thin and flexible specifically so they do not alter the pressure signature that these sensors rely on.
Partner With Lucky Driver Inc. for Seat Heating Components
Lucky Driver Inc. supplies seat heating pads, seat heater switches, control modules, and seat ventilation systems to OEM seat manufacturers and aftermarket distributors across North America.
Our pads are manufactured with vertically integrated electro-thermal fabric production, which means consistent element spacing, reliable thermostats, and pre-terminated harnesses that shorten installation time and reduce field failures.
Whether you need a small batch for a custom upholstery project or production volumes with custom pad geometry and connector specifications, contact Lucky Driver Inc. to discuss your application and request samples.
Related Articles
- Universal Heated Seat Kit 12V: 7 Things to Check in 2026
- Carbon Fiber Heated Seat Kit: 7 Facts Buyers Should Know
- Heated Seat Kit With Switch: 7 Things to Know in 2026
- Seat Heater Kit for Cars: 7 Things to Check Before You Buy
- Seat Climate Control Module Supplier: 7 Specs for 2026
Frequently Asked Questions About heated seat pad kit installation
Procurement engineers evaluating heated seat pad kit installation for OEM programs regularly ask the following questions. Answers cover specification, compatibility, certification, and sourcing for heated seat pad kit installation requirements.
What voltage ratings are available for heated seat pad kit installation?
Standard heated seat pad kit installation configurations support 12 V DC for passenger vehicles and 24 V DC for commercial trucks. Selecting the correct heated seat pad kit installation voltage at the design stage eliminates harness rework later.
Lucky Driver maintains heated seat pad kit installation inventory in both ratings for same-week shipment.
Which certifications apply to heated seat pad kit installation production?
heated seat pad kit installation assemblies entering OEM programs typically require UL recognition, REACH compliance, and RoHS documentation. Lucky Driver holds certification records for every heated seat pad kit installation variant and includes copies with sample and production shipments.
How is watt density specified for heated seat pad kit installation?
Watt density for heated seat pad kit installation is expressed in W/cm² and ranges from 0.04 to 0.12 depending on heat-up time requirements. Lower watt density heated seat pad kit installation designs improve element longevity, while higher values suit cold-climate applications.
Lucky Driver engineering reviews heated seat pad kit installation requirements and recommends watt density based on your seat platform.
What connector families are used with heated seat pad kit installation?
heated seat pad kit installation harnesses are available with Molex, TE Connectivity, and Delphi connector families. Matching the heated seat pad kit installation connector to the vehicle harness reduces assembly time and eliminates adapter cables.
Specify your harness format when requesting a heated seat pad kit installation quote from Lucky Driver.
What is the lead time for heated seat pad kit installation samples?
heated seat pad kit installation samples from Lucky Driver’s North American warehouse ship within 3 to 5 business days for standard configurations. Custom heated seat pad kit installation variants with modified pad geometry or connector pinouts require 4 to 6 weeks.
Contact Lucky Driver to confirm heated seat pad kit installation availability before submitting your engineering schedule.