The seat heater kit wiring harness decides whether a heated seat installation runs for years or turns into a warranty problem that keeps coming back. Heating pads get most of the attention.
The harness is the part that carries the current, protects the circuit and connects the switch, control module and heating elements. This guide is for distributors stocking aftermarket kits, upfitters installing them across a fleet and seat manufacturers writing a harness specification for a new program.
It covers the seven harness details that matter most.
1. What a Seat Heater Kit Wiring Harness Includes
A complete harness is more than a few lengths of wire. A well-designed kit usually includes these parts:
- Fused power lead: a dedicated feed with an inline blade fuse holder, placed as close to the power source as possible.
- Relay and trigger lead: a relay that switches the heating current, plus a low-current trigger wire that connects to an ignition-switched circuit.
- Ground lead: a ring terminal sized for the chassis or seat-frame stud.
- Switch pigtail: a keyed connector that matches the rocker switch or control module.
- Pad connectors: plugs for the cushion and backrest elements. Two-seat kits also have a branch or Y-split to feed both seats from one relay.
- Optional control module: digital kits add a module that reads a thermistor and regulates pad temperature.
If you are comparing kits, the harness is one of the quickest ways to judge build quality. Labeled connectors, consistent wire colors and a printed wiring diagram show that the supplier designed a system rather than bundling parts.
If you are sourcing complete systems, you can browse our seat heating products to see how harnesses, pads and controls are packaged together.
2. Current Draw, Wire Gauge and Fuse Sizing
Carbon fiber and alloy-wire heating pads are resistive loads. Their current draw follows directly from pad power and system voltage. A typical cushion-plus-backrest set rated around 40 to 60 watts draws roughly 3.5 to 5 amps at 12 volts on the high setting.
A two-seat kit therefore pulls about 7 to 10 amps through the shared feed.
That load sets the wire gauge:
- Main power feed: 16 AWG is common for two-seat kits on typical passenger-car run lengths. Long runs, such as a battery feed into a truck cab or a van conversion, may need 14 AWG to limit voltage drop.
- Branch circuits to each pad: 18 AWG is usually adequate for short single-seat branches carrying 5 amps or less.
- Switch and trigger circuits: 20 to 22 AWG is fine because they carry only milliamps of relay coil current.
The fuse protects the wire, not the heating pad. Size the fuse so it opens before the smallest conductor in the protected circuit can overheat. Most two-seat kits use a 15 or 20 amp fuse on a 16 AWG feed. Upsizing a fuse to stop it from blowing is never a fix.
A repeatedly blown fuse almost always points to a pinched wire or a damaged element.
Voltage drop also matters. Heater output scales with the square of the voltage, so a feed that loses 1 volt under load can cost roughly 15 percent of heating power. Use short runs, the right gauge and clean terminals to keep drop low.
3. Why Every Quality Harness Uses a Relay
Running 10 amps of heater current through a dash-mounted rocker switch shortens switch life and makes the switch body hot. Quality harnesses avoid this with an automotive relay, an electrically operated switch that lets a small control current turn a larger load current on and off.
In a standard four- or five-pin automotive relay, pin 30 takes fused battery power and pin 87 feeds the heater circuit. Pins 85 and 86 form the coil circuit. The trigger lead connects to an ignition-switched source, so the heaters cannot run with the key off.
This prevents the most common customer complaint about aftermarket heated seats: a dead battery after the vehicle sat overnight.
When you evaluate harnesses, check that:
- The relay contact rating is well above the kit’s maximum current. A 30 or 40 amp relay is typical.
- The relay is mounted where it stays dry and is not crushed by seat movement.
- The trigger source is switched, not constant battery power.
4. Connectors, Terminals and Sealing Under the Seat
The space under a seat is hostile to wiring. Spilled drinks, snow and road salt from boots, carpet cleaning and constant seat-track movement all stress the harness. Most field failures in heated seat kits are connection failures, not element failures.
- Sealed connectors: weather-sealed connectors with individual wire seals stop moisture from wicking into terminals and corroding them.
- Crimp quality: a properly crimped and sealed terminal is more durable than a hand-soldered splice. Solder makes the wire rigid where it leaves the joint, and that stiff point can crack under vibration.
- Strain relief: leave enough slack for full fore-aft and height adjustment. Secure the harness to fixed points on the seat frame, away from the track rails and recliner mechanism.
- Abrasion protection: use split loom or woven tape where the harness passes metal edges.
One rule is non-negotiable: never tap into, splice or reroute the seat’s airbag, seatbelt pretensioner or occupant classification wiring. These circuits usually use yellow connectors or yellow sheathing, and they must stay untouched. Route the heater harness separately and keep it clear of occupant sensor mats in the cushion.
5. Switch and Control Module Integration
The control side of the harness sets how the driver interacts with the system. There are two common designs.
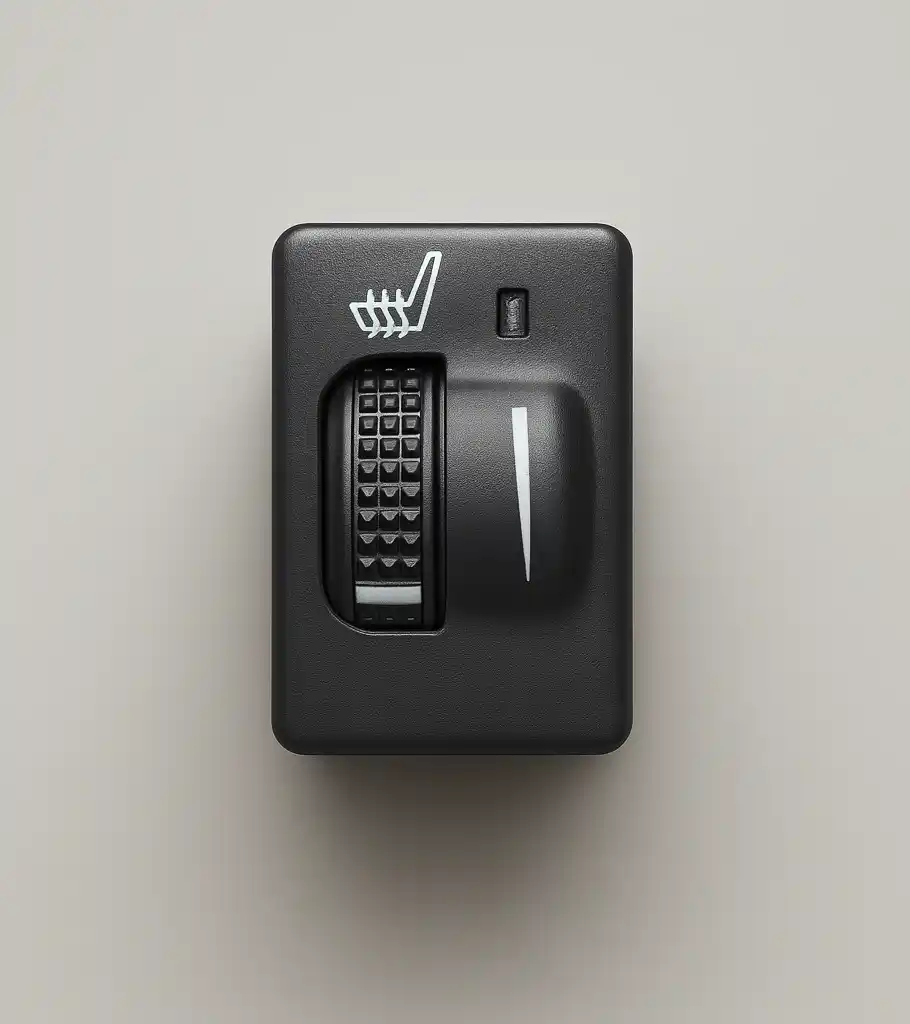
Analog rocker switch kits usually offer High, Low and Off positions. In many designs, High wires the cushion and backrest pads in parallel at full voltage. Low places them in series, which lowers total current and heat output without a separate electronic controller.
This approach is simple and durable, but there is no closed-loop temperature control.
Digital control module kits place a module between the relay output and the pads. The module reads an NTC thermistor embedded in the pad and uses PWM switching to hold a target temperature. Many modules also add multiple heat levels, automatic shutoff timers and overheat protection.
These features matter for OEM programs and for fleet customers who want consistent behavior across vehicles.
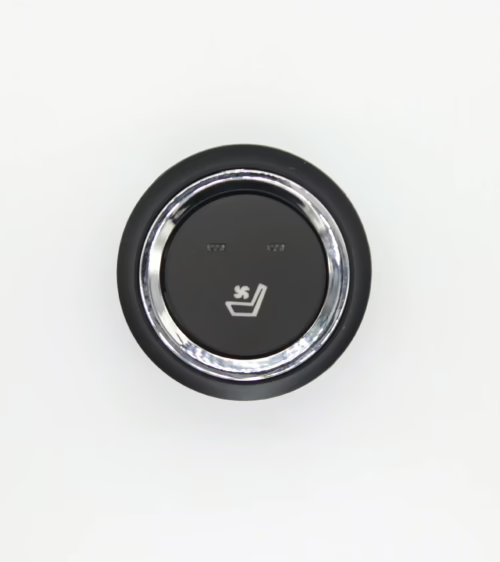
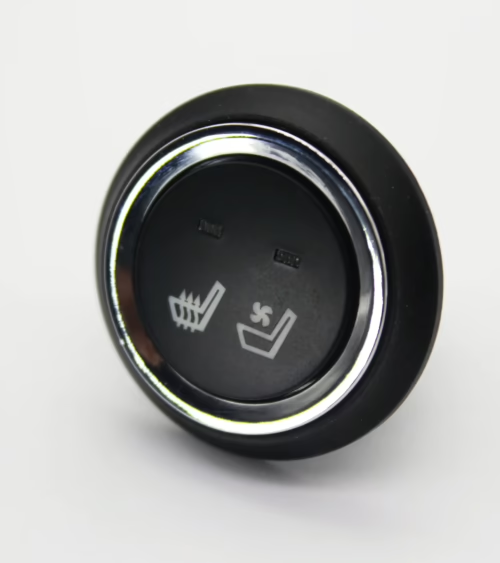
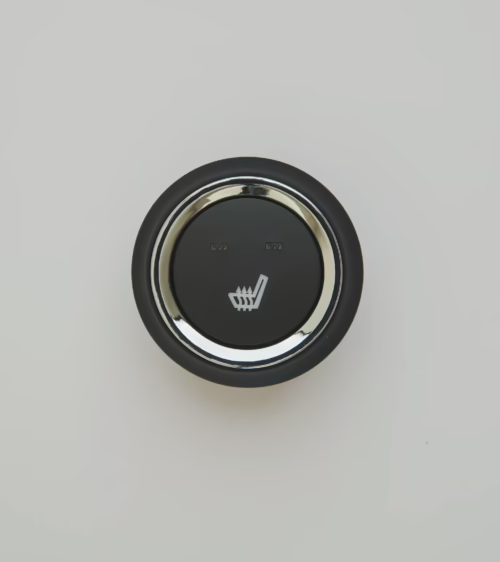
The connector between switch and harness wears out more often than any other part of the kit. Switches see daily use, so keyed and locking connectors make field replacement easy and prevent wrong plug-ins. Distributors who support an installed base of kits should keep compatible switches in stock.
Our seat heater switch lineup covers rocker switches and control options for common harness configurations.
6. Power Source and Grounding Best Practices
Where the harness draws power and where it grounds has a large effect on long-term reliability.
- Main feed: for two-seat kits, run a fused lead from the battery or a high-capacity power distribution point. Do not load an existing accessory circuit, such as a 12V power outlet, that was never sized for continuous heater current.
- Trigger: use an add-a-fuse tap in an ignition-switched slot of the interior fuse box. Confirm with a test light that the slot is dead with the key off and live with the ignition on.
- Grounding: bolt the ground ring terminal to clean, bare metal on the body or a factory ground stud. Remove paint or coating under the terminal and protect the finished joint against corrosion. Seat-mounting bolts can work, but paint, sealer and powder coat often add resistance.
- Firewall pass-through: use an existing grommet or install a new one. Never run a feed wire through a bare metal hole.
A poor ground is the hidden cause of many complaints, such as a seat that warms slowly, one seat running weaker than the other or heat that cuts in and out. A voltage-drop test across the ground side under load, described below, finds this in minutes.
7. Testing and Troubleshooting the Harness
Before the seat cover goes back on, a short test sequence catches nearly every installation fault:
- Element resistance: with the harness unplugged, measure each pad. The reading should match the supplier’s specification, typically a few ohms for a 12V pad. An open circuit means a broken element or connector. A reading near zero suggests a short.
- Supply voltage: with the ignition on and the switch on High, measure voltage at the pad connector. It should be within a few tenths of a volt of battery voltage.
- Voltage drop under load: measure from the battery positive post to the pad’s positive terminal, then from the pad’s ground terminal to the battery negative post. With the heater running, each side should show only a few tenths of a volt.
- Relay operation: confirm the relay clicks with the ignition and that pin 87 goes dead when the key is turned off.
- Thermal check: after 5 to 10 minutes on High, feel for even warmth across the cushion and backrest. If one zone stays cold while the other heats normally, look at that branch’s connector.
A short troubleshooting table matches symptoms to likely causes. Repeated blown fuses usually mean a wire is pinched in the seat track. Intermittent operation usually comes from a loose ground or corroded terminal. Heat on Low but not on High points to the switch or its pigtail.
Frequently Asked Questions
Can I use one wiring harness for two heated seats?
Yes. Most two-seat kits use a single fused feed and relay, then split into two branch circuits with an independent switch for each seat. Make sure the feed gauge, fuse and relay rating are sized for the combined current of both seats on High.
That is typically 7 to 10 amps for standard carbon fiber pads.
Should the harness connect to constant power or ignition-switched power?
The heavy feed connects to fused battery power through the relay. The relay trigger connects to an ignition-switched source. With this setup, the heaters cannot be left on with the vehicle off, and the switch does not have to carry full heater current.
Why does my seat heater blow fuses after installation?
The most common cause is a harness wire pinched by the seat track or a frame edge, which shorts the wire to ground when the seat moves. Inspect the routing along the full travel of the seat, check for damaged insulation and measure pad resistance.
Do not install a larger fuse. Fix the short first.
Lucky Driver Inc. supplies seat heating pads, seat heater switches, control modules and seat ventilation systems to OEM seat manufacturers and aftermarket distributors across North America.
If you are building a private-label heated seat kit, specifying a harness for a new seat program or stocking replacement components, our team can help you match pads, harnesses and controls to your application. Contact Lucky Driver Inc. to discuss specifications, samples and volume pricing.
Related Articles
- Heated Seat Element Kit: 7 Things to Know Before You Buy
- Heated Seat Kit vs Heated Seat Cover: 6 Key Differences
- Two Seat Heated Seat Kit: 6 Things to Check Before Buying
- Heated Seat Pad Kit Installation: 7 Steps to Get It Right
- Universal Heated Seat Kit 12V: 7 Things to Check in 2026
Frequently Asked Questions About seat heater kit wiring harness
Procurement engineers evaluating seat heater kit wiring harness for OEM programs regularly ask the following questions. Answers cover specification, compatibility, certification, and sourcing for seat heater kit wiring harness requirements.
What voltage ratings are available for seat heater kit wiring harness?
Standard seat heater kit wiring harness configurations support 12 V DC for passenger vehicles and 24 V DC for commercial trucks. Selecting the correct seat heater kit wiring harness voltage at the design stage eliminates harness rework later.
Lucky Driver maintains seat heater kit wiring harness inventory in both ratings for same-week shipment.
Which certifications apply to seat heater kit wiring harness production?
Seat heater kit wiring harness assemblies entering OEM programs typically require UL recognition, REACH compliance, and RoHS documentation. Lucky Driver holds certification records for every seat heater kit wiring harness variant and includes copies with sample and production shipments.
How is watt density specified for seat heater kit wiring harness?
Watt density for seat heater kit wiring harness is expressed in W/cm² and ranges from 0.04 to 0.12 depending on heat-up time requirements. Lower watt density seat heater kit wiring harness designs improve element longevity, while higher values suit cold-climate applications.
Lucky Driver engineering reviews seat heater kit wiring harness requirements and recommends watt density based on your seat platform.
What connector families are used with seat heater kit wiring harness?
Seat heater kit wiring harness harnesses are available with Molex, TE Connectivity, and Delphi connector families. Matching the seat heater kit wiring harness connector to the vehicle harness reduces assembly time and eliminates adapter cables.
Specify your harness format when requesting a seat heater kit wiring harness quote from Lucky Driver.
What is the lead time for seat heater kit wiring harness samples?
Seat heater kit wiring harness samples from Lucky Driver’s North American warehouse ship within 3 to 5 business days for standard configurations. Custom seat heater kit wiring harness variants with modified pad geometry or connector pinouts require 4 to 6 weeks.
Contact Lucky Driver to confirm seat heater kit wiring harness availability before submitting your engineering schedule.