Seat heater installation guide is the focus of this guide. Installing an aftermarket seat heater correctly takes about 2 to 3 hours per seat when done properly. The difference between a professional installation and a field problem is almost always in three areas: pad adhesion, thermistor placement, and harness routing.
1. Tools and Preparation
You will need: trim removal tools (plastic pry tools, not metal), a multimeter, wire stripper and crimping tool, heat-resistant adhesive or hook-and-loop tape, electrical tape, and zip ties. Read the kit instructions completely before starting.
2. Seat Removal
For most passenger vehicles, the seat must be removed to install heating pads properly. Disconnect the battery negative terminal before removing the seat to prevent accidental airbag deployment on vehicles with seat-integrated side airbags. Move the seat to a clean work surface after removal.
3. Trim and Foam Access
The heating pad installs between the seat foam and the trim cover. Remove the seat trim cover by unzipping or unclipping the bottom edge. Most modern seats use hog ring clips or retainer strips rather than adhesive. Fold the trim back to expose the foam surface.
4. Heating Pad Placement and Adhesion
Position the heating pad on the foam with the element facing up and the wire exit oriented toward the seat frame channel. The pad must sit flat with no wrinkles or folds. Secure the pad using the kit adhesive backing or hook-and-loop strips.
The pad must not bridge foam grooves or channel edges, as this causes element fatigue at the flex point.
5. Thermistor Placement
The thermistor must be placed under the heating pad, in contact with the foam surface, at the location specified in the kit instructions. A misplaced thermistor will either shut off the heater prematurely or fail to protect against overheating.
Route the thermistor wire so it is not pinched when the seat is reassembled.
6. Harness Routing and Power Connection
Route the pad pigtail wire through the seat frame channel, keeping it away from metal edges and moving components. Connect the harness to an ignition-switched 12V source. Run the fuse as close to the battery or fuse panel tap as possible. Use proper crimp connectors, not twist-and-tape connections.
7. Reassembly and Testing
Reinstall the trim cover, reconnect the seat harness, reinstall the seat, and reconnect the battery. Test each heating level before customer delivery. Confirm that all three levels activate and that the seat surface warms evenly within 3 to 5 minutes.
Heating Pad and Kit Supply
Lucky Driver Inc. supplies aftermarket heated seat kits to professional installation shops and distributors. Contact us for installer pricing and program support.
Common Installation Mistakes to Avoid
The most frequent installation errors seen in professional seat heater work are:
- routing the thermistor wire through a foam channel instead of along the pad surface (causes incorrect temperature sensing)
- using a tap into a constant power circuit instead of an ignition-switched source (heater runs with engine off
- drains battery)
- failing to route the pad output wire away from seat adjustment tracks (wire abrasion over time causes intermittent faults)
Each of these mistakes is invisible at initial installation but creates a callback within the first year. Double-check all three points before closing up the seat trim on every installation.
Seat Heater Installation in Vehicles with Seat-Integrated Airbags
Many modern vehicles incorporate side-impact airbags within the seat assembly, typically on the outboard side of the seat cushion and backrest. Installing a heated seat kit in these vehicles requires additional precautions. The airbag module and its wiring harness must not be disturbed during installation.
Heating pads must be routed to avoid the airbag deployment path.
The seat trim must be reassembled in a way that does not impede airbag deployment. For vehicles with seat-integrated airbags, professional installation by a shop with airbag system experience is strongly recommended. Incorrectly reassembled seats with integrated airbags can result in delayed or absent airbag deployment in a collision.
Heating Pad Compatibility with Different Trim Materials
The heating pad performs differently depending on the trim material above it. Leather and synthetic leather trim has lower thermal resistance than cloth trim, which means heat reaches the surface more quickly.
Very thick cloth trim or foam-backed cloth can insulate the element enough to trigger the thermistor cutoff before the surface reaches comfort temperature.
Carbon fiber elements mitigate this problem because their higher surface temperature uniformity compensates for trim insulation variation. Before installing a heated seat kit in a vehicle with thick cloth trim, verify that the thermistor cutoff temperature is appropriate for the expected surface temperature with that trim type.
Electrical System Integration: Battery Draw and Alternator Capacity
A dual-zone heated seat kit (front seat cushion and backrest) typically draws 5 to 8 amps at full heat. Two seats draw 10 to 16 amps combined. For most passenger vehicles, this is within the available alternator capacity without issue.
For vehicles with heavy electrical loads (EVs with 12V auxiliary systems, trucks with large accessory loads, or older vehicles with undersized alternators), the additional seat heater draw should be assessed against the available electrical budget.
In rare cases, a dedicated circuit with a relay, or a battery tender in storage applications, may be appropriate. Lucky Driver Inc. can advise on electrical system integration for specific vehicle applications.
Post-Installation Testing Protocol
A professional post-installation testing protocol confirms the installation is complete and correct before the vehicle is returned to the customer. The protocol should include:
- function test of all heating levels on each seat (confirm indicator light sequences correctly)
- thermal check of the seat surface at high heat after 5 minutes (seat surface should be warm to the touch
- not hot enough to be uncomfortable)
- harness routing inspection with seat in all adjustment positions (confirm no wire strain or rubbing at any position)
- connector security check (confirm all connectors are fully locked and cannot be accidentally disconnected during seat adjustment).
Document the test results and retain them for warranty reference.
Frequently Asked Questions: Seat Heater Installation
Can I install a heated seat kit myself, or do I need a professional?
DIY installation is possible for mechanically experienced individuals comfortable with automotive electrical work, but professional installation is strongly recommended.
The work involves removing and reinstalling seat trim covers without damage, routing wiring through the seat structure, and making electrical connections to the vehicle fuse panel.
Errors in installation can damage the seat trim, create fire hazards, or trigger fault codes in the vehicle electronics. Professional installation by an experienced shop provides a warranty-backed result and preserves the vehicle interior.
How long does a heated seat kit installation take at a professional shop?
A single-seat installation typically takes 60 to 90 minutes. A front two-seat installation (driver and passenger) takes 2.5 to 3.5 hours. Some vehicle models with complex seat disassembly or tight harness routing require additional time.
Ask the shop for a time estimate specific to your vehicle model before scheduling the work.
Will installing an aftermarket heated seat kit void my vehicle warranty?
In the United States, the Magnuson-Moss Warranty Act prohibits manufacturers from voiding a vehicle warranty solely because aftermarket parts were installed, unless the manufacturer can prove the aftermarket part caused the failure being claimed.
A professionally installed quality heated seat kit should not void your vehicle warranty. However, any damage caused directly by an incorrectly installed kit would not be covered under the vehicle warranty.
Get Your Heated Seat Kit from Lucky Driver Inc.
Lucky Driver Inc. supplies professional-grade heated seat kits for aftermarket installation in passenger cars, trucks, and SUVs. Our kits include carbon fiber or resistance wire heating pads, a thermistor-controlled three-level controller, illuminated rocker switch, complete wiring harness, and installation hardware.
All kits come with detailed English installation instructions designed for professional installer use.
Contact us to confirm kit availability and compatibility for your specific vehicle model and year.
Summary: Professional Heated Seat Kit Installation
A professionally installed heated seat kit provides years of reliable comfort heating with minimal maintenance.
The key factors for a quality installation are: selecting a kit appropriate for the vehicle and climate, ensuring correct thermistor positioning for accurate temperature control, routing the harness to avoid articulation point stress, and completing a systematic commissioning check before returning the vehicle to the customer.
Lucky Driver Inc. products are designed for professional installation efficiency and come with the documentation needed to support a quality result. Contact us for product specifications and availability for your next heated seat installation project.
Heated seat kit installations generate positive customer satisfaction scores when the installation is done correctly and the product performs as expected. Shops that build a reputation for quality heated seat installations develop a loyal customer base and benefit from referral business during the cold months of the year.
Investing in installer training and using quality products from a reputable supplier like Lucky Driver Inc. builds the foundation for a profitable and growing heated seat installation business.
Seat Heater Installation Guide: Troubleshooting and Final Checks
Following a professional seat heater installation guide step by step eliminates the wiring mistakes, poor thermistor placement, and harness routing errors that account for the majority of aftermarket callback repairs.
This seat heater installation guide applies to all major aftermarket kit configurations — whether you are installing a single-zone pad kit or a dual-zone system with a separate backrest pad.
Lucky Driver Inc. provides a complete seat heater installation guide in the box with every kit and offers technical support for installers working through unfamiliar vehicle configurations.
Further Reading
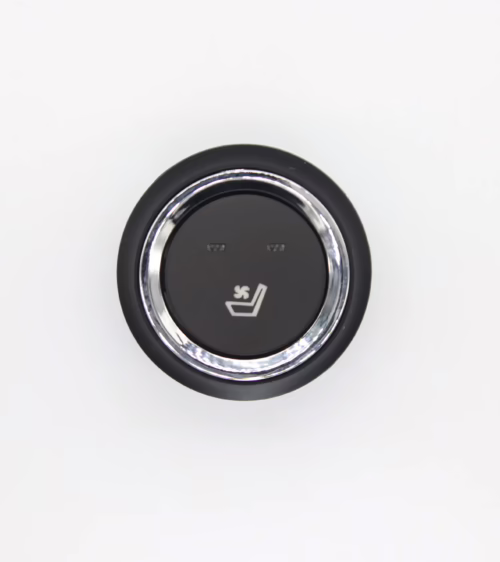
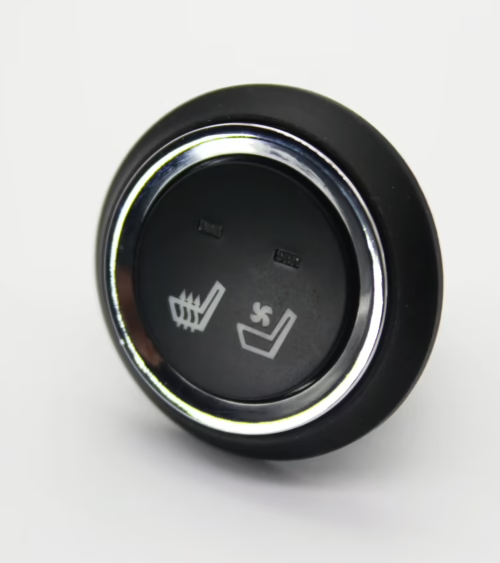
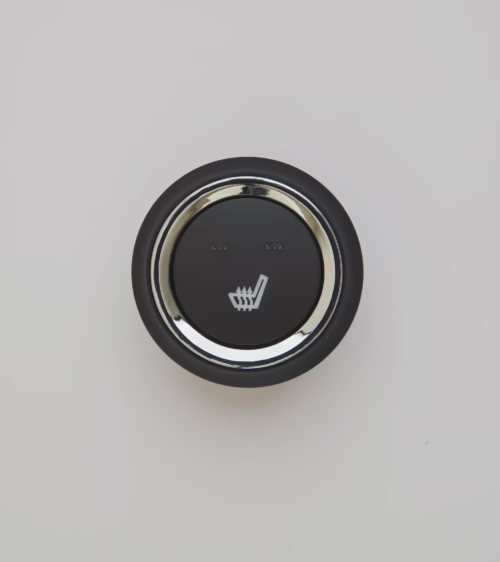
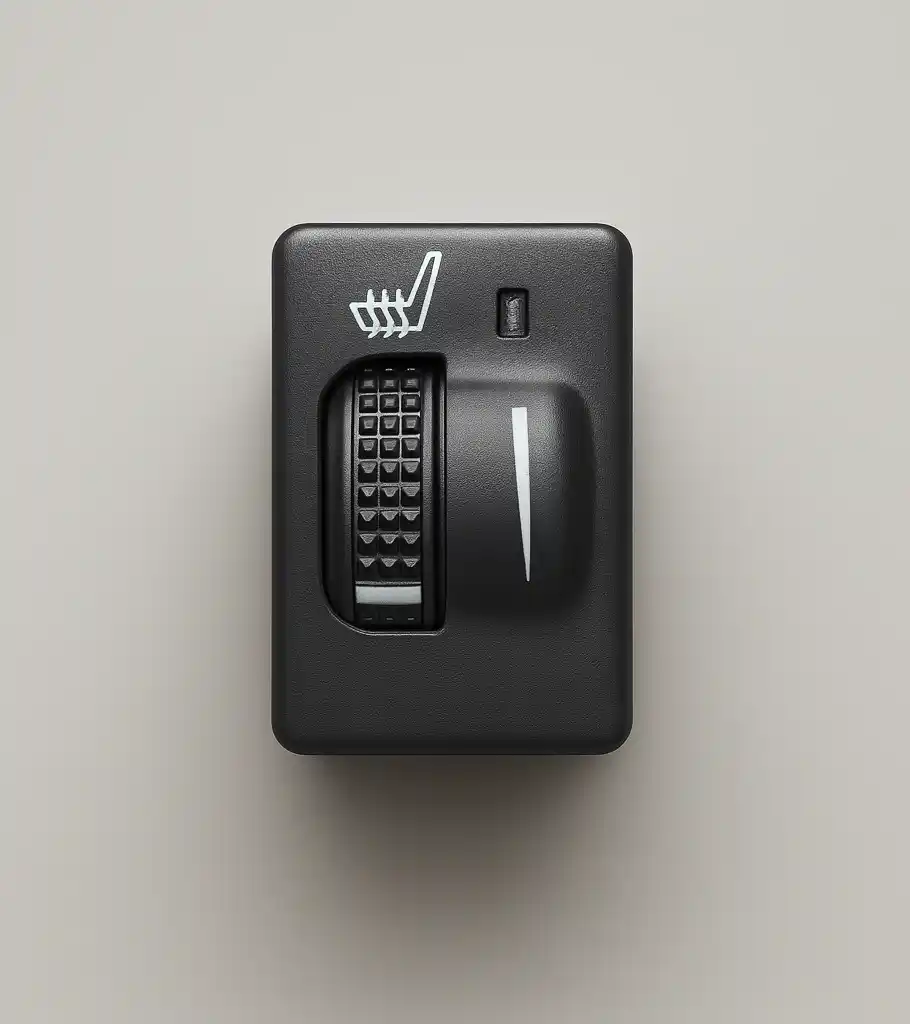
Need the hardware itself? Browse our seat heater switch catalog with US-based shipping.
See our seat heater fundamentals for a full overview of the technology.
Related Articles
- How to Add Heated Seats to Any Car
- Seat Heater Switch Replacement Guide
- Car Seat Heating Pad OEM Guide
- Heated Seat Kit Wholesale Guide
For more information about seat heater components, installation best practices, and OEM supply programs, contact Lucky Driver Inc. Our team supports customers from component selection through production, with IATF 16949-certified manufacturing and dedicated engineering support available for all program types and volumes.
More About Seat Heater Thermostat
When sourcing seat heater thermostat for a production or aftermarket seat program, the most important selection criteria are electrical compatibility, material certification, and supplier quality documentation. Reliable seat heater thermostat components from a qualified supplier reduce warranty risk and simplify the qualification process for both OEM and aftermarket programs.
Lucky Driver Inc. maintains North American inventory of seat heater thermostat in standard and custom configurations, with same-week shipping for evaluation orders and engineering support for new program development.
Whether your application requires a drop-in replacement seat heater thermostat or a custom-specified solution, Lucky Driver has the stock and technical resources to support your requirements. Contact Lucky Driver Inc. today to request samples or pricing for seat heater thermostat.
Seat Heater Thermostat: Quick Reference Guide
This quick reference summarizes the most important facts about seat heater thermostat for buyers and engineers evaluating options for a production or retrofit program. Every seat heater thermostat program begins with a specification review — confirm the electrical interface, connector format, and temperature rating before requesting samples.
seat heater thermostat components from Lucky Driver Inc. are tested to OEM standards and ship with full documentation. Whether you need a single evaluation unit or a production quantity of seat heater thermostat assemblies, the Lucky Driver team can quote within one business day.
Common questions from buyers sourcing seat heater thermostat for the first time: What certifications apply? What is the lead time? Can the seat heater thermostat be customized for a specific vehicle platform? The answers depend on the exact configuration — contact Lucky Driver Inc.
with your application details to get a precise answer for your seat heater thermostat requirement.
For aftermarket installers, seat heater thermostat from Lucky Driver includes all mounting hardware and a wiring diagram. For OEM programs, seat heater thermostat can be supplied with a custom connector, custom labeling, and a PPAP-ready quality package. Contact Lucky Driver Inc.
to request seat heater thermostat samples or pricing today.
Seat Heater Thermostat Buying Guide
Choosing the right seat heater thermostat for your application starts with three questions: What is the operating voltage of the vehicle? What connector format does the existing harness use? And what certifications are required for the program?
Answering these before requesting quotes for seat heater thermostat saves weeks of back-and-forth with suppliers and avoids costly sample iterations that do not fit the production design.
The seat heater thermostat market includes both direct OEM manufacturers and distributors. OEM manufacturers of seat heater thermostat typically require minimum order quantities of 500 to 1,000 units and lead times of 6 to 10 weeks for custom configurations.
Distributors of seat heater thermostat stock standard configurations and can ship within one to five business days, making them the practical choice for prototype builds, replacement parts, and low-volume aftermarket programs.
When comparing seat heater thermostat options across suppliers, request the following documentation with each sample submission: a material compliance declaration confirming RoHS and REACH compliance, a dimensional report confirming the part meets the approved drawing, and a functional test report demonstrating correct operation across the full operating voltage range.
Suppliers that cannot provide this documentation for their seat heater thermostat should be deprioritized regardless of unit price, since missing documentation creates compliance risk at the OEM customer level.
Lucky Driver Inc. maintains North American inventory of seat heater thermostat and can provide all required qualification documentation for OEM programs.
Whether you need a single sample of seat heater thermostat for a prototype build or a production quantity with full PPAP documentation, Lucky Driver has the stock, the paperwork, and the engineering support to close your seat heater thermostat requirement efficiently.
Contact Lucky Driver Inc. to request seat heater thermostat samples, pricing, or technical specifications today.
Frequently Asked Questions About seat heater installation guide
Procurement engineers evaluating seat heater installation guide for OEM programs regularly ask the following questions. Answers cover specification, compatibility, certification, and sourcing for seat heater installation guide requirements.
What voltage ratings are available for seat heater installation guide?
Standard seat heater installation guide configurations support 12 V DC for passenger vehicles and 24 V DC for commercial trucks. Selecting the correct seat heater installation guide voltage at the design stage eliminates harness rework later. Lucky Driver maintains seat heater installation guide inventory in both ratings for same-week shipment.
Which certifications apply to seat heater installation guide production?
seat heater installation guide assemblies entering OEM programs typically require UL recognition, REACH compliance, and RoHS documentation. Lucky Driver holds certification records for every seat heater installation guide variant and includes copies with sample and production shipments.
How is watt density specified for seat heater installation guide?
Watt density for seat heater installation guide is expressed in W/cm² and ranges from 0.04 to 0.12 depending on heat-up time requirements. Lower watt density seat heater installation guide designs improve element longevity, while higher values suit cold-climate applications.
Lucky Driver’s engineering team reviews seat heater installation guide requirements and recommends watt density based on your seat platform.
What connector families are used with seat heater installation guide?
seat heater installation guide harnesses are available with Molex, TE Connectivity, and Delphi connector families. Matching the seat heater installation guide connector to the vehicle harness reduces assembly time and eliminates adapter cables. Specify your harness format when requesting a seat heater installation guide quote from Lucky Driver.
What is the lead time for seat heater installation guide samples?
seat heater installation guide samples from Lucky Driver’s North American warehouse ship within 3 to 5 business days for standard configurations. Custom seat heater installation guide variants with modified pad geometry or connector pinouts require 4 to 6 weeks.
Contact Lucky Driver to confirm seat heater installation guide availability before submitting your engineering schedule.