A failed GMC Sierra heated seat switch is one of the most common cold-weather complaints among Sierra owners, and it is deceptively easy to misdiagnose.
Because the switch is the single point of control for the entire seat heating circuit, a broken internal contact, a corroded terminal, or a cracked rocker mechanism will kill heat output even when the element itself is in perfect condition.
This guide covers how the switch operates, how to isolate it as the true fault, how to replace it on 2003–2024 GMC Sierra 1500, 2500HD, and 3500HD trucks, and which aftermarket options are safe to use.
How the GMC Sierra Heated Seat Switch Works
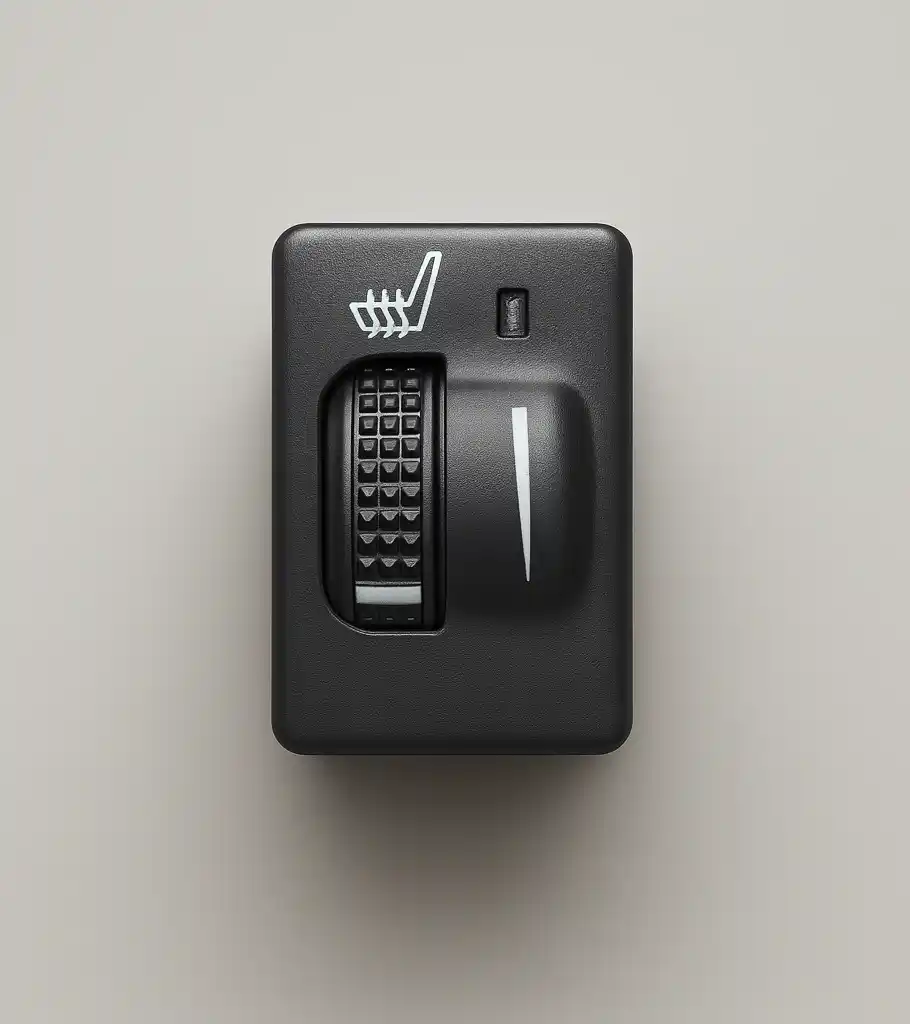
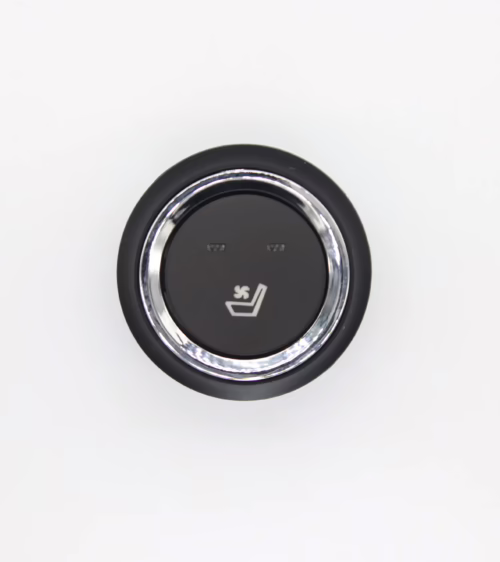
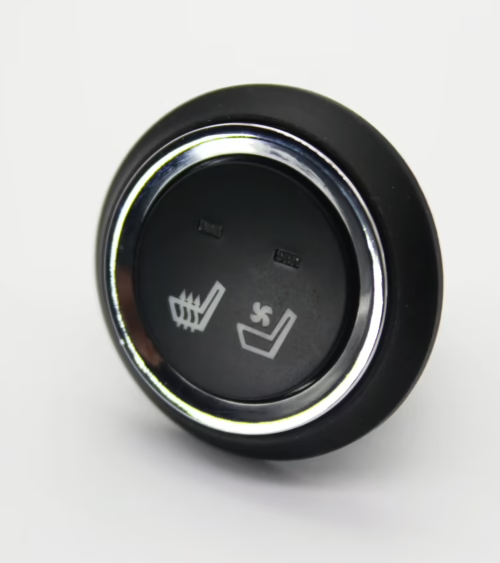
The Sierra’s heated seat switch is a multi-position rocker or dial control located in the center console or lower HVAC panel depending on model year and trim level. Most configurations offer two heat levels — Low and High — with premium trims adding a third stage.
When you press the switch to the first position, it closes a relay circuit that delivers 12-volt power from the Body Control Module (BCM) to the resistive heating element sewn into the seat cushion and backrest.
A second press steps up to higher output; a third press (or first, on two-stage systems) returns the circuit to off.
Embedded near or within the heating mat is a thermistor or bimetal thermostat that monitors surface temperature. If the seat approaches approximately 104°F (40°C), the thermostat momentarily opens the circuit to prevent burns and protect foam padding.
The indicator light on the switch face — typically amber at Low, red at High — confirms the heating circuit is active.
For a technical overview of how resistive heating elements are engineered into automotive seating, the Wikipedia article on seat heaters explains the thermal and electrical design principles used across the industry.
Common Symptoms of a Failing Heated Seat Switch
Pinpointing switch failure before replacing parts saves time and money. Watch for these specific patterns:
- No heat and no indicator light at any setting: The circuit never completes. Both the power contact and the LED sub-circuit are open — strong evidence the switch has failed internally.
- Indicator light activates but seat stays cold: The switch is signaling correctly, but the fault is downstream — in the element, the harness, or the relay. This symptom points away from the switch.
- Only one heat level works: The internal contact for the non-functional level has worn or corroded. Common on high-mileage trucks where drivers consistently use a single setting.
- Intermittent operation that worsens on rough roads: Vibration is breaking a corroded or spring-worn contact. Tapping the switch panel while the heater is running will often trigger the fault.
- Indicator light flickers or stays on without heat output: The LED circuit has separated from the main power contact — frequently caused by liquid intrusion into the console.
- Switch requires heavy pressure or feels mechanically loose: The rocker or button mechanism has fractured. This is a physical failure, not electrical, and cannot be repaired by cleaning contacts.
GMC Sierra Heated Seat Switch: Generation and Part Number Reference
Using the wrong switch creates connector mismatch problems and, on CAN-bus integrated models, can trigger BCM fault codes. Sierra heated seat switches are not universal across generations. The primary production breaks and their switch architectures:
- 2003–2006 GMT800: Simple two-stage toggle, no BCM integration. Direct 12V relay switching. Common OEM references: 15045085, 88961107.
- 2007–2013 GMT900: Three-stage illuminated rocker with a 6-pin inline connector. The bezel and housing changed between the 2007–2009 and 2010–2013 facelifts. Common references: 25858604, 22754988.
- 2014–2018 K2XX: Switch integrates with the HVAC control module on SLT and SLE trims. Driver and passenger switches carry different position codes despite identical housings: 84019484 (driver), 84019485 (passenger). Mixing them causes incorrect heat-level mapping.
- 2019–2024 T1XX: Capacitive-touch panels on Denali and AT4; traditional rockers on SLE and SLT. Touch-panel variants cannot be swapped for rocker types without module reprogramming. Common references: 84761020 (driver), 84761021 (passenger).
Always read the part number stamped on your existing switch housing and verify the connector pin count matches your truck’s harness before ordering a replacement.
Diagnosing the Switch vs. the Heating Element
A methodical test sequence prevents replacing a functional switch when the real fault is an open element or a blown fuse.
Step 1 — Fuse check: On GMT900 and K2XX trucks, seat heater fuses are typically 30A units in the underhood fuse block. Consult the owner’s manual for exact location. A blown fuse disables both seats simultaneously; if only one seat is dead, move on to switch testing.
Step 2 — Probe the switch connector:
- With the switch set to High and the ignition on
- use a digital multimeter on DC voltage and back-probe the connector without unplugging it. Confirm 12V is arriving at the input pin. If voltage is present at the input but absent at the output pin
- the switch has an open internal contact and must be replaced.
Step 3 — Measure element resistance:
- If the switch is passing voltage through to the output pin but no heat is produced
- disconnect the element connector under the seat cushion. Measure resistance across the element terminals. A healthy single-zone element reads approximately 2.5–4.5 ohms. An open-circuit reading (OL) indicates a broken wire in the element. A near-zero reading indicates a short that will blow the fuse immediately on activation.
Step 4 — BCM live data (K2XX and T1XX only):
- On CAN-integrated trims
- a scan tool with GM-specific live data capability can confirm whether the BCM is outputting a heat-enable signal. If the BCM is not sending the signal despite receiving the correct switch input
- a calibration or software fault — not a hardware switch failure — is the root cause.
Step-by-Step: Removing and Replacing the Switch
On GMT800 and GMT900 trucks, switch replacement is a 15-minute job. K2XX adds a few extra trim clips. T1XX Denali touch panels require full fascia removal and are more involved.
- Tools required: Plastic trim panel removal tool, 7mm or 10mm socket (varies by year), small flathead screwdriver for the connector locking tab.
- Step 1: Disconnect the negative battery terminal. Wait 90 seconds for BCM capacitors to discharge before touching any connectors.
- Step 2: Insert the trim tool at the seam between the switch panel and the console bezel. On GMT900 trucks, two spring clips flank the switch housing — work both sides outward simultaneously before pulling straight back to avoid cracking the bezel.
- Step 3: Reach behind the panel and press the connector locking tab inward while pulling the harness straight off. Do not twist the connector — the tab can fracture on high-mileage trucks with brittle plastic.
- Step 4: Press the release tabs on the switch body to disengage it from the bezel opening. The replacement snaps in with an audible click on all rocker-type applications.
- Step 5: Reconnect the harness and battery. Test all heat positions before snapping the trim panel back into place. Confirm the indicator light cycles through each level correctly.
On T1XX Denali models, the entire center stack fascia must come out before the touch-panel assembly is accessible. Budget 60–90 minutes and reference the factory service manual for the correct clip release sequence to avoid breaking retainers.
OEM vs. Aftermarket Switch Options
GM OEM switches carry Delphi or Aptiv manufacturing pedigree, guaranteed connector compatibility, and correct BCM encoding on integrated models. Dealer pricing for a single switch typically runs $85–$150.
For GMT800 and GMT900 trucks — where the switch operates as a standalone relay with no CAN-bus dependency — quality aftermarket alternatives are a practical choice at significantly lower cost and with identical electrical function.
For K2XX and T1XX rocker-type switches, aftermarket fitment is generally reliable provided the connector pin count and position codes are confirmed. For T1XX capacitive-touch panels, aftermarket availability is limited and module compatibility is less predictable; OEM is the safer investment for those applications.
If you need a direct-fit part, our seat heater switch catalog lists GMC Sierra-compatible options with year range, connector type, and heat-level configuration clearly noted for each listing.
Preventing Premature Switch Failure
Sierra heated seat switches fail earlier than their design life for predictable, avoidable reasons:
- Liquid intrusion: Spilled coffee or water is the leading cause of contact corrosion in console-mounted switches. If liquid enters the console, dry the housing completely before running the heater.
- Parallel heating loads: Aftermarket seat covers with built-in heating pads connected in parallel with the factory circuit can exceed the switch contact current rating and accelerate contact wear.
- Mechanical overload: Objects placed on the center console that press against the switch bezel can crack the rocker mechanism over time. Keep the console clear of heavy gear that contacts the panel.
- Extended inactivity: Contacts left in the open state through an entire mild-weather season can develop an oxidation layer that increases resistance. Cycling the heater briefly a few times per season keeps contact surfaces clean.
Frequently Asked Questions
Q:
- Can I use a Chevy Silverado heated seat switch in my GMC Sierra?
A: In most cases - yes. The GMC Sierra and Chevrolet Silverado share identical platform electrical architecture across their corresponding generations — GMT800
- GMT900
- K2XX
- T1XX. The seat heater switch is the same component between both nameplates
- with the primary difference being the switch face graphic. Confirm the part number and connector type match your specific truck before installing.
Q:
- My heated seat indicator light is on but the seat stays cold. Is the switch the problem?
A: Likely not. If the indicator circuit is functioning but no heat is produced - the fault is downstream of the switch — most commonly an open heating element or a broken wire in the seat harness between the switch output and the element connector under the cushion. Measure element resistance before replacing the switch to avoid unnecessary cost.
Q:
- How long should a GMC Sierra heated seat take to reach full temperature?
A: Factory Sierra seat heaters produce perceptible warmth within 60–90 seconds on the High setting and reach full operating temperature in 3–5 minutes under normal conditions. A seat that takes significantly longer - or that feels warm only in isolated patches
- points to a partially broken element rather than a switch fault.
Lucky Driver Inc. specializes in seat heating components for North American trucks and SUVs.
Whether you need a direct-fit switch, a replacement heating element, or a full harness kit, you can browse our complete seat heating product lineup and find the right part for your Sierra’s year, trim, and seat configuration.
Contact our team with your VIN and we will confirm compatibility before you order.
Related Articles
- Chevy Tahoe Heated Seat Switch: 2026 Complete Repair Guide
- Chevy Equinox Seat Heater Switch: 2026 Complete Repair Guide
- Chevy Silverado Heated Seat Switch: 2026 Complete Repair Guide
- Ford Escape Heated Seat Switch: 2026 Complete Repair Guide
- The Lucky Driver’s 7-Point Guide to Seat Heater Systems in 2026
Frequently Asked Questions About gmc sierra heated seat switch
Procurement engineers evaluating gmc sierra heated seat switch for OEM programs regularly ask the following questions. Answers cover specification, compatibility, certification, and sourcing for gmc sierra heated seat switch requirements.
What voltage ratings are available for gmc sierra heated seat switch?
Standard gmc sierra heated seat switch configurations support 12 V DC for passenger vehicles and 24 V DC for commercial trucks. Selecting the correct gmc sierra heated seat switch voltage at the design stage eliminates harness rework later.
Lucky Driver maintains gmc sierra heated seat switch inventory in both ratings for same-week shipment.
Which certifications apply to gmc sierra heated seat switch production?
gmc sierra heated seat switch assemblies entering OEM programs typically require UL recognition, REACH compliance, and RoHS documentation. Lucky Driver holds certification records for every gmc sierra heated seat switch variant and includes copies with sample and production shipments.
How is watt density specified for gmc sierra heated seat switch?
Watt density for gmc sierra heated seat switch is expressed in W/cm² and ranges from 0.04 to 0.12 depending on heat-up time requirements. Lower watt density gmc sierra heated seat switch designs improve element longevity, while higher values suit cold-climate applications.
Lucky Driver engineering reviews gmc sierra heated seat switch requirements and recommends watt density based on your seat platform.
What connector families are used with gmc sierra heated seat switch?
gmc sierra heated seat switch harnesses are available with Molex, TE Connectivity, and Delphi connector families. Matching the gmc sierra heated seat switch connector to the vehicle harness reduces assembly time and eliminates adapter cables.
Specify your harness format when requesting a gmc sierra heated seat switch quote from Lucky Driver.
What is the lead time for gmc sierra heated seat switch samples?
gmc sierra heated seat switch samples from Lucky Driver’s North American warehouse ship within 3 to 5 business days for standard configurations. Custom gmc sierra heated seat switch variants with modified pad geometry or connector pinouts require 4 to 6 weeks.
Contact Lucky Driver to confirm gmc sierra heated seat switch availability before submitting your engineering schedule.