The ford escape heated seat switch is a small but critical component — when it fails, you lose one of the Escape’s most practical comfort features on cold mornings.
Whether your switch stopped illuminating, cycles through heat levels erratically, or produces no heat at all, this guide covers every Escape generation from 2001 through 2025, walks through a systematic diagnosis process, and helps you source a reliable replacement without overpaying at the dealer.
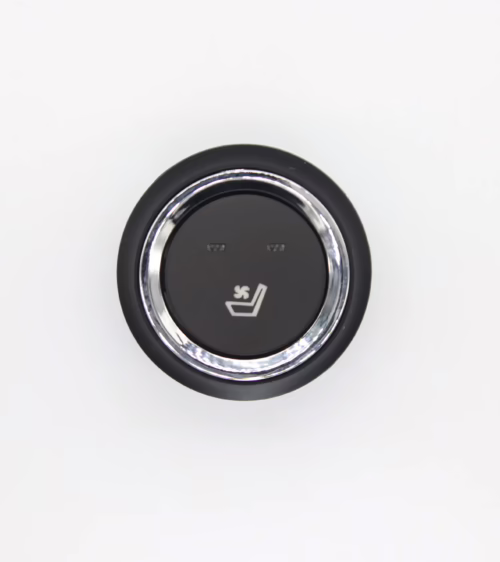
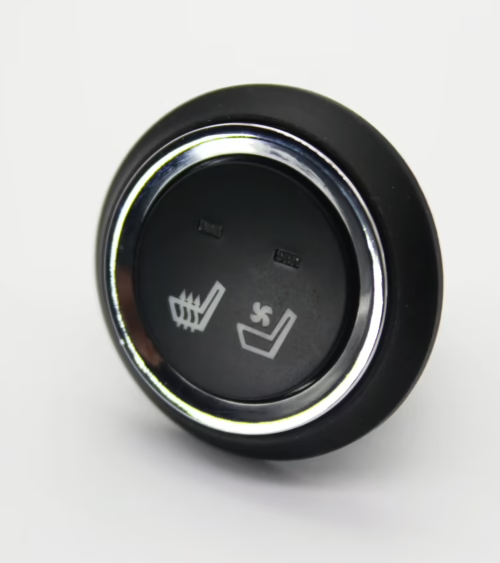
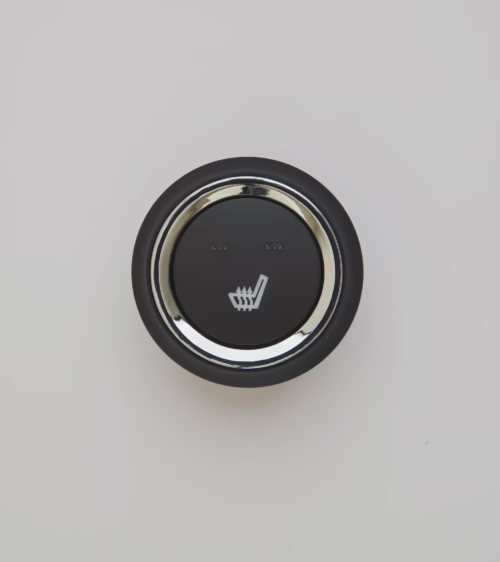
How the Ford Escape Heated Seat Switch Works
The heated seat system in a Ford Escape combines three main elements:
- a resistive heating element laminated into the seat cushion and backrest foam
- a thermistor that monitors seat surface temperature and feeds data back to the control circuit
- the switch itself
- which lets the occupant select a heat level. When you press the switch
- it either directly energizes the seat heater relay or sends a signal over the vehicle’s LIN bus to the body control module
- depending on your Escape’s trim and model year.
The switch houses one or more sets of internal electrical contacts rated for the current load of the heating circuit — typically between 5 and 15 amperes in direct-switched designs. It also integrates an indicator LED, sometimes a single amber light and sometimes a multi-segment display, powered by a separate low-current circuit.
Because the contacts carry the full heating load in older Escape designs, they are the first component to wear out through oxidation and pitting.
In LIN-bus designs found on later trims, the switch carries almost no current and instead relies on an internal microcontroller that can fail due to moisture intrusion or voltage spikes from the vehicle’s electrical system.
Ford Escape Heated Seat Switch by Generation
Ford updated the Escape’s interior significantly across four distinct generations. The switch connector type, pin count, number of heat levels, and communication protocol all changed between platforms:
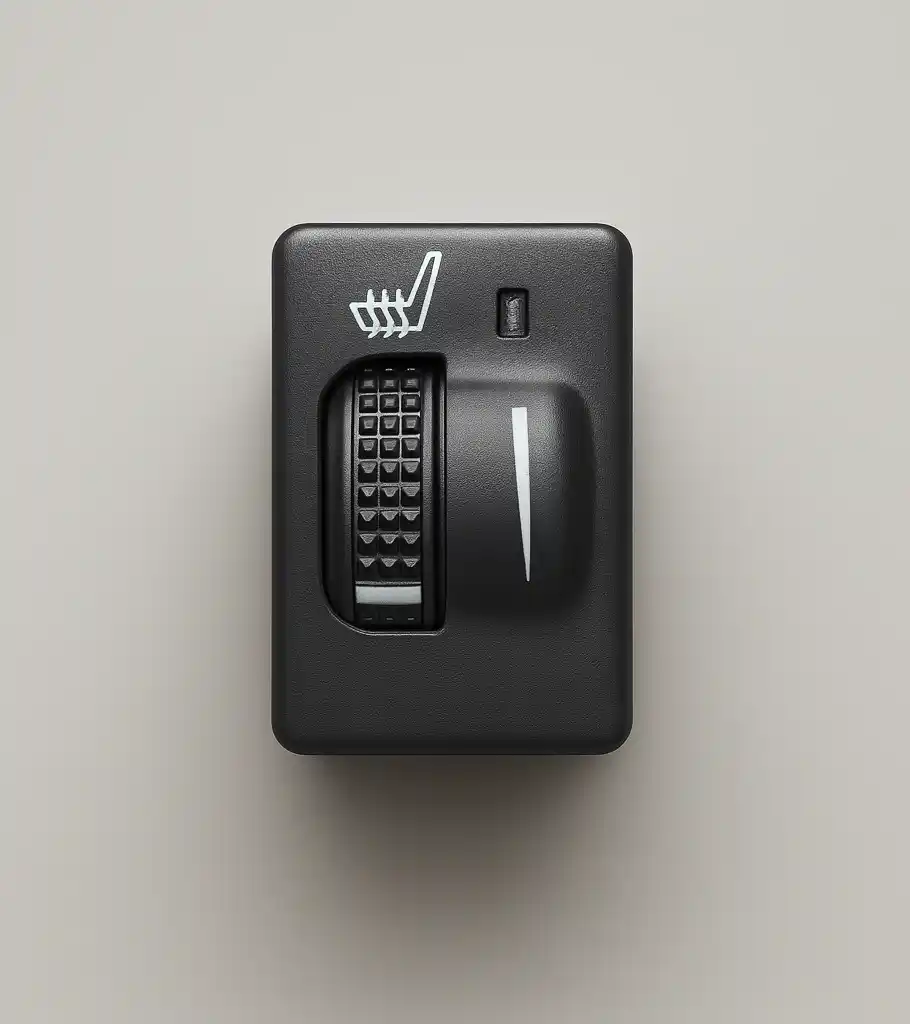
- 2001–2007 (First Generation): Round or oval rocker switch mounted in the center console. Two heat settings — low and high. 4-pin Molex-style connector. Direct-switched design, meaning the switch directly controls the seat heater relay with no module intermediary, making it the simplest generation to test and replace.
- 2008–2012 (Second Generation): Rectangular rocker integrated into the HVAC control panel. Three heat settings. 6-pin connector with a dedicated illumination supply pin. Still a direct-switched design on most trims, which simplifies bench-testing the switch before installation.
- 2013–2019 (Third Generation):
- Relocated alongside the climate control buttons in the dashboard stack. Higher trims moved to a LIN-bus design where the switch reports its state to the body control module rather than directly switching the heater relay. Pin count varies from 4 to 8 depending on trim and optional features
- so part number verification is essential.
- 2020–2025 (Fourth Generation):
- Base trims retain a physical rocker or toggle switch with a 4-pin pigtail. SE Sport and Titanium trims use a capacitive-touch climate panel integrated into SYNC 4
- where seat heat control lives on the touchscreen. Replacing a failed capacitive panel on these trims may require dealer programming to restore full SYNC integration.
Always confirm your model year, trim level, and whether your vehicle uses a direct-switched or LIN-bus design before ordering a replacement. Installing a switch from the wrong generation typically results in no operation at best and connector damage at worst.
Common Symptoms of a Failing Heated Seat Switch
A faulty ford escape heated seat switch presents in several distinct patterns. Identifying the specific symptom helps you distinguish a switch fault from a heating element or wiring problem before spending money on parts.
- No indicator light and no heat: Both the LED circuit and the main switching contacts have failed, or the switch has lost its power supply entirely. Check the fuse before condemning the switch — a blown fuse is a five-second diagnosis that rules out a much cheaper fix.
- Indicator light illuminates but the seat stays cold: The LED circuit is intact but the main contacts are open. The switch is the likely fault, though the relay and heating element should also be verified before closing the repair.
- Heat functions but the indicator light flickers or dims: The LED or its current-limiting resistor is degrading. Replace the switch promptly — the main contacts typically fail shortly after the LED circuit begins to show wear.
- Only one heat level works out of three: A specific contact set inside the switch has failed, causing it to skip one level or jump directly between low and high with nothing in between.
- Intermittent operation that improves when you tap the switch panel: Classic symptom of oxidized or pitted contacts that briefly restore continuity under mechanical shock. The switch is failing and will stop working entirely if not replaced.
Diagnosing the Switch vs. Other Components
Spend five to ten minutes confirming the fault is in the switch before ordering a replacement. You need a digital multimeter and your Escape’s wiring diagram for the heated seat circuit, which Ford publishes in the service manual for each model year.
Check the fuse first. On most Escape models, the heated seat circuit is protected by a 20-amp or 25-amp fuse in the interior fuse box. The exact position changed across generations, so consult your owner’s manual rather than guessing.
A blown fuse points to a short in the heating element or wiring harness — not a switch problem — and replacing the fuse without finding the root cause will blow it again immediately.
Check for supply voltage at the switch connector. With the ignition in the Run position, unplug the switch connector and probe the power pin with your multimeter. You should read 12–14 V.
No voltage indicates a broken wire, failed relay, or missing ground path upstream of the switch, none of which a new switch will fix.
Test the switch off the vehicle. With the switch disconnected from the harness, apply 12 V to the supply pin from a known good source and press through each heat level. Use your multimeter in continuity mode between the output pin and the supply return.
A switch that fails to show continuity on a level it should is confirmed faulty and ready to replace.
Measure heating element resistance. Disconnect the element connector from the harness and measure resistance across the element terminals. A healthy cushion element typically reads 2–4 ohms; a healthy backrest element reads 3–6 ohms. An open circuit — infinite resistance — means the element wire has broken internally.
A short to ground means the element’s insulation has failed. Either condition requires element replacement, and a new switch will not restore heat in either case.
Step-by-Step Switch Replacement
Replacing the switch is a 30-to-60-minute job on most Escape generations and requires only basic hand tools:
- a plastic trim removal tool
- a Phillips-head screwdriver
- optionally a 7 mm or 8 mm nut driver for panel screws on select trims. Do not use metal pry tools — they crack the plastic trim panels that Ford uses on every Escape generation.
- Step 1 — Disconnect the battery. Remove the negative terminal and wait two minutes to discharge body control module capacitors. This prevents accidental shorts and protects the vehicle’s electronics during the repair.
- Step 2 — Locate the switch panel. On 2001–2012 Escapes, the switch sits in the center console trim. On 2013–2025 models, it is part of the HVAC control stack or integrated into the dashboard climate panel directly below or adjacent to the HVAC controls.
- Step 3 — Remove the trim panel. Work a plastic pry tool around the perimeter of the panel in small increments. Most panels are retained by plastic snap clips that release with moderate prying force. Start at a corner, not an edge, to reduce stress on the clip bosses.
- Step 4 — Unplug the harness connector. Press the locking tab firmly before pulling the connector body — do not pull on the wire bundle. On 2013–2019 LIN-bus models, the connector may have a secondary lock that must be slid back before the primary tab will release.
- Step 5 — Release the switch from the bezel. Press the retention tabs on the sides of the switch body inward and push the switch out from the front face. Slide the replacement switch in until the retention tabs click audibly into position.
- Step 6 — Reconnect and test before reinstalling. Plug in the harness connector, reconnect the battery, and cycle through all heat levels with the trim panel still out.
- Verify that each indicator LED illuminates at the correct level and that the seat warms within 60 seconds before snapping the trim back into place.
OEM vs. Aftermarket Replacement Options
Ford OEM switches for the Escape carry a significant dealer markup, commonly $60–$120 for the switch alone before any labor charges. Quality aftermarket switches from automotive-grade suppliers typically cost $15–$45 and, when built to OEM contact ratings and connector specifications, perform identically over the life of the vehicle.
The key is knowing what to verify before buying.
- Contact current rating: Must meet or exceed the OEM specification. Direct-switched designs require contacts rated for 10–15 A continuous. Undersized contacts overheat, arc, and fail well before the vehicle’s life expectancy.
- Operating temperature range: Automotive interior components must be rated for at least −40 °C to +85 °C to survive summer dashboard temperatures in sun-soaked parking lots and winter conditions in cold climates.
- Connector compatibility: The replacement pigtail connector must match pin count and keying exactly. Any modification to the connector — spliced wires, bent pins, or adapters — creates a high-resistance joint that can arc and create a fire risk inside the door or console trim.
- LED color and illumination level:
- An OEM-matched amber or white LED ensures the indicator is visible in daylight and does not stand out against surrounding dash lighting. A mismatched LED is a minor issue on its own
- but it typically signals that the manufacturer substituted non-OEM components throughout the switch assembly.
If you need to replace the heating element, control module, or ventilation components at the same time, you can browse our full range of seat heating and ventilation products for every major vehicle platform and put together a complete repair in one order.
Frequently Asked Questions
Q: Can a faulty heated seat switch blow a fuse?
A:
- Yes. A switch with internally shorted contacts can draw excessive current and blow the heated seat fuse. If your replacement fuse blows immediately after installation
- disconnect the switch and measure continuity between the output pin and ground with the switch in the off position. A reading near zero ohms confirms the switch is shorted internally. Also test the heating element for a short to chassis ground before reinstalling any components
- since a shorted element can cause the same symptom.
Q: Will a heated seat switch from a Ford Explorer or F-150 fit the Escape?
A:
- Visual similarity does not guarantee compatibility. Ford sometimes shares switch platforms across models within the same model year
- but connector pin assignments differ frequently between nameplates. Using an incompatible switch without verifying pin-by-pin compatibility can connect the heating element output to a ground or illumination circuit
- damaging the wiring harness. Always cross-reference Ford part numbers rather than relying on physical dimensions or appearance alone.
Q: Why does my Escape’s seat heater shut off after only a few minutes of use?
A:
- Automatic shutoff is normal behavior. The thermistor embedded in the seat cushion cuts power to the heating element once the set temperature is reached
- then cycles the element back on as the seat cools — the same principle as a home thermostat. If the seat shuts off within 30 seconds before reaching any warmth
- the thermistor or its wiring circuit is likely faulty
- or the heating element has a high-resistance break that prevents the cushion from ever reaching temperature. Neither condition is resolved by replacing the switch.
For a plug-and-play solution built to automotive specifications, Lucky Driver Inc. carries replacement seat heater switches matched by model year, trim level, and connector type for the Ford Escape and dozens of other vehicle platforms.
Every switch we stock is verified against OEM contact ratings and operating temperature specifications so you get reliable performance without dealer pricing. Browse the catalog or contact our team to find your exact match and get back to warm seats this season.
Related Articles
- The Lucky Driver’s 7-Point Guide to Seat Heater Systems in 2026
- Ford Explorer Seat Heater Switch: 2026 Complete Repair Guide
- Ford F150 Heated Seat Switch: 2026 Complete Repair Guide
- Honda Pilot Heated Seat Switch: 2026 Complete Repair Guide
- Honda CR-V Seat Heater Switch: 2026 Complete Repair Guide
Frequently Asked Questions About ford escape heated seat switch
Procurement engineers evaluating ford escape heated seat switch for OEM programs regularly ask the following questions. Answers cover specification, compatibility, certification, and sourcing for ford escape heated seat switch requirements.
What voltage ratings are available for ford escape heated seat switch?
Standard ford escape heated seat switch configurations support 12 V DC for passenger vehicles and 24 V DC for commercial trucks. Selecting the correct ford escape heated seat switch voltage at the design stage eliminates harness rework later.
Lucky Driver maintains ford escape heated seat switch inventory in both ratings for same-week shipment.
Which certifications apply to ford escape heated seat switch production?
ford escape heated seat switch assemblies entering OEM programs typically require UL recognition, REACH compliance, and RoHS documentation. Lucky Driver holds certification records for every ford escape heated seat switch variant and includes copies with sample and production shipments.
How is watt density specified for ford escape heated seat switch?
Watt density for ford escape heated seat switch is expressed in W/cm² and ranges from 0.04 to 0.12 depending on heat-up time requirements. Lower watt density ford escape heated seat switch designs improve element longevity, while higher values suit cold-climate applications.
Lucky Driver engineering reviews ford escape heated seat switch requirements and recommends watt density based on your seat platform.
What connector families are used with ford escape heated seat switch?
ford escape heated seat switch harnesses are available with Molex, TE Connectivity, and Delphi connector families. Matching the ford escape heated seat switch connector to the vehicle harness reduces assembly time and eliminates adapter cables.
Specify your harness format when requesting a ford escape heated seat switch quote from Lucky Driver.
What is the lead time for ford escape heated seat switch samples?
ford escape heated seat switch samples from Lucky Driver’s North American warehouse ship within 3 to 5 business days for standard configurations. Custom ford escape heated seat switch variants with modified pad geometry or connector pinouts require 4 to 6 weeks.
Contact Lucky Driver to confirm ford escape heated seat switch availability before submitting your engineering schedule.