A failed toyota heated seat switch is one of the most common comfort-system complaints across the Toyota lineup — from the Camry to the Tacoma to the RAV4.
When the switch stops responding, flickers between levels, or lights up without producing heat, it disrupts daily comfort and can signal a broader electrical issue.
This guide explains exactly how the switch circuit works, how to isolate the fault, what your replacement options are, and when an aftermarket upgrade delivers better performance than the factory unit.
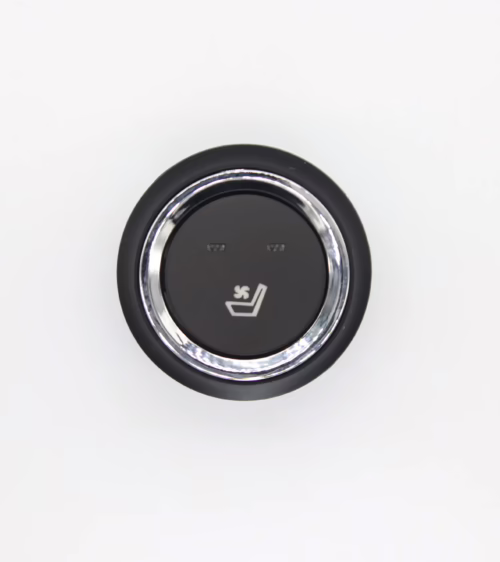
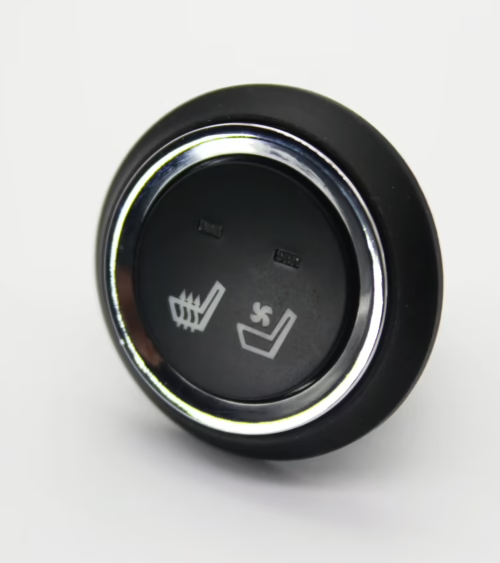
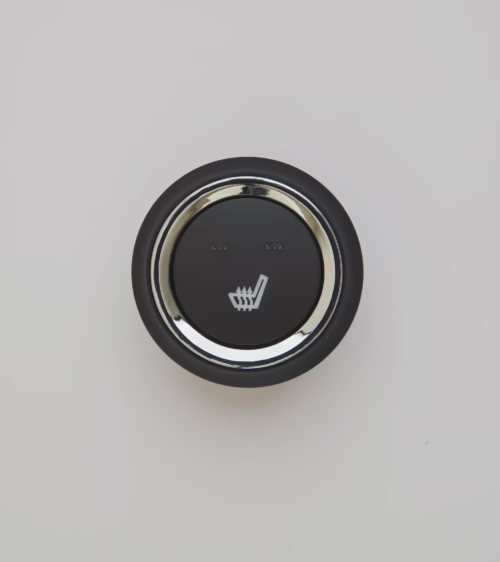
How a Toyota Heated Seat Switch Works
The heated seat switch in a Toyota is part of a low-voltage control circuit that triggers a relay or integrated control module. When you press the switch, a signal routes current through that relay to the resistive heating element embedded in the seat cushion and backrest foam.
Most factory Toyota systems use a bi-metal thermostat built directly into the seat pad that interrupts power once the surface reaches its calibrated temperature — typically between 95°F and 112°F depending on the selected heat level.
Toyota models produced from 2012 onward increasingly route switch signals through the body control module (BCM) rather than operating as standalone relays. This architecture means the switch is a signal-generating input device, not a direct power switch, and pin-count compatibility becomes critical when selecting a replacement.
On three-level systems, each button press increments a counter in the BCM, which then adjusts the PWM duty cycle to the heating element accordingly.
Toyota Models Most Likely to Need Switch Replacement
Heated seat switch failures appear across virtually every Toyota nameplate, but certain high-volume models generate the majority of replacement demand. Understanding which trim levels include factory heated seats helps narrow your parts search:
- Toyota Camry (2007–2024) — XLE, XSE, and TRD trims with dual-zone heated fronts; 2012–2017 units are the highest-failure cohort
- Toyota Tacoma (2016–2024) — SR5, TRD Sport, and Limited with heated front buckets; switch wear is accelerated in work-truck duty cycles
- Toyota RAV4 (2013–2024) — XLE, XLE Premium, and Limited; the 2019+ models use a BCM-integrated 8-pin connector
- Toyota Highlander (2014–2024) — XLE, Limited, and Platinum including second-row captain’s chair heating on upper trims
- Toyota 4Runner (2010–2024) — SR5 Premium and TRD Pro; off-road vibration accelerates internal contact wear
- Toyota Sienna (2011–2024) — XLE and Limited minivans with heated captain’s chairs and driver second-row positions
Trucks and SUVs operated in colder climates cycle the switch daily for extended periods. This repeated thermal and mechanical stress degrades the internal contact plating faster than the same switch in a warmer-climate vehicle.
Diagnosing a Failed Toyota Heated Seat Switch
Confirming the switch is the actual fault — rather than the heating element, wiring harness, or fuse — before ordering parts saves both time and money. Use this diagnostic sequence in order:
- Check the fuse first. Toyota routes heated seat protection through the driver-side under-dash fuse block on most models. Consult the fuse diagram on the fuse box lid for the correct amperage slot. A blown fuse almost always indicates a short in the heating element wire, not the switch itself.
- Measure input voltage at the switch connector. With the ignition on, back-probe the switch power-supply terminal using a multimeter set to DC voltage. You should read 12 to 14V. No input voltage points to a fuse, relay, or wiring fault upstream of the switch.
- Measure output voltage with the switch activated. Press the switch to its highest heat setting and probe the output terminal. A functioning switch passes battery voltage downstream. Zero output with confirmed input voltage confirms a failed switch.
- Check the indicator LED circuit separately. On multi-level switches, the LED power circuit and the heating output circuit share the same connector but are electrically independent. A lit LED with no heat output rules out the switch and points toward the element, relay, or control module.
- Inspect the connector for corrosion. Backed-out terminals and green oxidation at the connector pins cause intermittent operation that mimics a switch fault. Clean contacts with electrical contact cleaner before condemning the switch assembly.
OEM vs Aftermarket Toyota Heated Seat Switch Options
Toyota OEM switches are manufactured to specification by Tier 1 suppliers including Tokai Rika and Panasonic Automotive Systems.
They match factory tolerances precisely but carry a substantial cost premium — typically $85 to $190 per switch through a Toyota dealer parts counter, with lead times of one to five business days on lower-volume trim configurations.
Aftermarket replacements divide into two practical categories:
- Direct-fit replacements — Engineered to the same connector footprint, switch body dimensions, and panel cutout as the OEM unit. Plug-and-play installation with no wiring modification.
- Quality benchmarks to look for include gold-plated contact surfaces, a rated cycle life of at least 50,000 actuations, and a continuous current rating of 16A or higher to handle peak draw from dual-zone heating elements without contact welding.
- Universal upgrade switches — Require minor wiring adaptation but unlock features unavailable from the factory, including a third or fourth heat level, a programmable auto-shutoff timer (20 to 30 minutes), an NTC thermistor input for closed-loop temperature control, or a seat memory function that restores your last-used heat setting on ignition.
For fleet operators, aftermarket installers, or OEM seat manufacturers adding heated seat capability to vehicles not originally equipped with it, universal switches with modular Deutsch or Molex connectors provide the lowest total installed cost and the greatest flexibility across vehicle platforms.
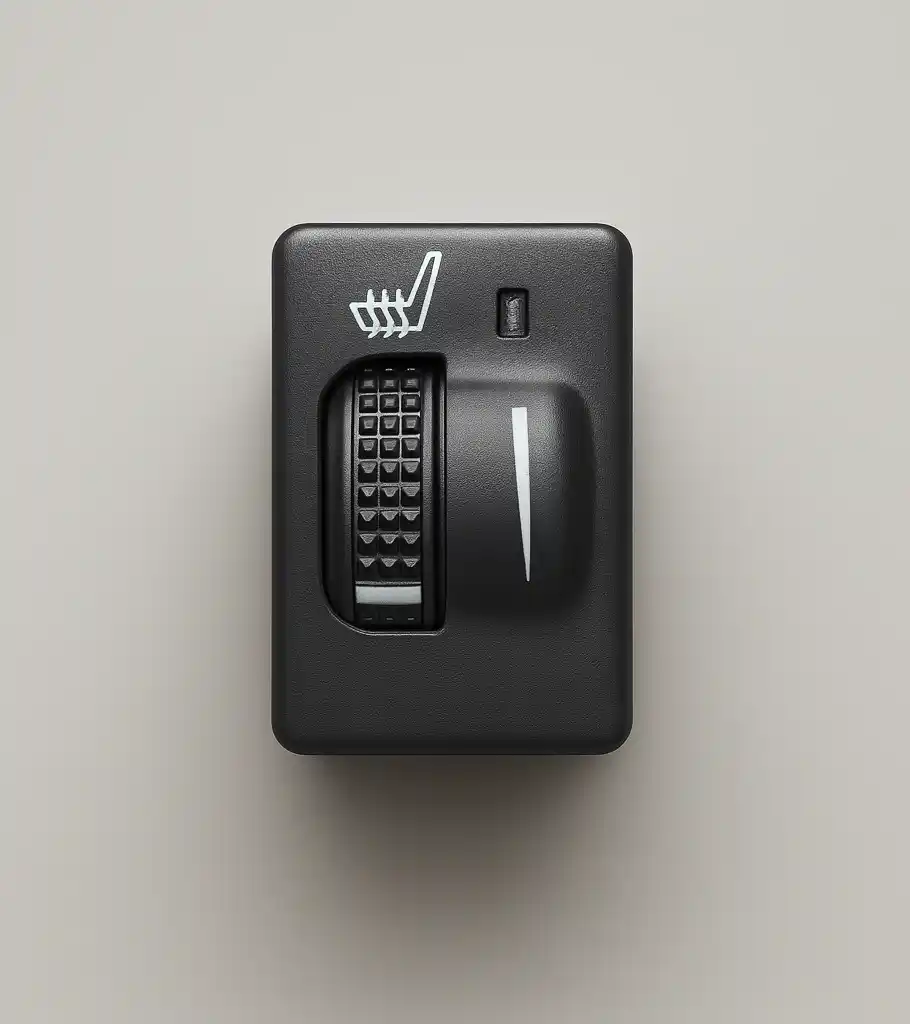
Step-by-Step: Replacing a Toyota Heated Seat Switch
On most Toyota models, switch replacement is a straightforward procedure that requires no special tools beyond a plastic trim pry tool and a multimeter. Estimated time is 20 to 40 minutes per switch including verification.
- Step 1 — Disconnect the negative battery terminal. Wait 60 seconds after disconnection to allow BCM capacitors to discharge. This prevents false fault codes and protects the BCM from voltage spikes during connector handling.
- Step 2 — Remove the console or dash trim panel. On Camry and RAV4 models, the heated seat switches are integrated into the HVAC control surround. Insert a plastic pry tool at the lower corner of the bezel and work around the perimeter.
- Avoid metal tools that scratch or crack the panel.
- Step 3 — Release the switch from the opening. Toyota uses two side-locking tabs on the switch body. Press both tabs inward simultaneously and push the switch rearward through the panel opening. The switch should release cleanly without force.
- Step 4 — Disconnect the wiring connector. Depress the connector retention tab and pull the connector straight back off the switch pins. Never pull on the wire bundle — pulling the wires damages the terminal crimps inside the connector housing.
- Step 5 — Install the replacement switch. Connect the wiring harness first, verify the latch clicks, then push the switch body into the panel opening until both side tabs engage audibly. Reinstall the trim bezel.
- Step 6 — Reconnect the battery and test all heat levels. Cycle through each setting, confirm LED indication matches output, and verify heat at the seat surface within 90 seconds at maximum setting before closing the job.
Upgrading to Multi-Level and Digital Heat Controllers
The factory Toyota heated seat switch manages heat through a simple step-down resistor circuit that reduces current to the element at lower settings.
For drivers who want more precise comfort control — or for seat manufacturers integrating heating systems into new vehicle programs — aftermarket multi-level and digital controllers offer meaningful performance advantages:
- PWM current regulation — Pulse-width modulation controls current to the heating element by rapidly switching it on and off at a variable duty cycle. This maintains more uniform surface temperature than resistor stepping and extends element service life by eliminating thermal overshoot.
- Closed-loop thermistor feedback — Higher-end controllers accept an NTC thermistor signal from inside the seat pad and regulate output based on real measured temperature rather than a fixed timer or bi-metal strip response. Surface temperature consistency improves to within ±3°F of target.
- Programmable auto-shutoff — A configurable timer cuts power to the heating circuit after 20 or 30 minutes, preventing overheating during long drives and reducing risk to passengers who fall asleep with heated seats active.
- Dual-zone independent control — A single controller module can manage the cushion and backrest heating elements as independent zones, with separate temperature targets and shutoff timers for each zone.
These capabilities are especially relevant for OEM seat manufacturers adding heated seat specifications to new vehicle programs where performance repeatability, warranty durability, and passenger safety compliance are non-negotiable requirements.
Wiring Compatibility and Connector Types by Model Year
Connector mismatch is the most common installation error when replacing a Toyota heated seat switch with an aftermarket unit. Toyota uses several connector configurations across its model range:
- 6-pin connector — Found on older Camry (2007–2011) and early Highlander models with single-level heat; simple relay-output circuit
- 8-pin connector — Standard on 2012–2018 RAV4, Camry, and Tacoma with two-level heat, separate LED supply, and a ground return pin for the indicator circuit
- 10-pin connector — Used on newer Highlander, Sienna, and select 4Runner configurations with BCM-integrated three-level heat and CAN-based status reporting
Always confirm the pin count and connector gender from the vehicle’s factory wiring diagram before purchasing.
If you are retrofitting heated seats into a Toyota that did not leave the factory with that feature, a complete aftermarket seat heater kit — including switch, wiring harness, relay, and heating element pads — is the most reliable installation approach and avoids the need to fabricate a custom harness from the factory connector spec.
Frequently Asked Questions
Q: Can I replace a Toyota heated seat switch myself, or does it require a dealer?
A:
- Most Toyota heated seat switch replacements are within DIY reach. The procedure requires only basic hand tools and approximately 30 minutes per switch. Even on BCM-integrated systems from 2019 onward
- no scan tool programming or calibration is required after installation — the BCM detects the new switch and initializes it automatically on the next ignition cycle. The only exception is if a fault code was stored during the failure period
- clear it with an OBD-II scanner after the repair.
Q: Why does my Toyota heated seat switch light up but the seat stays cold?
A:
- The LED indicator circuit and the heating element output circuit share the same connector but draw power from separate signal paths. A lit LED confirms only that the switch and its indicator supply are live — it says nothing about whether current is reaching the element.
- If the seat is cold with the light on
- use a multimeter to check resistance across the heating element connector terminals. A healthy single-zone element reads between 2 and 6 ohms. An open-circuit reading (OL) indicates a broken element wire
- which is a separate repair from the switch itself.
Q: Are aftermarket heated seat switches safe to use in my Toyota?
A:
- Yes
- provided the replacement switch is rated for the current draw of your heating circuit. Toyota seat heating elements typically pull 4 to 8 amps per zone. Any switch with a continuous current rating of 10A or higher at 12VDC is electrically appropriate for this application.
- Look for products manufactured to SAE J553 standards
- which define automotive switch performance requirements across temperature cycling
- vibration endurance
- contact wear. Switches without SAE or equivalent certification may use underrated contacts that weld shut or fail open prematurely.
Whether you are sourcing a direct-fit replacement for a Camry, upgrading to a digital controller for a fleet of RAV4s, or integrating a heated seat system into a vehicle that left the factory without one, Lucky Driver Inc. carries the switches, control modules, heating element kits, and wiring harnesses to complete the job correctly.
Lucky Driver supplies both OEM seat manufacturers and aftermarket installers across North America with UL-listed, SAE-compliant heating components backed by documented thermal and cycle testing. Contact Lucky Driver to discuss volume pricing, connector compatibility, or technical specifications for your specific application.
For sourcing, see our OEM-style seat heater switches available for immediate delivery.
Related Articles
- Lucky Driver Seat Heater Products: 2024 Updates and New SKUs
- Seat Ventilation System: How It Works and How to Add One in 4 Steps
- Add Heated Seats to Car: 5-Step Aftermarket Installation Guide
- Heated Seat Switch Types: Rocker, Rotary, and Push-Button — 3 Options Compared
- Seat Warmer Switch Replacement: 4 Failure Signs and How to Fix It
Frequently Asked Questions About toyota heated seat switch
Procurement engineers evaluating toyota heated seat switch for OEM programs regularly ask the following questions. Answers cover specification, compatibility, certification, and sourcing for toyota heated seat switch requirements.
What voltage ratings are available for toyota heated seat switch?
Standard toyota heated seat switch configurations support 12 V DC for passenger vehicles and 24 V DC for commercial trucks. Selecting the correct toyota heated seat switch voltage at the design stage eliminates harness rework later. Lucky Driver maintains toyota heated seat switch inventory in both ratings for same-week shipment.
Which certifications apply to toyota heated seat switch production?
toyota heated seat switch assemblies entering OEM programs typically require UL recognition, REACH compliance, and RoHS documentation. Lucky Driver holds certification records for every toyota heated seat switch variant and includes copies with sample and production shipments.
How is watt density specified for toyota heated seat switch?
Watt density for toyota heated seat switch is expressed in W/cm² and ranges from 0.04 to 0.12 depending on heat-up time requirements. Lower watt density toyota heated seat switch designs improve element longevity, while higher values suit cold-climate applications.
Lucky Driver engineering reviews toyota heated seat switch requirements and recommends watt density based on your seat platform.
What connector families are used with toyota heated seat switch?
toyota heated seat switch harnesses are available with Molex, TE Connectivity, and Delphi connector families. Matching the toyota heated seat switch connector to the vehicle harness reduces assembly time and eliminates adapter cables. Specify your harness format when requesting a toyota heated seat switch quote from Lucky Driver.
What is the lead time for toyota heated seat switch samples?
toyota heated seat switch samples from Lucky Driver’s North American warehouse ship within 3 to 5 business days for standard configurations. Custom toyota heated seat switch variants with modified pad geometry or connector pinouts require 4 to 6 weeks.
Contact Lucky Driver to confirm toyota heated seat switch availability before submitting your engineering schedule.
For OEM part numbers and compatibility details, refer to the Toyota OEM parts catalog before purchasing a replacement switch.