How the Ford F150 Heated Seat Switch Works
The Ford F150 heated seat switch is a low-current control switch mounted in the instrument panel or center console that signals the body control module (BCM) or a dedicated seat heater control module to energize the heating element sewn into the seat cushion and seat back.
When you press the switch, it sends a ground or voltage signal—depending on the generation—that triggers a relay or MOSFET driver to route 12 V through a nichrome or carbon-fiber resistance wire laminated into the seat foam.
A thermistor located beneath the seat cover feeds temperature data back to the module, which cycles the heater on and off to maintain a target surface temperature between 40 °C and 55 °C (104 °F–131 °F).
The switch itself contains a separate low-current LED circuit for the indicator lamp, so the light operates independently of the heater load path. Understanding this architecture helps you isolate faults quickly before spending money on parts.
Common Symptoms of a Failing F150 Heated Seat Switch
Confirm the switch is the actual failure point before ordering parts. A faulty Ford F150 heated seat switch can mimic several other failures in the seat heater circuit:
- No heat at all: The most common complaint. If the indicator LED illuminates but the seat stays cold, suspect the heater element, thermal fuse, or relay rather than the switch itself.
- Switch requires multiple presses to respond: Internal rocker or membrane contacts wear with repeated use. Oxidized contact faces increase resistance until the signal voltage drops below the BCM activation threshold.
- Indicator LED flickers or stays dark: Points to a cracked LED leg inside the switch body or a corroded ground path at the harness connector pins.
- Seat heats continuously and will not shut off: A welded-closed contact keeps the signal line permanently active. This can cause the heating element to overheat and blow a thermal fuse embedded in the element wiring harness.
- DTCs B1238 or B10D7 stored in the BCM: Ford uses these codes on 2015–2024 F150 models to flag an open or short in the heated seat circuit, and the fault is frequently traced to the switch connector or its ground splice.
Ford F150 Heated Seat Switch Location by Generation
Switch placement changed with every F150 body generation. Confirming the exact location before you start prevents unnecessary panel removal and broken trim clips:
- 11th gen (2004–2008): Integrated into the HVAC and audio control stack on the center console. Heated seat switches are rectangular rocker buttons positioned directly below the blower speed knob. Accessing them requires removing the center console bezel and two T27 screws.
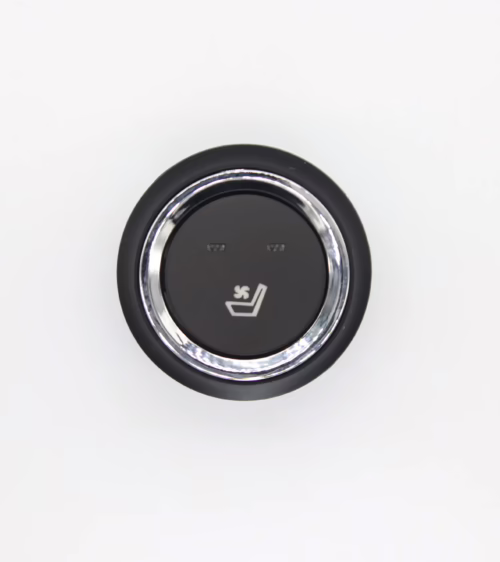
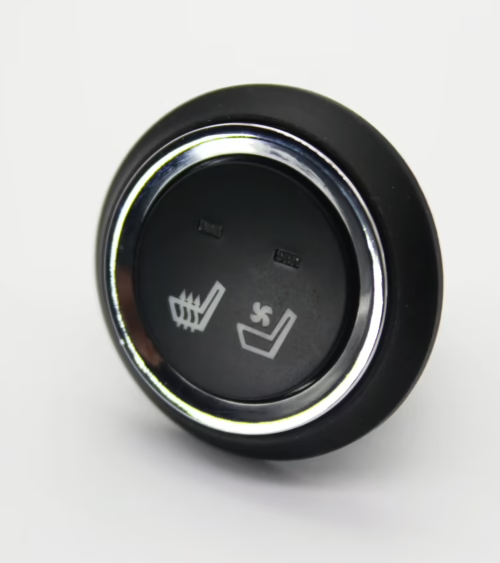
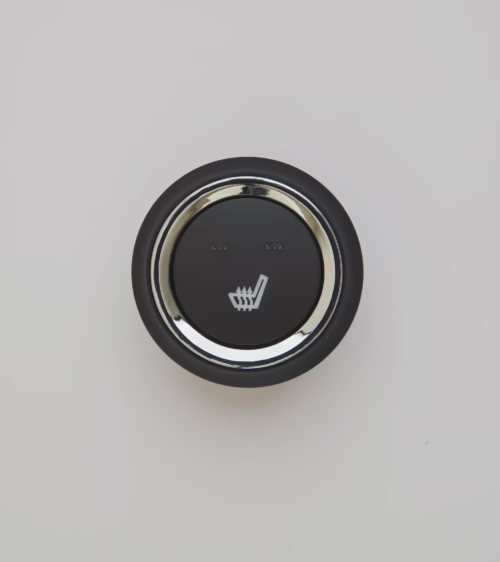
- 12th gen (2009–2014): Relocated to the outboard face of the center console, just forward of the front cup holder. Two round illuminated switches—one for the driver and one for the passenger—clip into a dedicated switch pod that pulls straight outward after the console panel is unclipped.
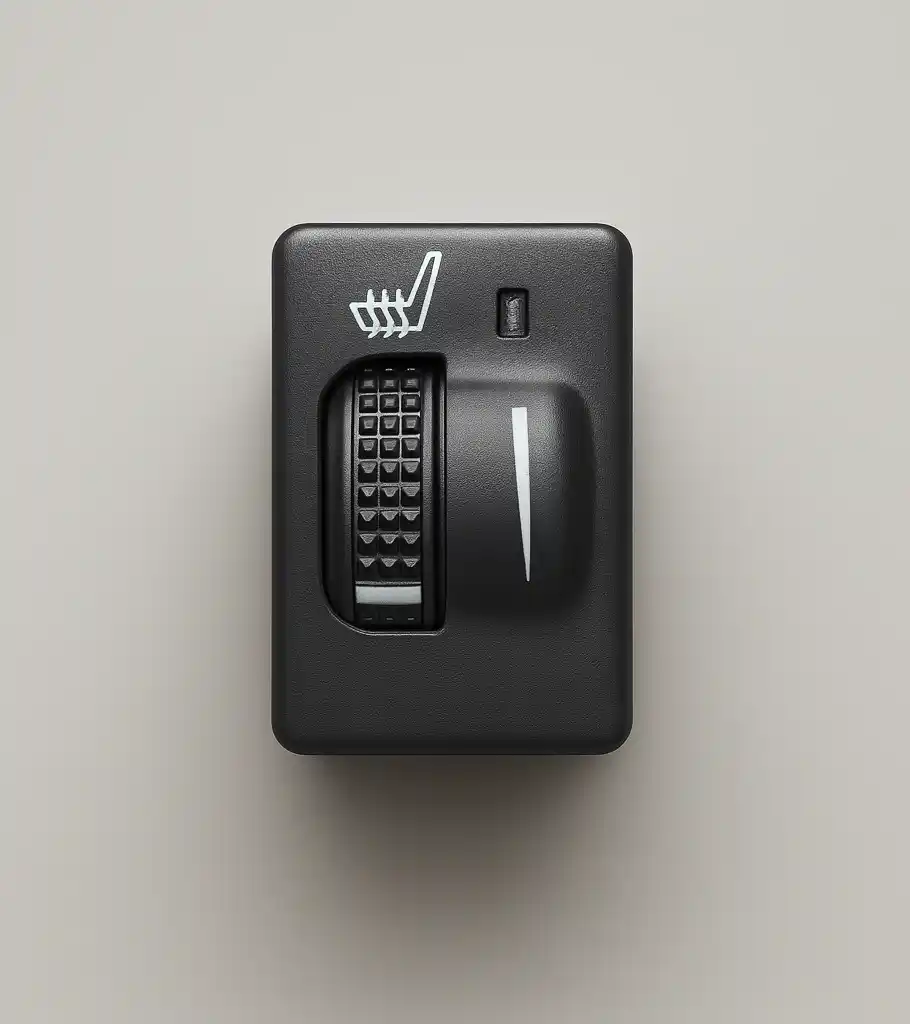
- 13th gen (2015–2020): Positioned on the lower instrument panel trim to the left of the steering column for the driver and in the lower center stack panel for the passenger. These are backlit rocker switches that interface with the SYNC 3 system on XLT and higher trims.
- 14th gen (2021–2024): Embedded in the climate control section of the center stack. Platinum and King Ranch trims use capacitive touch controls rather than physical switches, which require a full panel assembly replacement rather than a standalone switch swap.
Tools and Parts You Need Before Starting
Gather everything before opening any trim panel. Stopping mid-procedure to locate a tool risks snapping retaining clips or leaving a harness connector exposed to moisture:
- Plastic trim panel pry tools (non-marring)
- T20 and T27 Torx drivers for console and instrument panel screws
- Flat-blade screwdriver for harness connector secondary lock tabs
- Digital multimeter for resistance and voltage verification
- Wiring diagram specific to your F150 trim level and model year (available through Ford ETIS or an ALLDATA subscription)
- Replacement switch matched to the OEM part number on the existing switch body or the door jamb certification sticker
- Dielectric grease for the connector terminals at reassembly
You can browse our complete seat heating and ventilation product lineup to find a compatible replacement switch or a full seat heater kit matched to your F150 trim level and model year.
Step-by-Step Removal and Replacement Procedure
The procedure below covers the 2015–2020 (13th gen) lower instrument panel switch location, the most common repair scenario. Adapt fastener counts and clip positions for other generations using your year-specific wiring diagram.
- Step 1 – Disconnect the battery negative terminal: Wait 90 seconds after disconnection for the supplemental restraint system capacitors to discharge. Never work near trim panels in airbag deployment zones with the battery connected.
- Step 2 – Remove the lower instrument panel trim: Insert a plastic pry tool along the bottom edge and work the retaining clips free from the outboard end inward.
- On 13th gen trucks there are typically four clips and one T27 screw concealed behind a small coin tray cover that hinges upward.
- Step 3 – Disconnect the switch harness connector: Press the secondary lock tab upward first, then squeeze the primary latch tab and pull the connector straight rearward. Do not lever against the switch body—the housing becomes brittle on high-mileage trucks and will fracture rather than release.
- Step 4 – Release the switch from the panel: Insert two slim trim tools into the side notches on the switch body and simultaneously press inward to disengage the four plastic locking tabs. Slide the switch forward and clear of the panel opening.
- Step 5 – Install the replacement switch: Align the locking tabs with the panel cutout and press firmly until all four tabs audibly click home. Reconnect the harness connector until the secondary lock tab snaps into its detent.
- Step 6 – Reassemble and test: Reinstall the trim panel, reconnect the battery, and cycle the ignition to Run. Press the new switch and confirm the indicator LED illuminates within two seconds and the seat surface begins to warm within three to five minutes at the highest setting.
Wiring and Electrical Checks for the Heated Seat Circuit
If a new switch does not resolve the problem, verify the surrounding circuit before replacing the heater element or control module—those components are significantly more expensive and require seat removal to access:
- Supply voltage at the switch connector:
- With the ignition in Run
- backprobe the reference voltage pin on the harness side. Expect 5 V on BCM-signal circuits or 12 V on direct relay circuits. A reading below 4.5 V or below 11 V respectively indicates a blown fuse or a wiring fault upstream of the switch.
- Ground integrity: Measure resistance from the switch ground pin to a clean chassis ground point. Any reading above 0.5 Ω points to corrosion in the ground splice or at the body ground stud near the driver-side kick panel.
- Heater element resistance: Unplug the element connector beneath the seat cushion and measure across the element terminals. A healthy element reads 1.5 Ω to 4 Ω depending on the seating zone. An open circuit or a reading below 0.5 Ω (dead short) confirms a failed element independent of the switch.
- Thermistor resistance:
- The thermistor is a negative temperature coefficient (NTC) resistor whose resistance decreases as seat temperature rises. At room temperature (approximately 21 °C / 70 °F)
- most Ford heated seat thermistors measure 10 kΩ ±10%. An out-of-range reading causes the control module to deactivate the heater prematurely or refuse to activate it at all.
OEM vs. Aftermarket Ford F150 Heated Seat Switch Options
Ford OEM switches carry part numbers such as FL3Z-19K314-AA for 2015–2017 models and ML3Z-19K314-BA for 2018–2020 models.
They are built to the original durability specification and are the safest choice for trucks still under powertrain warranty or for 2021–2024 trims that use capacitive touch panels requiring firmware pairing with the BCM.
Quality aftermarket seat heater switch replacements are available for most F150 generations at a substantially lower cost.
When evaluating alternatives, confirm the switch is rated to at least 500,000 actuation cycles, that the LED sub-circuit includes reverse-polarity protection, and that the connector mates with the factory harness without splicing or adapters.
Avoid unbranded units that ship without a stated contact resistance specification—high contact resistance introduces a voltage drop that the BCM may log as a circuit fault even when the heater appears to function normally.
Frequently Asked Questions
Q: How do I determine whether the switch or the heater element is causing my F150 seat heater to fail?
A:
- On most F150 trims
- the driver and passenger heated seat switches share an identical part number and connector configuration. Temporarily swap the two switch connectors with the ignition off
- then retest. If the fault moves to the opposite seat
- the switch is the defective component. If the fault stays on the same physical seat regardless of which connector is plugged in
- the heater element
- thermistor
- or control module for that seat position is the root cause.
Q: Can I replace the Ford F150 heated seat switch myself, or does it require a dealership?
A:
- For 2004–2020 F150 trucks
- the replacement is a straightforward DIY repair completable in under 45 minutes using plastic trim tools and a Torx driver set. The exception is the 2021–2024 capacitive touch panel: if the replacement panel assembly does not match the existing BCM calibration file
- a SYNC module re-flash at a Ford dealer may be required before the heated seat controls operate correctly.
Q: Can a stuck Ford F150 heated seat switch drain the battery overnight?
A:
- On 2015+ F150 trucks
- the BCM cuts power to all seat heater circuits within 30 seconds of the ignition switching to Off
- so a mechanically welded switch contact alone will not drain the battery. However
- if the switch signal line is shorted to ground
- the BCM may receive a continuous activation signal that prevents it from entering sleep mode. The resulting parasitic draw can exceed 150 mA—enough to fully discharge a standard flooded battery in two to three days.
Lucky Driver Inc. stocks OEM-grade seat heater switches, pigtail harness adapters, replacement heating elements, and complete seat heater kits for the Ford F150 and dozens of other North American truck and SUV platforms.
Contact our technical team for fitment confirmation by VIN or to request a volume quote for fleet service centers and professional installer accounts.
Related Articles
- Honda Pilot Heated Seat Switch: 2026 Complete Repair Guide
- Honda CR-V Seat Heater Switch: 2026 Complete Repair Guide
- Honda Accord Heated Seat Switch: 2026 Repair Guide
- Honda Civic Seat Heater Switch: 2026 Repair Guide
- Toyota Tundra Heated Seat Switch: 2026 Repair Guide
Frequently Asked Questions About ford f150 heated seat switch
Procurement engineers evaluating ford f150 heated seat switch for OEM programs regularly ask the following questions. Answers cover specification, compatibility, certification, and sourcing for ford f150 heated seat switch requirements.
What voltage ratings are available for ford f150 heated seat switch?
Standard ford f150 heated seat switch configurations support 12 V DC for passenger vehicles and 24 V DC for commercial trucks. Selecting the correct ford f150 heated seat switch voltage at the design stage eliminates harness rework later.
Lucky Driver maintains ford f150 heated seat switch inventory in both ratings for same-week shipment.
Which certifications apply to ford f150 heated seat switch production?
ford f150 heated seat switch assemblies entering OEM programs typically require UL recognition, REACH compliance, and RoHS documentation. Lucky Driver holds certification records for every ford f150 heated seat switch variant and includes copies with sample and production shipments.
How is watt density specified for ford f150 heated seat switch?
Watt density for ford f150 heated seat switch is expressed in W/cm² and ranges from 0.04 to 0.12 depending on heat-up time requirements. Lower watt density ford f150 heated seat switch designs improve element longevity, while higher values suit cold-climate applications.
Lucky Driver engineering reviews ford f150 heated seat switch requirements and recommends watt density based on your seat platform.
What connector families are used with ford f150 heated seat switch?
ford f150 heated seat switch harnesses are available with Molex, TE Connectivity, and Delphi connector families. Matching the ford f150 heated seat switch connector to the vehicle harness reduces assembly time and eliminates adapter cables.
Specify your harness format when requesting a ford f150 heated seat switch quote from Lucky Driver.
What is the lead time for ford f150 heated seat switch samples?
ford f150 heated seat switch samples from Lucky Driver’s North American warehouse ship within 3 to 5 business days for standard configurations. Custom ford f150 heated seat switch variants with modified pad geometry or connector pinouts require 4 to 6 weeks.
Contact Lucky Driver to confirm ford f150 heated seat switch availability before submitting your engineering schedule.