When your seat warming function stops responding on a cold morning, a failed honda accord heated seat switch is the most common cause. The switch is a low-cost component, but misdiagnosing it wastes time and money.
This guide covers how the Accord’s seat heater circuit operates, which switch design your model year uses, how to confirm the switch is actually at fault before ordering parts, and how to complete the replacement yourself — across 7th through 11th generation Accords from 2003 to 2024.
How the Honda Accord Heated Seat Switch System Works
The Accord’s seat heater system routes 12-volt battery current through a resistive element woven into the seat cushion and seatback foam.
The switch does not carry the full element current directly; instead it sends a low-voltage control signal to a dedicated seat heater relay, which then handles the high-current load.
A negative temperature coefficient (NTC) thermistor embedded near the heating element monitors surface temperature and feeds data back to the relay control circuit, cycling the relay on and off to hold the selected heat level without overheating the foam or occupant.
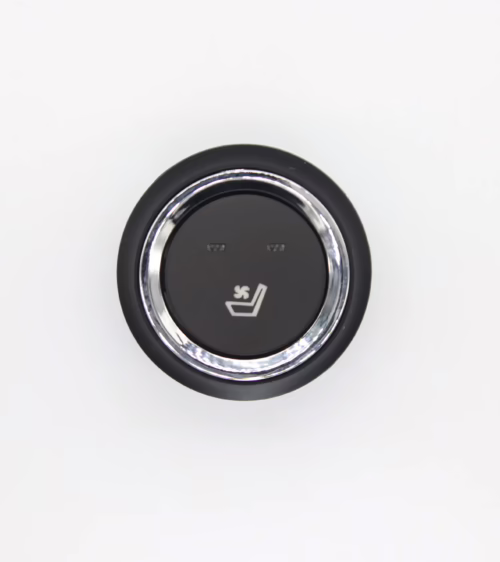
Most 8th gen and newer Accords use a two-stage or three-stage rocker switch with an illuminated indicator that changes intensity or color to reflect low, medium, or high output.
The LED and the switching contacts are separate sub-circuits within the same switch body — a functional LED does not confirm the output contacts are closing, which is a common diagnostic mistake.
Which Accord Model Years Use Which Switch Design
Honda revised its interior architecture across several generations, and the switch form factor and connector changed with each redesign. Matching the correct part to your vehicle requires knowing your generation, not just your year.
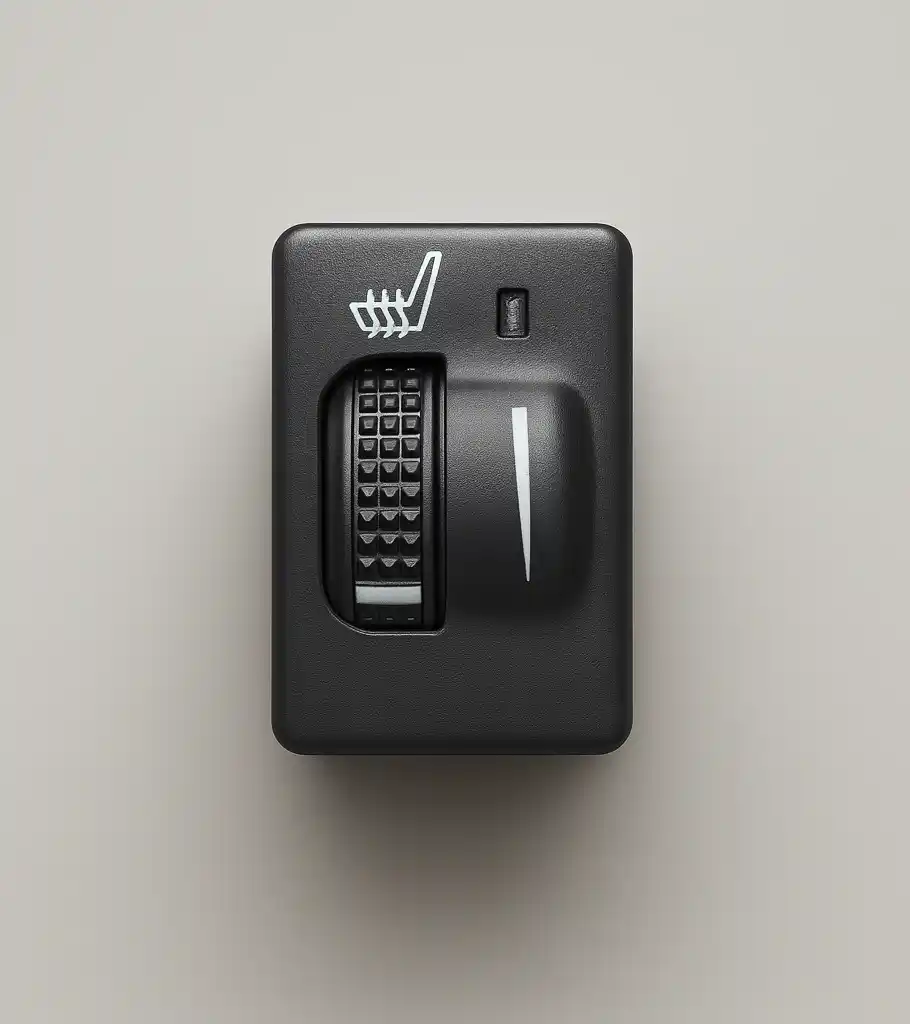
- 7th Gen (2003–2007): Single-stage toggle switch integrated into the HVAC cluster trim panel. Connector is a 2-pin Sumitomo HM-series plug. Heated seats were optional on EX and above.
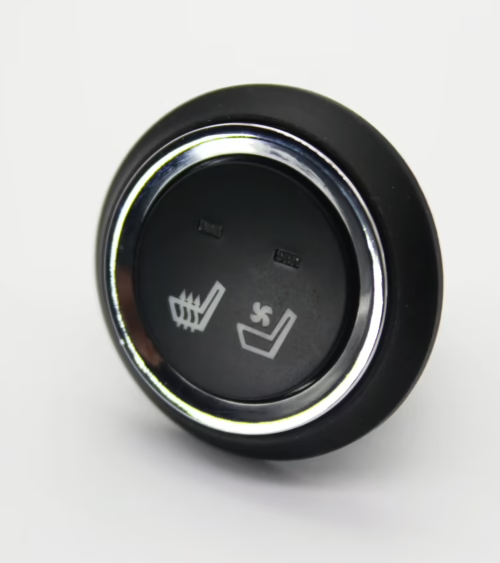
- 8th Gen (2008–2012): Two-stage illuminated rocker with an amber LED ring. Four-pin connector on the driver side; identical pinout on the passenger side. The switch body is interchangeable left to right.
- 9th Gen (2013–2017): Three-stage rocker with separate blue and red heat-level indicator LEDs. Six-pin connector; this design is shared with the 4th gen CR-V (2012–2016) and the 3rd gen Pilot, making cross-model sourcing possible with minor bezel fitting adjustments.
- 10th Gen (2018–2022): EX-L and Sport trims use a physical 6-pin rocker with a revised bezel profile; Touring uses a touch-capacitive panel integrated into the climate control display that is not field-replaceable separately from the entire HVAC unit.
- 11th Gen (2023–present): Physical rocker re-introduced across EX-L, Sport, and Touring trims after customer feedback on the prior touch panel. Shares the 6-pin footprint of the 9th gen but uses a thinner, more flush bezel that does not retrofit backward.
Confirming your exact trim and generation before purchasing eliminates the most common fitment mistake in this repair category.
Common Symptoms of a Failing Heated Seat Switch
A degraded switch exhibits predictable failure modes. Identifying the specific symptom narrows the diagnosis before you pick up a multimeter.
- No heat on any setting: The most frequent complaint. Internal switch contacts oxidize over time, particularly in humid climates. The seat fuse and relay test healthy, but the heating element never activates because the relay coil trigger signal never leaves the switch.
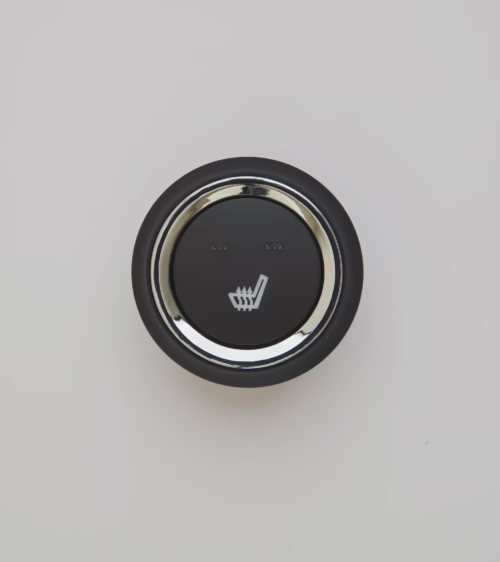
- Heat locked to one level: One stage of a multi-stage switch has failed while others still make contact. The driver gets high heat but not low, or the low setting works while high does not.
- Indicator LED flickers or stays dark: The LED is soldered directly to the switch PCB. Thermal cycling over hundreds of heat-cool cycles causes hairline cracks in the solder joints, killing the indicator before the switching contacts fail.
- Intermittent operation correlated with temperature: Heat functions when the cabin is warm but drops out in cold weather. This is classic contact resistance behavior — low temperatures increase oxidation-layer resistance past the threshold needed to pull in the relay coil.
- Switch feels mushy or does not spring back: The internal rocker spring clip fractures on high-mileage vehicles. The switch may still make electrical contact intermittently, producing unpredictable behavior rather than a clean failure.
Diagnosing the Circuit Before Ordering Parts
Replacing the switch without confirming it is the actual fault wastes money. This four-step sequence with a digital multimeter and a model-year wiring diagram isolates the failure to a specific component.
Step 1 — Inspect the fuse. On 8th through 11th gen Accords the seat heater circuit is protected by a 20 A or 25 A fuse in the under-hood fuse block labeled SEAT HTR. A blown fuse indicates a downstream short in the harness or element, not a bad switch.
Replacing the switch without clearing the short will blow the new fuse immediately.
Step 2 — Verify supply voltage at the switch connector. With the ignition in the ON position, back-probe the power supply pin on the switch harness connector with a DMM. You should read 12.0–14.4 V.
A missing supply voltage points to a failed relay, an open fuse trace, or broken wiring upstream of the switch — the switch itself is not the problem.
Step 3 — Measure the switch output signal. Press the switch to any active position and probe the output signal pin. A healthy switch produces a switched-ground or 5 V logic signal (generation-dependent) to the relay coil terminal.
A flat 0 V reading with good input voltage confirms the switch contacts are not closing and the unit needs replacement.
Step 4 — Test heating element resistance. Disconnect the element harness at the seat and measure resistance across the element terminals. Honda specifies approximately 2–4 ohms for a full cushion and seatback element combined.
An open circuit (infinite resistance) or a near-zero reading indicating a short means the element also requires replacement regardless of switch condition.
Step-by-Step Switch Replacement Procedure
This procedure applies broadly to 8th through 11th gen Accords. Always cross-reference a model-year-specific wiring diagram for connector pinout confirmation.
- Gather tools: Plastic trim pry tool, #2 Phillips screwdriver, small flat-blade screwdriver, digital multimeter, and the replacement switch verified for your generation and trim.
- Disconnect the negative battery terminal and wait at least two minutes to allow capacitors in the body control module to discharge.
- Remove the center console trim panel surrounding the switch. On most 8th–11th gen Accords, this panel is retained by four push-pin clips and two Phillips screws concealed beneath the cupholder liner.
- Release the harness connector by depressing its locking tab and pulling it straight rearward. Do not rotate the connector; twisting bends the internal guide ribs and makes future servicing difficult.
- Release the switch from the panel by pressing both side retention tabs simultaneously and pushing the switch rearward out of the panel opening. Some 10th gen switches have a single center tab instead of two side tabs — check before applying force.
- Seat the new switch by pressing it forward into the opening until both retention tabs audibly click. Reconnect the harness connector until you hear a positive snap and the locking tab seats flush.
- Reconnect the battery and verify all heat levels and indicator LEDs function correctly before reinstalling the trim panel and screws.
OEM vs. Aftermarket Switch Options
Genuine Honda switches sourced through dealerships or Honda authorized parts retailers offer exact fitment and are backed by Honda’s standard parts warranty. Pricing ranges from $45 to $120 depending on generation and trim level.
Availability for 7th and 8th gen switches is declining as Honda phases out older part numbers, making aftermarket sourcing increasingly necessary for pre-2013 vehicles.
Quality aftermarket switches match OEM contact ratings and connector geometry at 40–60 percent of dealer pricing. The critical specification to verify is the output contact current rating.
Seat heater switches must sustain relay coil currents continuously; on some 7th gen designs the switch carries partial element current directly and must be rated for at least 10 A continuous on the switched output.
Switches with silver-nickel or silver-cadmium oxide contacts are preferred over tin-plated alternatives for longevity in thermal-cycling applications.
If purchasing tin-plated contacts, clean the mating surfaces with electrical contact cleaner before installation to remove the anti-tarnish preservative coating applied during manufacturing storage, which can add measurable contact resistance on initial use.
For a curated selection of OEM-equivalent components, Lucky Driver’s full seat heating product catalog covers Honda Accord fitments alongside compatible heating elements, control modules, and harness adapters for most North American applications.
Preventing Premature Switch Failure
Moisture is the leading cause of early switch failure in daily-driven vehicles. Water from wet clothing migrates through seat foam and reaches the switch wiring cavity via capillary action along harness wires.
Applying a thin coat of dielectric grease to the connector terminals at installation creates a moisture barrier without adding contact resistance. This single step can double service life in high-humidity environments.
Avoid pressing the switch lens with keys, fingernails, or sharp objects. The illuminated indicator lens on aftermarket and even some OEM switches can crack under point loading, admitting moisture directly onto the PCB and accelerating corrosion of the solder joints.
In vehicles used in road-salt regions, inspect the switch connector annually and remove any white crystalline oxide deposits with a cotton swab dampened with 90-percent isopropyl alcohol.
Salt aerosol travels up wiring harnesses by capillary action and attacks terminals from the inside even when the connector body appears undamaged externally.
Frequently Asked Questions
Q: Can I substitute a seat heater switch from a Honda CR-V into my Accord?
A:
- Electrically yes
- if the two vehicles share a common platform generation. The 9th gen Accord (2013–2017) and the 4th gen CR-V (2012–2016) use the same 6-pin switch design and identical connector pinout
- so the switch will function correctly. However
- the bezel outer dimensions differ
- meaning the CR-V switch will not flush-mount in the Accord’s trim panel opening without minor filing or shimming of the panel aperture.
Q: My switch illuminates normally but the seat produces no heat. Where do I start?
A:
- A lit indicator only confirms the switch PCB has power — it says nothing about whether the output contacts are closing. Start with the relay: back-probe the relay coil trigger terminal while pressing the switch to confirm the switch is actually sending the control signal.
- If the signal is present but the relay does not click
- replace the relay. If the signal is absent
- replace the switch. If the relay clicks but the element stays cold
- test element resistance as described in the diagnosis section above.
Q: Is it safe to drive with a switch stuck in the on position?
A:
- Not for extended periods. A permanently closed switch bypasses the thermistor feedback loop
- allowing the relay to stay energized continuously. Over several hours of sustained operation this can overheat the element’s insulation jacket and in rare cases degrade the seat foam surrounding it. As a temporary measure
- pull the SEAT HTR fuse to disable the circuit until the switch is replaced.
Get the Right Part for Your Honda Accord
Lucky Driver Inc. specializes in OEM-grade seat heating components for North American vehicles. Our replacement seat heater switches are manufactured to OEM current ratings, use verified connector dimensions, and are cross-referenced to Honda Accord generation and trim.
Whether you are a DIY owner completing a single repair or a shop technician sourcing parts across multiple vehicles, Lucky Driver provides application-specific technical support and same-day dispatch on in-stock items. Reach our team through the website for fitment confirmation before you order.
Related Articles
- Honda Civic Seat Heater Switch: 2026 Repair Guide
- Toyota Tundra Heated Seat Switch: 2026 Repair Guide
- Toyota 4Runner Seat Heater Switch: 2026 Repair Guide
- Toyota Corolla Heated Seats: 2026 Complete Owner’s Guide
- Toyota Highlander Seat Heater Switch: 2026 Repair Guide
Frequently Asked Questions About honda accord heated seat switch
Procurement engineers evaluating honda accord heated seat switch for OEM programs regularly ask the following questions. Answers cover specification, compatibility, certification, and sourcing for honda accord heated seat switch requirements.
What voltage ratings are available for honda accord heated seat switch?
Standard honda accord heated seat switch configurations support 12 V DC for passenger vehicles and 24 V DC for commercial trucks. Selecting the correct honda accord heated seat switch voltage at the design stage eliminates harness rework later.
Lucky Driver maintains honda accord heated seat switch inventory in both ratings for same-week shipment.
Which certifications apply to honda accord heated seat switch production?
honda accord heated seat switch assemblies entering OEM programs typically require UL recognition, REACH compliance, and RoHS documentation. Lucky Driver holds certification records for every honda accord heated seat switch variant and includes copies with sample and production shipments.
How is watt density specified for honda accord heated seat switch?
Watt density for honda accord heated seat switch is expressed in W/cm² and ranges from 0.04 to 0.12 depending on heat-up time requirements. Lower watt density honda accord heated seat switch designs improve element longevity, while higher values suit cold-climate applications.
Lucky Driver engineering reviews honda accord heated seat switch requirements and recommends watt density based on your seat platform.
What connector families are used with honda accord heated seat switch?
honda accord heated seat switch harnesses are available with Molex, TE Connectivity, and Delphi connector families. Matching the honda accord heated seat switch connector to the vehicle harness reduces assembly time and eliminates adapter cables.
Specify your harness format when requesting a honda accord heated seat switch quote from Lucky Driver.
What is the lead time for honda accord heated seat switch samples?
honda accord heated seat switch samples from Lucky Driver’s North American warehouse ship within 3 to 5 business days for standard configurations. Custom honda accord heated seat switch variants with modified pad geometry or connector pinouts require 4 to 6 weeks.
Contact Lucky Driver to confirm honda accord heated seat switch availability before submitting your engineering schedule.