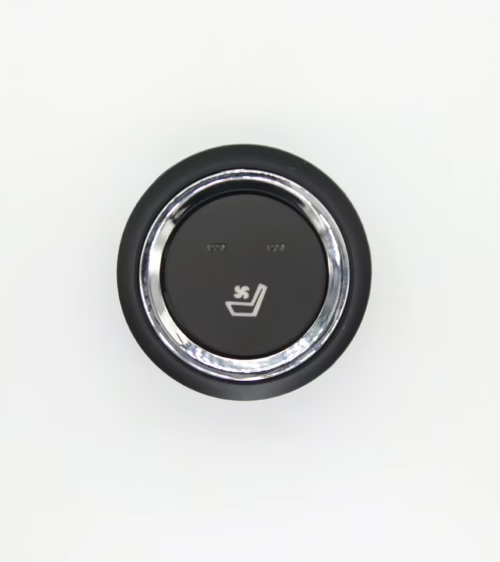
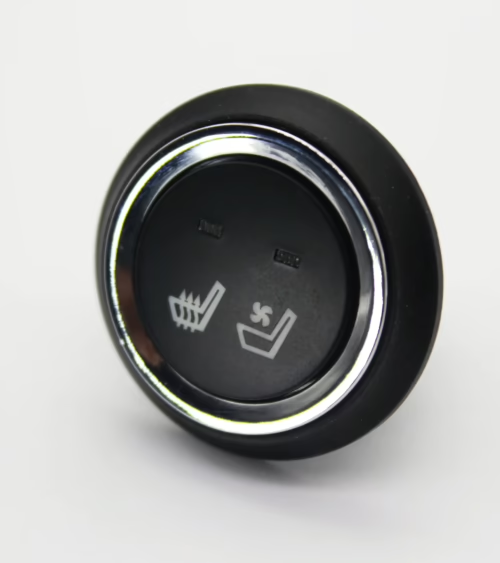
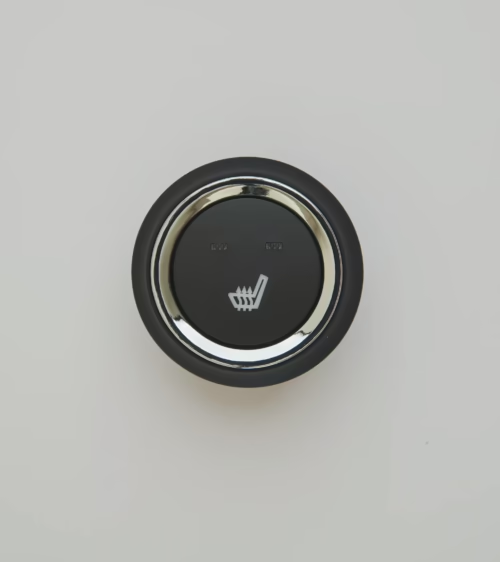
A heated seat kit with switch is the fastest way to add factory-style seat heating to a vehicle that never had it, or to restore heating in a seat where the original element has failed.
A complete kit bundles the heating pads, the operator switch, the wiring harness, and in most modern designs a control module that regulates temperature and protects the circuit.
Because these components must work together as a system, evaluating a kit means evaluating each part on its own merits and then checking how well they are matched. This guide covers seven things installers, seat manufacturers, and distributors should understand before specifying or stocking a heated seat kit in 2026.
1. What a Complete Heated Seat Kit Includes
A proper kit contains more than a pair of heating pads. At minimum, expect the following components, and treat anything missing as a cost you will absorb later:
- Two heating elements per seat — one for the cushion (base) and one for the backrest, sized to cover the occupant contact zones without extending into trim channels or side bolster seams.
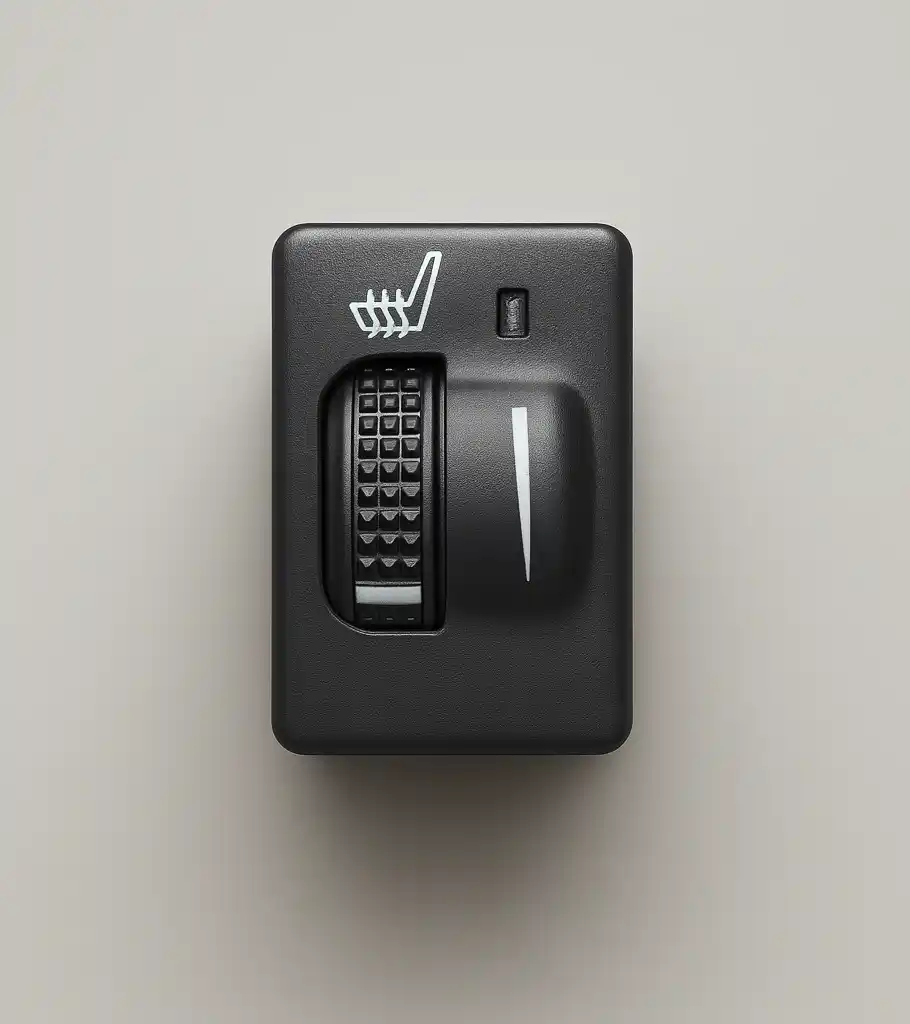
- An operator switch — rocker, round push-button, or membrane style, typically offering off/low/high or multi-level control with indicator illumination.
- A control module or integrated controller — handles temperature regulation, timing, and fault protection.
- A wiring harness — pre-terminated with connectors for the pads, switch, power, and ground, plus an inline fuse.
Kits that ship pads and a bare switch with loose wire force the installer to design the circuit themselves.
For a one-off DIY job that may be acceptable; for a shop doing volume installs or an OEM seat builder, pre-engineered harnesses cut labor time and eliminate the most common source of warranty comebacks: field-crimped connections.
2. Heating Element Construction: Carbon Fiber vs. Alloy Wire
The heating pad is the heart of the kit, and two constructions dominate the market. Alloy wire elements route a continuous resistance wire (typically a copper or copper-nickel alloy) in a serpentine pattern laminated between non-woven fabric layers.
They are inexpensive and proven, but a single wire break anywhere in the circuit kills the entire pad. Carbon fiber elements use bundles of conductive carbon strands arranged in parallel paths.
Because current has multiple routes, a localized break degrades output slightly instead of causing total failure, and the pads flex more naturally with foam movement.
Both constructions work on the same physical principle:
- electrical current passing through a resistive conductor converts energy to heat
- a phenomenon known as Joule heating. What separates a durable pad from a cheap one is not the principle but the execution — wire gauge consistency
- lamination quality
- strain relief where the lead wires exit the pad
- whether the element pattern avoids the seat’s flex lines and occupant detection sensor zones.
3. Switch Types and Why the Switch Matters More Than It Looks
The switch is the only part of the kit the end user touches every day, and it fails more often than buyers expect — not electrically, but mechanically and cosmetically.
Rocker switches suit dash or console mounting and typically carry the heating load directly through their contacts, so verify the current rating against the pad draw with margin. Round push-button switches usually signal a relay or module rather than switching load current, which extends contact life dramatically.
Membrane and capacitive switches integrate into seat-side trim panels for a factory appearance.
Key specifications to verify:
- contact rating in amps at 12V DC (not the AC rating some datasheets lead with)
- actuation life cycles (50,000 minimum for daily-driver use)
- backlight and indicator LED current draw
- panel cutout dimensions. Fleet and OEM buyers should also confirm connector pinout documentation
- because an undocumented switch becomes unserviceable the moment the original supplier changes revisions. If you are sourcing at volume
- working from a dedicated seat heater switch product line with published pinouts and consistent cutout dimensions avoids requalifying the dash panel every time a component is substituted.
4. Temperature Control: Thermostats, Thermistors, and Timed Shutoff
Uncontrolled heating pads are a liability. There are three regulation approaches, in ascending order of sophistication.
Bimetallic thermostats embedded in the pad open the circuit at a fixed temperature (commonly around 40–45°C surface) and re-close on cooldown; they are simple and cheap but cycle noticeably and offer only one setpoint.
NTC thermistor feedback with an electronic controller reads pad temperature continuously and modulates power via PWM, holding the surface within a degree or two of target across multiple heat levels. Timed auto-shutoff — typically 30 to 45 minutes — layers on top of either method and protects against a seat left heating overnight.
For 2026-model aftermarket kits, thermistor-based PWM control with multi-level selection has become the baseline expectation rather than a premium feature. It also matters for occupant safety:
- prolonged low-temperature contact can cause burns in users with reduced sensation
- which is why closed-loop control and auto-shutoff are worth specifying even when a cheaper open-loop kit passes initial testing.
5. Electrical Requirements: Current Draw, Fusing, and Power Pickup
A typical two-pad seat kit draws 4 to 7 amps at 12V on high — roughly 50 to 90 watts per seat. Two front seats running simultaneously can approach 15 amps, which dictates the wiring plan:
- Wire gauge: 16 AWG minimum for the main feed on a single seat; 14 AWG when two seats share a feed.
- Fusing: an inline fuse sized just above maximum draw (10A for a single seat is typical), located close to the power pickup point.
- Power source: an ignition-switched circuit or an add-a-fuse tap at the fuse box — never a constant-hot tap without a module that provides auto-shutoff, or the kit can drain the battery.
- Grounding: a dedicated chassis ground stud, not a trim screw into painted metal.
Installers should also confirm that the harness routing through the seat base includes service loops for seat track travel. A harness pulled taut at full rearward travel is the second most common field failure after crimp faults.
6. Installation Inside the Seat: Pad Placement and Trim Reassembly
Heating pads mount between the foam cushion and the trim cover, adhered to the foam with the pad’s pressure-sensitive backing. Three rules prevent most installation failures.
First, keep the element away from hog-ring channels and listing wires — a hog ring driven through a heating element creates a short or an open that may not show up until weeks later.
Second, do not fold or overlap the pad to fit a smaller cushion; folding concentrates heat and stresses the element. If the pad is oversized for the seat, it is the wrong pad.
Third, route lead wires out of the seat at a point where they cannot be pinched by the recliner mechanism or seat frame during adjustment.
Seats equipped with occupant classification sensors (common in passenger seats feeding the airbag system) require pads designed to coexist with the sensor mat.
Installing a generic pad on top of or beneath an occupant sensor can alter its readings and affect airbag deployment logic — in those applications, use pads validated for sensor-equipped seats or restrict heating to the backrest.
7. Sourcing at Volume: What OEM and Distributor Buyers Should Verify
For seat manufacturers and parts distributors, the evaluation shifts from one kit to the supplier behind it.
Verify that heating pads carry documented testing for flammability (FMVSS 302 for interior materials), that the supplier publishes resistance tolerances per pad batch, and that connectors use automotive-grade terminals rather than consumer hobby connectors. Ask for the supplier’s change-notification policy:
- a silent substitution of element material or connector series is how a qualified part becomes a warranty problem. Consistent country-of-origin documentation and stable lead times matter as much as unit price once a kit is designed into a production seat or stocked across multiple branches.
- Buyers comparing options can browse a full range of seat heating components — pads
- switches
- control modules
- complete kits — to match specifications against their application before committing to volume.
Frequently Asked Questions
How long does it take to install a heated seat kit with switch?
A professional installer typically needs 1.5 to 2.5 hours per seat:
- removing the seat
- separating the trim cover
- placing cushion and backrest pads
- routing the harness
- mounting the switch
- connecting switched power. First-time DIY installs commonly take twice that
- with trim cover reassembly (hog rings or trim clips) being the slowest step.
Will an aftermarket heated seat kit damage leather or synthetic seat covers?
No, provided the kit has proper temperature regulation. Quality kits hold surface temperature in the 35–45°C range, well below what damages leather, vinyl, or fabric. Problems arise with unregulated pads or pads folded during installation, which create hot spots.
Perforated leather and ventilated covers actually transfer heat to the occupant faster, so lower settings feel warmer.
Can I reuse my factory switch with a replacement heating pad?
Often yes, if the replacement pad matches the original’s resistance and the factory switch or module expects the same load. Check the original pad’s resistance with a multimeter and match it within roughly 10%.
If the factory controller reads a thermistor in the pad, the replacement must include a compatible sensor, or the controller will flag a fault and refuse to heat.
Get Kits Built for Volume Buyers
Lucky Driver Inc. supplies heated seat kits, heating pads, switches, and control modules to OEM seat manufacturers and aftermarket distributors across North America. Our kits ship with documented electrical specifications, matched components, and consistent revision control, backed by US-based inventory and support.
Whether you need a complete heated seat kit with switch for retail programs or individual components for a production seat line, contact Lucky Driver Inc. for specifications, samples, and volume pricing.
Related Articles
- Seat Heater Kit for Cars: 7 Things to Check Before You Buy
- Seat Climate Control Module Supplier: 7 Specs for 2026
- Heated Seat Components Distributor: 7 Criteria for 2026
- Seat Heater Switch Supplier: 7 Specs to Verify in 2026
- Automotive Seat Heating Supplier North America: 7 Checks
Frequently Asked Questions About heated seat kit with switch
Procurement engineers evaluating heated seat kit with switch for OEM programs regularly ask the following questions. Answers cover specification, compatibility, certification, and sourcing for heated seat kit with switch requirements.
What voltage ratings are available for heated seat kit with switch?
Standard heated seat kit with switch configurations support 12 V DC for passenger vehicles and 24 V DC for commercial trucks. Selecting the correct heated seat kit with switch voltage at the design stage eliminates harness rework later.
Lucky Driver maintains heated seat kit with switch inventory in both ratings for same-week shipment.
Which certifications apply to heated seat kit with switch production?
heated seat kit with switch assemblies entering OEM programs typically require UL recognition, REACH compliance, and RoHS documentation. Lucky Driver holds certification records for every heated seat kit with switch variant and includes copies with sample and production shipments.
How is watt density specified for heated seat kit with switch?
Watt density for heated seat kit with switch is expressed in W/cm² and ranges from 0.04 to 0.12 depending on heat-up time requirements. Lower watt density heated seat kit with switch designs improve element longevity, while higher values suit cold-climate applications.
Lucky Driver engineering reviews heated seat kit with switch requirements and recommends watt density based on your seat platform.
What connector families are used with heated seat kit with switch?
heated seat kit with switch harnesses are available with Molex, TE Connectivity, and Delphi connector families. Matching the heated seat kit with switch connector to the vehicle harness reduces assembly time and eliminates adapter cables.
Specify your harness format when requesting a heated seat kit with switch quote from Lucky Driver.
What is the lead time for heated seat kit with switch samples?
heated seat kit with switch samples from Lucky Driver’s North American warehouse ship within 3 to 5 business days for standard configurations. Custom heated seat kit with switch variants with modified pad geometry or connector pinouts require 4 to 6 weeks.
Contact Lucky Driver to confirm heated seat kit with switch availability before submitting your engineering schedule.