The Toyota Highlander seat heater switch is a small component that takes significant abuse:
- dozens of presses per week through cold winters
- exposure to spilled beverages
- years of thermal cycling. When it fails
- your heated seats may stop responding entirely
- work on only one heat level
- or display indicator lights that no longer match actual heater output. This guide covers how the switch works
- how to diagnose a fault before buying parts
- step-by-step replacement
- what to look for in a quality replacement—whether you drive a 2014 fourth-generation Highlander or a 2024 fifth-generation model.
How the Toyota Highlander Seat Heater Switch Works
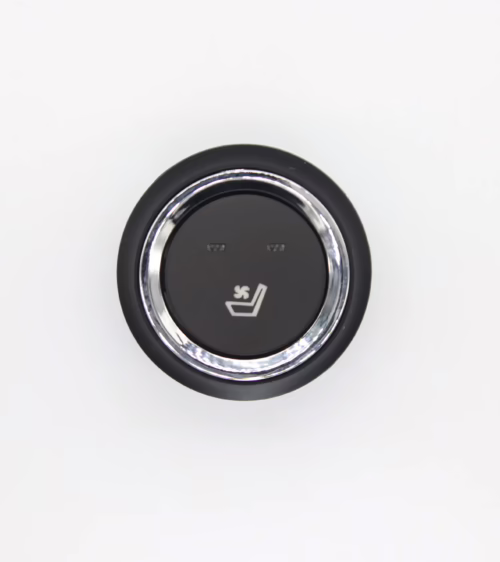
The seat heater switch in the Highlander is a panel-mounted rocker or multi-stage button wired into the Body Control Module (BCM) or a dedicated seat heater control unit. Most 2014–2024 Highlanders use a two- or three-stage switch:
- a single press activates high heat
- a second press drops to low
- a third press turns the system off. When you press the switch
- it completes a low-current signal circuit that commands the heater module to energize the resistive heating element beneath the seat cushion and backrest.
- The switch itself does not carry full load current to the element—it passes a logic-level signal while the module handles heavy switching through onboard relays or MOSFETs.
A temperature sensor embedded in the seat cushion feeds data back to the control module, which cycles the heater on and off to maintain the selected comfort level.
This closed-loop behavior is governed by NTC thermistors that decrease resistance as seat temperature rises, preventing the element from sustaining unsafe over-current.
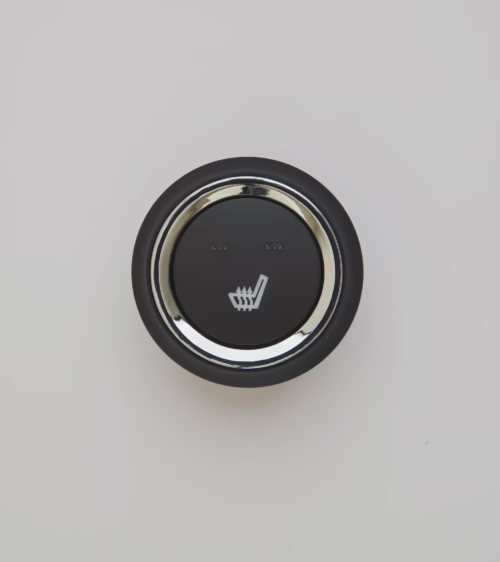
The switch indicator LED—illuminated in amber or red depending on heat level—is driven through the same module, so a dim or flickering LED often signals degraded switch contacts or a failing module rather than a burned-out bulb.
Common Symptoms of a Failing Seat Heater Switch
Identifying the switch as the fault source—rather than the heating element, control module, or wiring harness—saves time and money. Watch for these specific symptoms before ordering parts:
- No response on any heat level: The switch does not illuminate and the seat stays cold, yet the fuse is intact and supply voltage is present at the connector.
- Works only on high or only on low: One stage is completely unresponsive, indicating a failed internal contact for that position.
- LED stays on permanently: The switch sends a continuous signal regardless of position, pointing to a shorted internal resistor network inside the switch body.
- Intermittent operation: Heat drops out when the vehicle hits bumps or the seat flexes, suggesting a cracked solder joint or intermittent mechanical contact.
- Sticky or stiff actuation: Noticeably increased resistance when pressing the button, commonly caused by liquid contamination inside the switch mechanism.
- LED illuminates but seat stays cold: This symptom typically points away from the switch—the signal is reaching the module, but the element or relay has failed downstream.
Step-by-Step Diagnosis Before You Buy Parts
These five checks isolate the fault systematically and confirm the switch is the correct part to replace:
- Step 1 — Check the fuse: Locate the SEAT HTR fuse in the instrument panel fuse box. It is typically 20 A on 2014–2020 Highlanders and 25 A on 2021–2024 models. A blown fuse almost always indicates a downstream short in the element wiring, not switch failure.
- Step 2 — Measure supply voltage: With the ignition in the ON position, backprobe the switch harness connector with a digital multimeter. You should read 12 V ± 0.5 V on the power feed pin. Absent voltage points upstream to the relay or fuse block.
- Step 3 — Test switch output signal:
- While probing the signal output pin
- press each heat-level position. A functioning switch transitions between 0 V and the reference voltage (5 V or 12 V depending on generation) as each stage is selected. A flat 0 V reading across all positions with supply voltage present confirms an open switch.
- Step 4 — Scan for body DTCs: Use an OBD-II scanner with Toyota body code coverage. Codes B1411, B1412, or B1413 indicate seat heater circuit faults. A complete absence of stored codes when the heater is unresponsive often isolates the fault to the switch or its connector rather than the element.
- Step 5 — Substitute test: Temporarily connect a known-good switch from the same model year. Restored heat output confirms the original switch is defective and replacement is warranted.
Wiring and Electrical Specifications
The Highlander seat heater switch uses a Sumitomo or Toyota-proprietary 6-pin or 8-pin connector housing. Understanding the key electrical parameters helps you evaluate replacement options and avoid damage during diagnosis:
- Operating voltage: 12 V DC (battery reference)
- Signal output range: 0–5 V analog or discrete 0/12 V logic, depending on vehicle generation
- LED current draw: Under 50 mA total across all indicators
- Contact resistance (new switch): Less than 100 mΩ per pole
- Rated operating temperature: −40 °C to +85 °C
- Actuation cycle rating (OEM spec): Minimum 50,000 cycles
Pin assignments differ between the 2014–2019 fourth generation and the 2020–2024 fifth generation. Always verify against the Toyota Electrical Wiring Diagram (EWD) for your specific model year before probing.
Reversing probes on certain signal pins can damage the BCM input circuit—a repair cost that exceeds the switch price many times over.
How to Replace the Seat Heater Switch
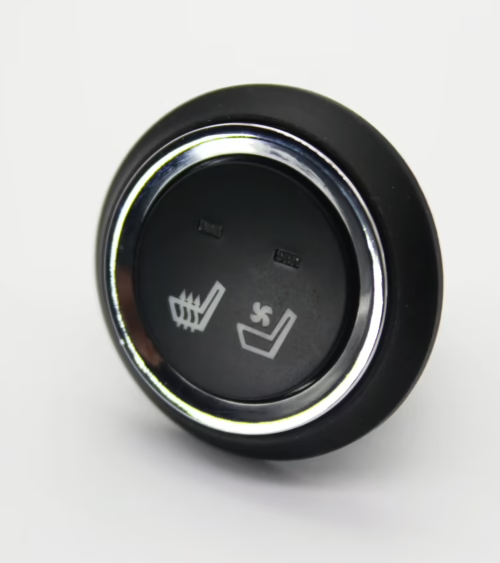
The switch is integrated into the center console trim panel on most Highlander trims, or into a seat control cluster on Limited and Platinum models. No special tools are required beyond a plastic trim removal tool and a multimeter for post-installation verification.
- 1. Power down and wait: Turn the ignition off and wait 90 seconds for airbag system capacitors to discharge before working near any console trim panels.
- 2. Remove the trim panel: Use a plastic trim removal tool to unclip the console surround or door panel switch cluster. Work around the perimeter; avoid metal tools that scratch finished surfaces.
- 3. Disconnect the harness: Press the release tab on the connector and pull straight back. Do not tug the wiring—damaged harness pins add a repair step that delays reassembly.
- 4. Install the replacement switch: Transfer any retaining clips not included with the new unit. Connect the harness until the tab clicks, then seat the switch body fully into the trim panel opening.
- 5. Verify before closing: With the ignition on, confirm that all heat levels activate and LED indicators correspond to the correct stage before snapping the trim panel closed.
Total labor time for a competent DIYer is 20 to 40 minutes. Dealer labor rates for this repair typically run one to two hours at shop rate, making it a strong candidate for self-service on any Highlander generation.
OEM vs. Aftermarket Seat Heater Switches
Toyota OEM switches are validated against JASO and ISO connector specifications and calibrated to the BCM signal thresholds specific to each Highlander trim level. They carry a 12-month/12,000-mile warranty through Toyota dealerships, with retail pricing typically ranging from $60 to $120 depending on trim and generation.
Quality aftermarket options—including our replacement seat heater switches engineered to OEM connector and signal specifications—offer a 40–60% cost reduction with comparable durability. When evaluating any aftermarket switch, verify these parameters against your vehicle’s EWD:
- Connector housing type—Sumitomo or Toyota-proprietary housing, not a universal generic 6-pin
- Signal voltage range matches the OEM spec for your specific generation
- LED color accuracy—amber for low heat, red for high on 2020+ models is the OEM standard
- Minimum 50,000 actuation cycle rating on the datasheet
- RoHS-compliant contact materials for long-term corrosion resistance
If you want to compare fitment-specific options across multiple Highlander generations, browse our complete seat heating product catalog where switches, control modules, and heating elements are organized by vehicle application and connector type.
Preventing Premature Switch Failure
Most Highlander seat heater switch failures trace to three root causes:
- liquid contamination from spilled beverages
- contact oxidation from infrequent use in humid climates
- accelerated mechanical wear from rapid repeated button presses. Addressing each extends switch service life well beyond the typical three-to-five-year failure window seen in high-use vehicles.
- Address spills immediately: The console panel is not sealed against liquid infiltration. Fluid that migrates into the switch housing through the button gap corrodes contacts within weeks.
- Press deliberately: One firm press per stage change rather than rapid repeated presses reduces contact bounce wear significantly over years of daily use.
- Exercise the switch during storage: If the vehicle sits unused for extended periods in a humid climate, operating the heated seats periodically keeps contacts from oxidizing in the open position.
- Inspect the connector annually: During any related service, disconnect the switch harness and check for green or white corrosion on the pins. Apply a thin coat of dielectric grease to the connector body—not the contacts themselves—before reconnecting.
Frequently Asked Questions
Why does my Highlander seat heater switch light up but the seat stays cold?
The LED circuit and the heater element circuit operate independently through the seat heater control module.
An illuminated LED confirms the switch is transmitting a control signal, but the heating element itself may have an open circuit—a broken wire within the seat cushion foam—or the relay inside the module may have failed.
Measure resistance across the element terminals (typically 2–6 Ω depending on element design) and scan for body DTCs before replacing the switch, since the switch is not the cause in this scenario.
Can I retrofit a seat heater switch into a Highlander LE that did not come with heated seats from the factory?
Yes, but adding a switch alone accomplishes nothing. A full retrofit requires the seat heating elements, the control module, and the wiring harness sub-circuit. The BCM on base LE trims is not pre-configured for seat heat inputs, so dealer programming is also required.
Sourcing a complete OEM heated seat kit from a higher-trim donor vehicle—XLE or above—is the most reliable approach because the wiring connectors and module are already matched to each other and to the BCM software.
What are the OEM Toyota part numbers for the Highlander seat heater switch?
Part numbers vary by model year and trim. For the 2020–2024 fifth-generation Highlander, the driver seat switch assembly is commonly listed as Toyota part number 84751-0E050 or 84751-0E060. For 2014–2019 fourth-generation models, cross-reference 84751-0E010.
Always verify the correct number against your full VIN and trim code before ordering—XLE, Limited, and Platinum switches may differ even within the same model year due to connector variations.
Lucky Driver Inc. supplies OEM-grade seat heating components to automotive seat manufacturers, Tier-1 suppliers, and aftermarket distributors across North America.
Whether you need a single replacement switch for a Highlander repair or a volume order of heating modules and elements for your production line, our engineering team can match your electrical specifications, connector type, and regulatory requirements. Contact Lucky Driver Inc.
to request a quote, technical datasheet, or application-specific consultation.
Related Articles
- Seat Heater Guide: How They Work, Types, and Buying Advice
- Toyota Tacoma Heated Seat Switch: Diagnosis and Replacement
- Heated Seat Rocker Switch: Wiring, Types, and Selection Guide
- Ventilated Seats Button: Complete Guide to Controls
- Toyota Heated Seat Switch: Diagnosis, Replacement, and Upgrades
Frequently Asked Questions About toyota highlander seat heater switch
Procurement engineers evaluating toyota highlander seat heater switch for OEM programs regularly ask the following questions. Answers cover specification, compatibility, certification, and sourcing for toyota highlander seat heater switch requirements.
What voltage ratings are available for toyota highlander seat heater switch?
Standard toyota highlander seat heater switch configurations support 12 V DC for passenger vehicles and 24 V DC for commercial trucks. Selecting the correct toyota highlander seat heater switch voltage at the design stage eliminates harness rework later.
Lucky Driver maintains toyota highlander seat heater switch inventory in both ratings for same-week shipment.
Which certifications apply to toyota highlander seat heater switch production?
toyota highlander seat heater switch assemblies entering OEM programs typically require UL recognition, REACH compliance, and RoHS documentation. Lucky Driver holds certification records for every toyota highlander seat heater switch variant and includes copies with sample and production shipments.
How is watt density specified for toyota highlander seat heater switch?
Watt density for toyota highlander seat heater switch is expressed in W/cm² and ranges from 0.04 to 0.12 depending on heat-up time requirements. Lower watt density toyota highlander seat heater switch designs improve element longevity, while higher values suit cold-climate applications.
Lucky Driver engineering reviews toyota highlander seat heater switch requirements and recommends watt density based on your seat platform.
What connector families are used with toyota highlander seat heater switch?
toyota highlander seat heater switch harnesses are available with Molex, TE Connectivity, and Delphi connector families. Matching the toyota highlander seat heater switch connector to the vehicle harness reduces assembly time and eliminates adapter cables.
Specify your harness format when requesting a toyota highlander seat heater switch quote from Lucky Driver.
What is the lead time for toyota highlander seat heater switch samples?
toyota highlander seat heater switch samples from Lucky Driver’s North American warehouse ship within 3 to 5 business days for standard configurations. Custom toyota highlander seat heater switch variants with modified pad geometry or connector pinouts require 4 to 6 weeks.
Contact Lucky Driver to confirm toyota highlander seat heater switch availability before submitting your engineering schedule.