If the seat warmth in your truck has gone cold, a failed Toyota Tacoma heated seat switch is the most common culprit.
The switch is the control interface between the driver and the seat heater element — when it degrades, the entire circuit goes dark regardless of how healthy the heater pad or wiring may be.
This guide covers failure modes, diagnostic steps, replacement procedures, wiring specs, and retrofit options for Tacoma owners across the 2nd-gen (2005–2015) and 3rd-gen (2016–present) platforms.
Common Reasons a Toyota Tacoma Heated Seat Switch Fails
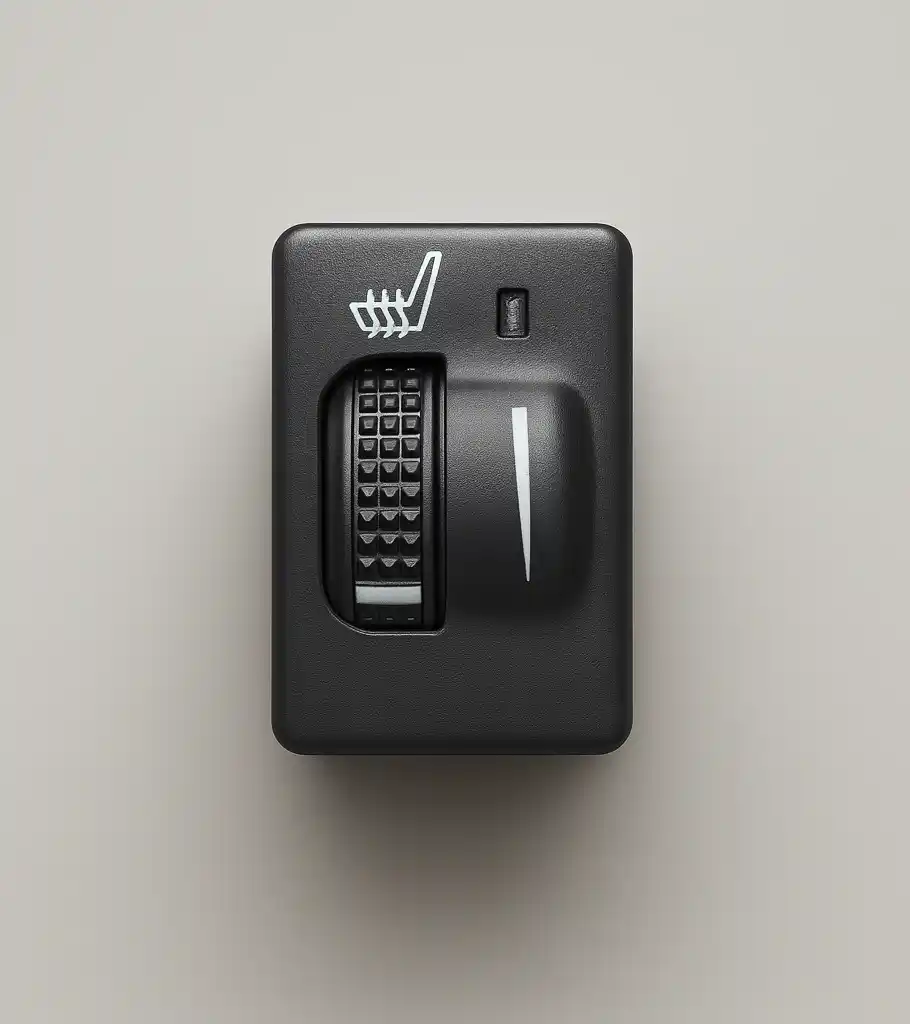
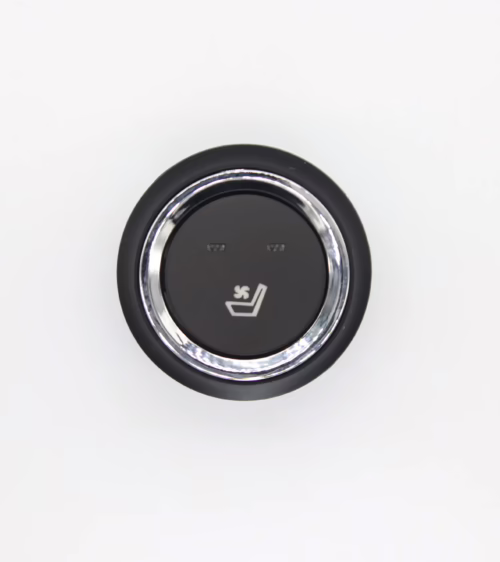
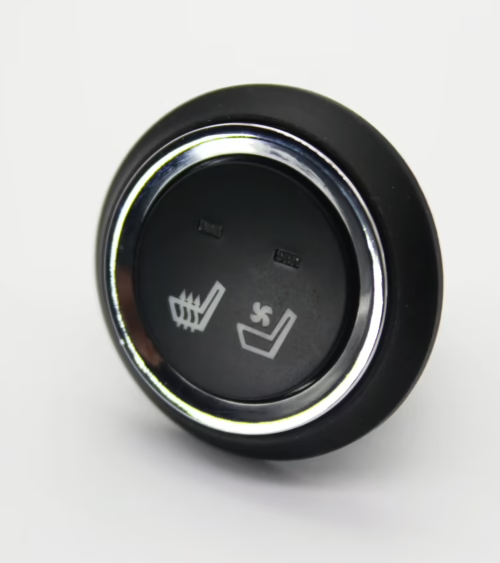
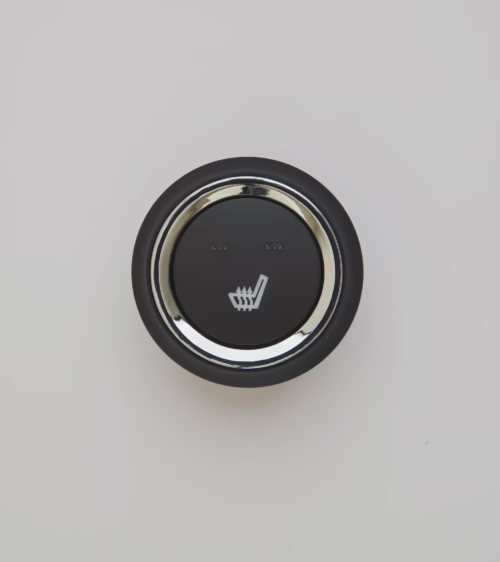
The Tacoma’s seat heater switch is a rocker-style illuminated switch mounted in the lower HVAC panel. It handles a relatively low current load — typically 2–4 A at 12 V — yet it fails more often than the heater pads themselves. Several factors explain this:
- Resistive contact wear: Each toggle cycles the switch’s internal contacts. After thousands of cycles, the silver-plated contacts develop a resistive oxide layer that raises contact resistance, causing intermittent heating or complete cutout.
- LED backlight failure: The factory switch uses a small integrated LED for the illumination icon. When the LED dies, many owners mistake a backlight-only failure for a complete switch failure, when the heater circuit is actually still functional.
- Moisture intrusion: Spilled beverages or high cabin humidity can wick into the switch cavity, corroding the internal contacts. Tacomas used in wet climates or washed frequently show this failure at higher rates.
- Thermal cycling fatigue: The repeated expansion and contraction from heater-on/heater-off cycles stresses solder joints on the switch PCB over time.
- Spring clip deformation: The retention clips that hold the switch body in the dash panel can weaken, causing the switch to rock out of detent and lose contact intermittently.
Understanding the failure mode before ordering parts saves time. A switch that works sometimes but not always points to contact wear or spring fatigue.
A switch that powers on but produces no heat at the pad points to a failed heater element or a blown in-line fuse rather than the switch itself.
OEM vs. Aftermarket Heated Seat Switch Options
Toyota’s OEM switch — part numbers vary by trim and year, commonly 84751-04010 for 2nd-gen SR5 and Limited trims — is a direct plug-and-play replacement but carries dealer pricing in the $45–$90 range per unit. Aftermarket options cover the same pinout at lower cost, though quality varies considerably.
When evaluating aftermarket switches, the key specifications to verify are:
- Contact current rating: Must handle at least 10 A continuous to tolerate inrush current from dual-zone pads without welding the contacts closed.
- Connector compatibility: Tacoma seat heater switches use a 4-pin or 6-pin connector depending on generation. A 3rd-gen switch will not seat correctly into a 2nd-gen harness without a pigtail adapter.
- Illumination voltage: Factory switches are tuned for the Tacoma’s 12 V instrument lighting bus. Switches rated for 24 V will glow dimly or not at all in this application.
- Operating temperature range: The switch cavity sees temperatures between −30 °C and +85 °C in North American climates. Verify the replacement is rated across that full range.
Lucky Driver’s catalog of replacement seat heater switches includes Toyota-compatible fitments that match OEM connector pinouts and are tested at the contact-current ratings above, making them a reliable aftermarket alternative to dealer parts.
How to Diagnose the Switch Before Replacing It
Replacing a switch that is not actually faulty wastes money and time. A disciplined diagnostic sequence narrows the fault to the switch with certainty.
Tools needed: Digital multimeter (DMM), test light, and the wiring diagram for your specific Tacoma trim year.
- Step 1 — Check the fuse: Locate the seat heater fuse in the underhood relay and fuse box (10 A, labeled HTD SEAT or similar). A blown fuse means the downstream circuit shorted, and replacing only the switch will result in another blown fuse unless the short is located first.
- Step 2 — Verify supply voltage at the switch: With the ignition on, backprobe the supply pin of the switch connector. You should read battery voltage (12.4–14.4 V). No voltage here indicates a wiring fault upstream of the switch.
- Step 3 — Check switch output voltage: With the switch toggled on, backprobe the output pin. If supply voltage is present at the input pin but absent at the output pin, the switch contacts are open-circuit and the switch should be replaced.
- Step 4 — Measure heater element resistance:
- Disconnect the pad connector at the seat and measure across the heater element terminals with the DMM set to resistance. A healthy Tacoma seat heater pad reads between 1.5 Ω and 4.0 Ω depending on element wattage. An open circuit (OL) reading indicates a broken element
- not a switch problem.
- Step 5 — Verify ground continuity: A high-resistance ground path above 0.5 Ω will cause low heat output that mimics a failed switch. Measure resistance from the seat heater ground pin to chassis ground while the seat is in the full-forward position and again in the full-rearward position to catch intermittent chafe faults.
If steps 2 and 3 confirm the switch is open-circuit and the fuse is intact, the switch is confirmed faulty and replacement is warranted.
Step-by-Step Heated Seat Switch Replacement
This procedure applies to 2nd-gen and 3rd-gen Tacomas with factory heated seats. Budget 20 to 40 minutes depending on trim panel complexity.
- Disconnect the negative battery terminal and wait two minutes to discharge capacitors in the airbag system before working near the lower dash panel.
- Remove the HVAC trim panel: Most Tacoma center consoles use snap-fit clips. Insert a plastic trim tool at the lower edge and work around the perimeter. Avoid metal pry tools — they crack the panel surface and damage clip towers.
- Release the switch: Press the retention tabs on both sides of the switch body simultaneously while pushing from the front face. The switch pops rearward into your hand.
- Disconnect the wiring harness connector: Squeeze the locking tab and pull the connector straight off the switch body. Do not pull on the wires — grip the connector housing only.
- Install the replacement switch: Seat the connector until the locking tab clicks audibly, then push the switch body forward into the panel opening until both retention clips engage with a firm snap.
- Reinstall the trim panel: Align the clip towers with their panel openings and press firmly at each clip location until seated. Verify no visible panel gaps before reconnecting the battery.
- Test: Reconnect the battery, start the engine, toggle the switch, and use your DMM or an infrared thermometer pointed at the seat bolster to confirm surface temperature rises within 3 to 5 minutes.
Wiring and Electrical Specifications for Tacoma Seat Heater Circuits
The Tacoma’s factory seat heater circuit routes switched ignition power through the fuse box to the switch, then from the switch output through an in-line bimetal thermal limiter — a self-resetting thermal cutoff set at approximately 60 °C — before reaching the heater pad element.
The return ground path runs from the element directly to a chassis ground stud under the seat rail.
- Supply wire gauge: 14 AWG factory — adequate for a single-pad circuit drawing 4 to 6 A at full warm-up inrush.
- Pad element wattage: 40 to 60 W typical for Tacoma OEM pads. Aftermarket high-output pads can reach 80 W — upgrade wire gauge to 12 AWG if installing higher-wattage elements to stay within NEC derating limits.
- Thermal limiter function: The bimetal cutoff prevents seat surface overheating. If you bypass this component during diagnosis and forget to reinstall it, the pad surface can exceed safe contact temperature during extended use.
- Switch illumination circuit: Drawn from the instrument lighting dimmer bus, not from the heater supply circuit. This is why the backlight illumination can fail completely while the heater function remains operational.
- PWM vs. direct switching: 3-position Tacoma switches (Off / Low / High) use either a series resistor or a pulse-width modulated output on the Low setting depending on model year.
- Mixing a resistor-type pad with a PWM-type switch — or vice versa — typically results in one heat level functioning while the other behaves erratically.
Retrofitting Heated Seats on a Non-Heated Tacoma
Base SR and SR5 Tacomas frequently left the factory without heated seats even in cold-weather markets. Retrofitting is straightforward because Toyota pre-routed the wiring harness with blanked-off connectors at the switch panel and seat locations on all trim levels in anticipation of this upgrade path.
The retrofit parts list includes:
- seat heater pad sets for driver and passenger positions
- seat heater switches
- an auxiliary relay if using high-wattage aftermarket pads
- in-line thermal limiters
- a fuse tap sized to the pad wattage. The factory switch opening in the HVAC panel is already present on non-heated trims — you remove the blank switch plug and install the active switch in its place with no cutting required.
For owners doing a full retrofit, browse our complete seat heating product lineup to find pads, switches, and control modules engineered to work as a matched system rather than mixing components from different suppliers with incompatible thermal thresholds.
Key retrofit cautions:
- Verify the harness connector at the seat base matches the connector on your chosen pad kit — 2nd-gen and 3rd-gen harnesses use different pin counts and are not interchangeable.
- Install the thermal limiter between the switch output wire and the pad input lead — do not omit it or substitute a standard in-line fuse.
- Route all wiring away from seat track pinch points and under-seat articulation zones; use split loom conduit at any location where the harness contacts a metal edge.
- Size the circuit fuse at 125 to 150 percent of the pad’s rated continuous draw, not the inrush peak, to avoid nuisance blows on cold-soak mornings.
Frequently Asked Questions
Why does my Toyota Tacoma heated seat turn off by itself after a few minutes?
The most likely cause is the in-line bimetal thermal limiter cycling as designed — the seat surface reached its upper temperature threshold and the limiter opened to prevent overheating. The circuit resets automatically once the pad cools below the reset point.
If the cycling is very rapid, under two minutes on and under one minute off, the limiter may be rated too low for the pad wattage, or the replacement limiter is a mismatched part with a lower trip threshold than the original.
Can I replace a Toyota Tacoma heated seat switch myself, or does it require a dealer?
This is a straightforward DIY repair. The switch is a plug-and-play component that requires no module coding, no relearn procedure, and no dealer scan tool. The only meaningful caution applies to 3rd-gen Tacomas equipped with knee airbags:
- disconnect the negative battery terminal and observe the two-minute capacitor bleed-down wait before working near the lower dash panel. With the battery disconnected and an OEM-compatible replacement switch
- most owners complete the job in under 30 minutes using only a plastic trim tool and a Phillips screwdriver.
What is the difference between a 2-position and 3-position heated seat switch on the Tacoma?
A 2-position switch offers Off and High, controlling the heater element at a single full-power level. A 3-position switch adds a Low setting, which reduces element power either through a series resistor or a PWM signal depending on model year.
When replacing, you must match the position count exactly — installing a 2-position switch into a circuit wired for 3 positions leaves the second output terminal floating, meaning the seat will only operate at one heat level and may set a diagnostic fault on Tacomas with CAN-integrated seat heater modules.
When you need a reliable supplier for your Tacoma’s heated seat system — whether you are replacing a failed switch, upgrading to higher-output pads, or doing a full retrofit on a base-trim truck — Lucky Driver Inc. provides OEM-compatible seat heater switches, pad kits, and control modules built to automotive electrical standards.
Contact our team or place an order directly through our website for fast North American shipping on all seat heating components.
Related Articles
- Heated Seat Rocker Switch: Wiring, Types, and Selection Guide
- Ventilated Seats Button: Complete Guide to Controls
- Toyota Heated Seat Switch: Diagnosis, Replacement, and Upgrades
- Lucky Driver Seat Heater Products: 2024 Updates and New SKUs
- Seat Ventilation System: How It Works and How to Add One in 4 Steps
Frequently Asked Questions About toyota tacoma heated seat switch
Procurement engineers evaluating toyota tacoma heated seat switch for OEM programs regularly ask the following questions. Answers cover specification, compatibility, certification, and sourcing for toyota tacoma heated seat switch requirements.
What voltage ratings are available for toyota tacoma heated seat switch?
Standard toyota tacoma heated seat switch configurations support 12 V DC for passenger vehicles and 24 V DC for commercial trucks. Selecting the correct toyota tacoma heated seat switch voltage at the design stage eliminates harness rework later.
Lucky Driver maintains toyota tacoma heated seat switch inventory in both ratings for same-week shipment.
Which certifications apply to toyota tacoma heated seat switch production?
toyota tacoma heated seat switch assemblies entering OEM programs typically require UL recognition, REACH compliance, and RoHS documentation. Lucky Driver holds certification records for every toyota tacoma heated seat switch variant and includes copies with sample and production shipments.
How is watt density specified for toyota tacoma heated seat switch?
Watt density for toyota tacoma heated seat switch is expressed in W/cm² and ranges from 0.04 to 0.12 depending on heat-up time requirements. Lower watt density toyota tacoma heated seat switch designs improve element longevity, while higher values suit cold-climate applications.
Lucky Driver engineering reviews toyota tacoma heated seat switch requirements and recommends watt density based on your seat platform.
What connector families are used with toyota tacoma heated seat switch?
toyota tacoma heated seat switch harnesses are available with Molex, TE Connectivity, and Delphi connector families. Matching the toyota tacoma heated seat switch connector to the vehicle harness reduces assembly time and eliminates adapter cables.
Specify your harness format when requesting a toyota tacoma heated seat switch quote from Lucky Driver.
What is the lead time for toyota tacoma heated seat switch samples?
toyota tacoma heated seat switch samples from Lucky Driver’s North American warehouse ship within 3 to 5 business days for standard configurations. Custom toyota tacoma heated seat switch variants with modified pad geometry or connector pinouts require 4 to 6 weeks.
Contact Lucky Driver to confirm toyota tacoma heated seat switch availability before submitting your engineering schedule.